pakefield

Beach Hut

Beach Hut - A Different Project 2016 and ongoing

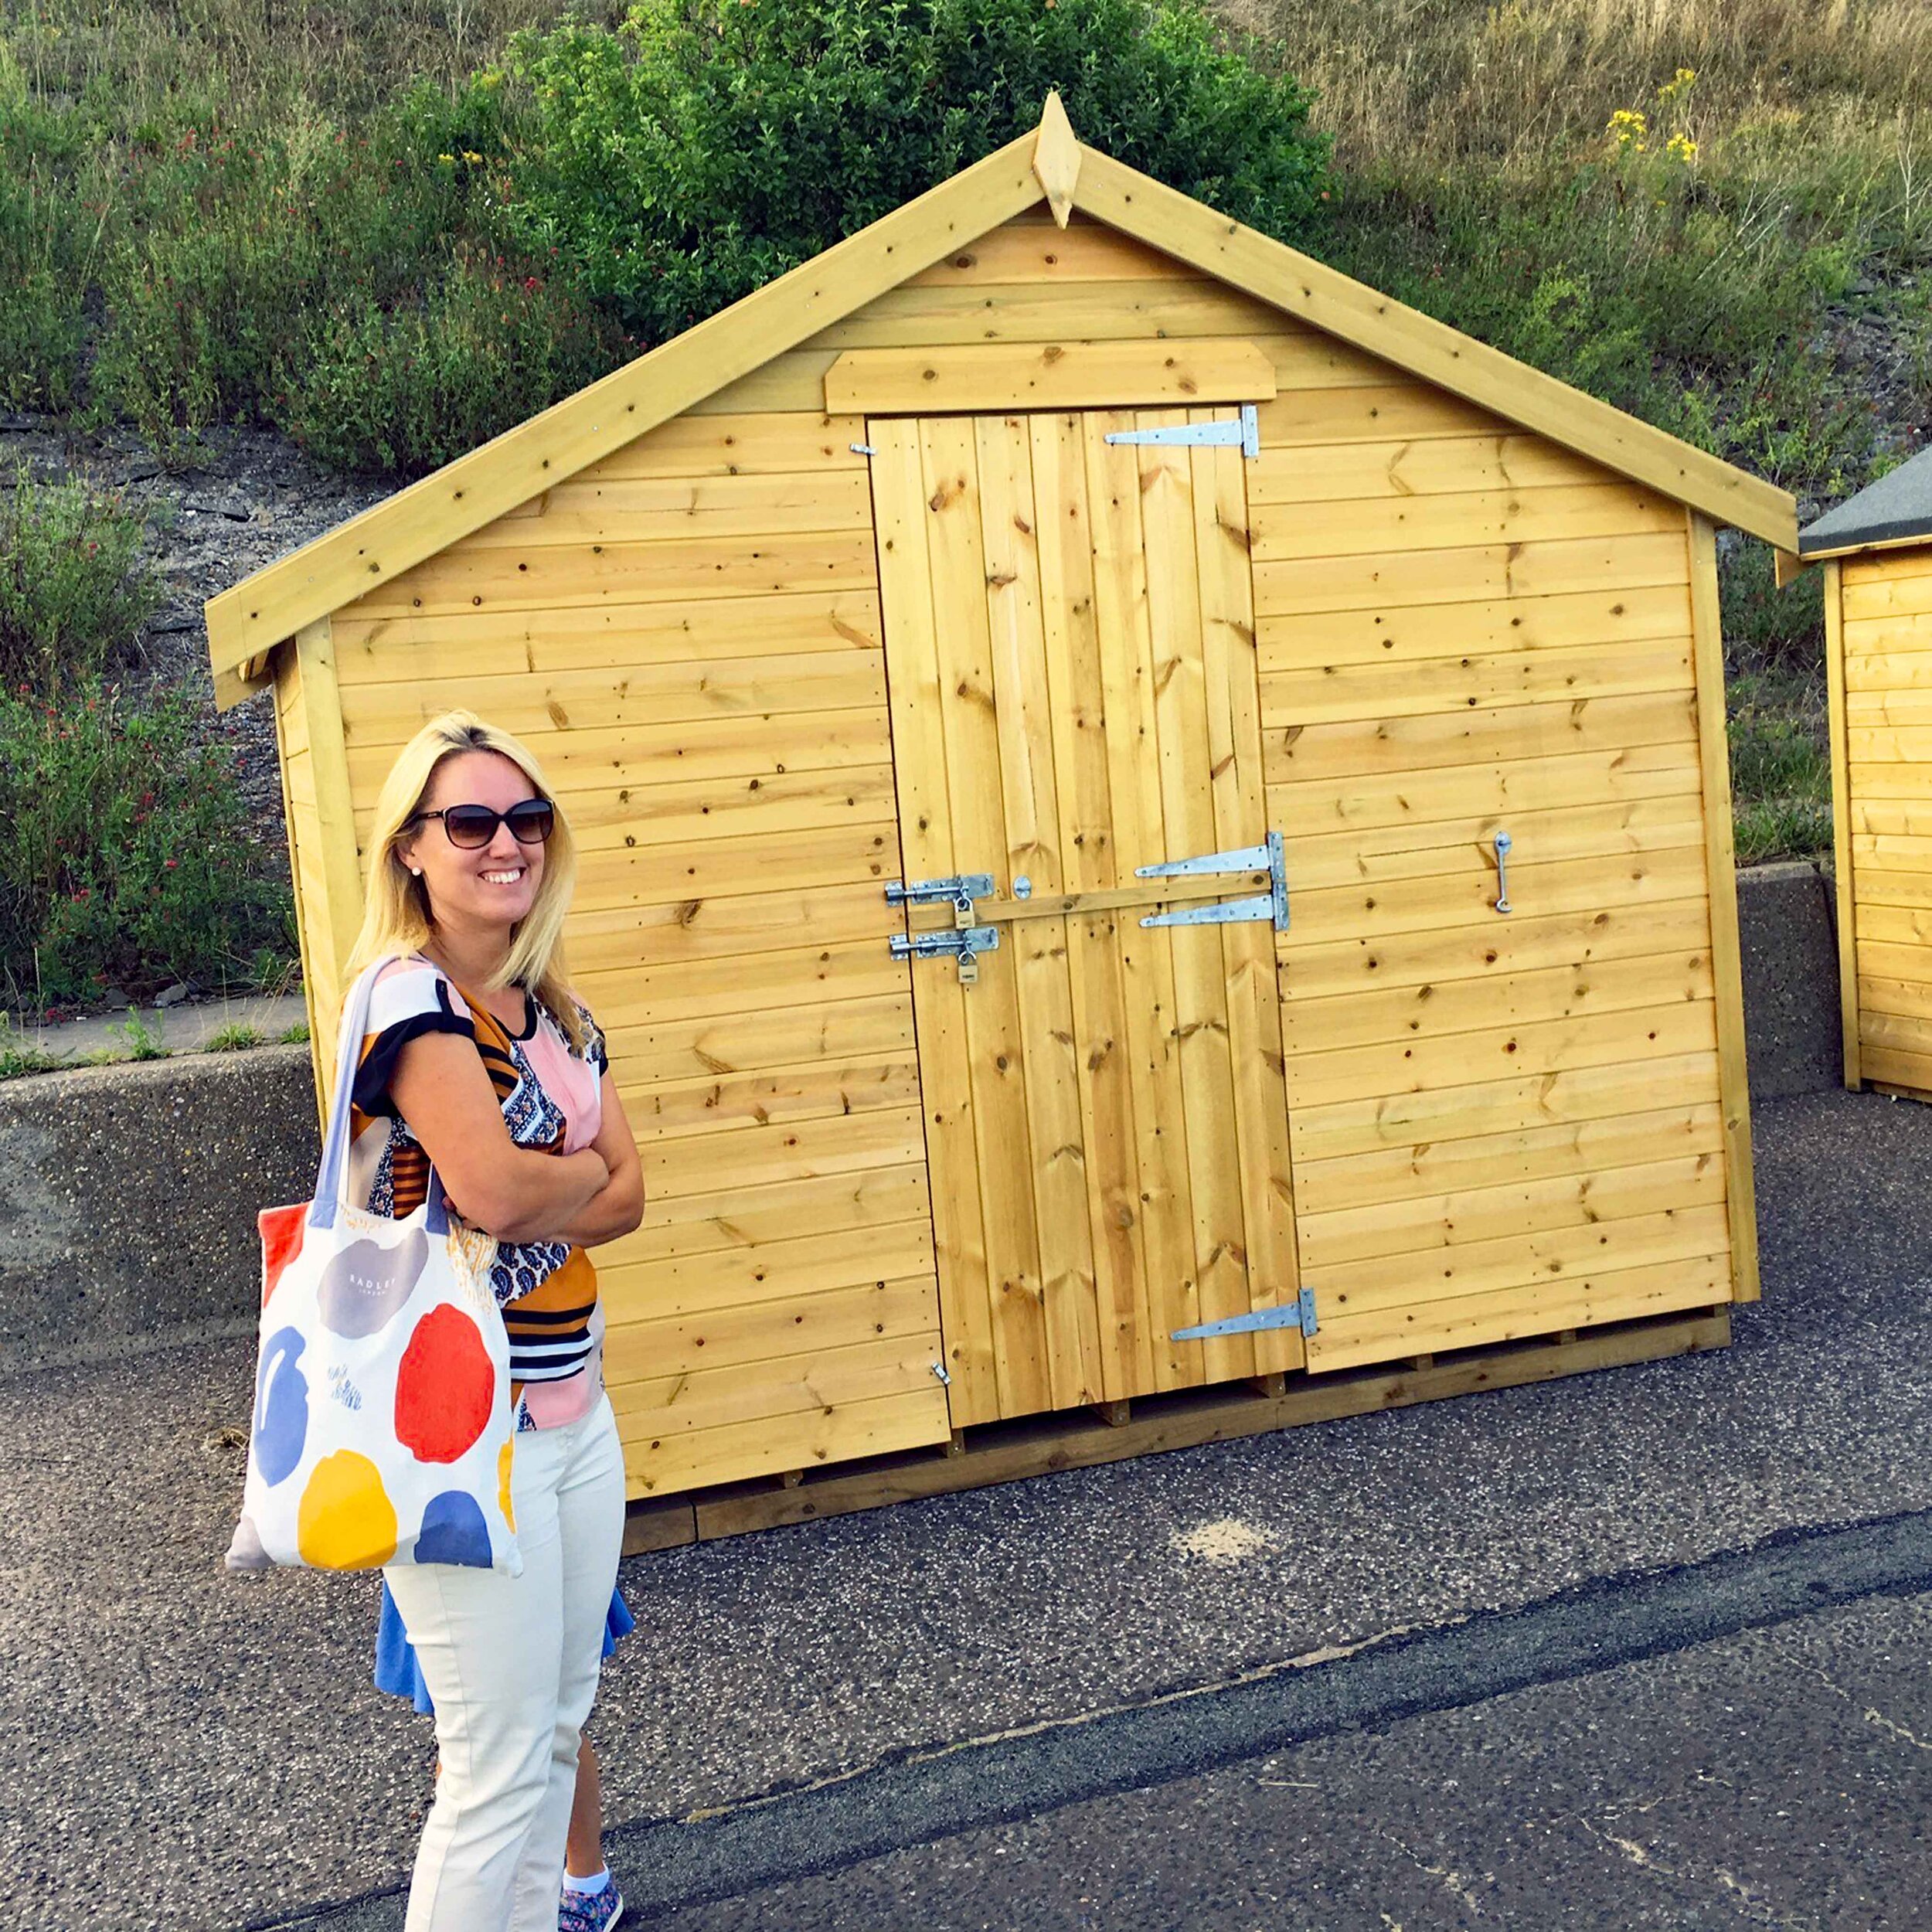
The year 2016 we (joint family venture) purchased a brand new beach hut, located in the popular and upcoming Pakefield development just below the Jolly Sailors public house. So, we had a bare wooden hut that resembled a garden shed and was open without many restrictions to decorate how we pleased.

The Design

Inspiration for the design of the hut was the surrounding area and where the hut is located. Natural colours of the sea, beach and grass verges became the focal point of design with a starting palette of white to give movement to add to or possibly change in the future.

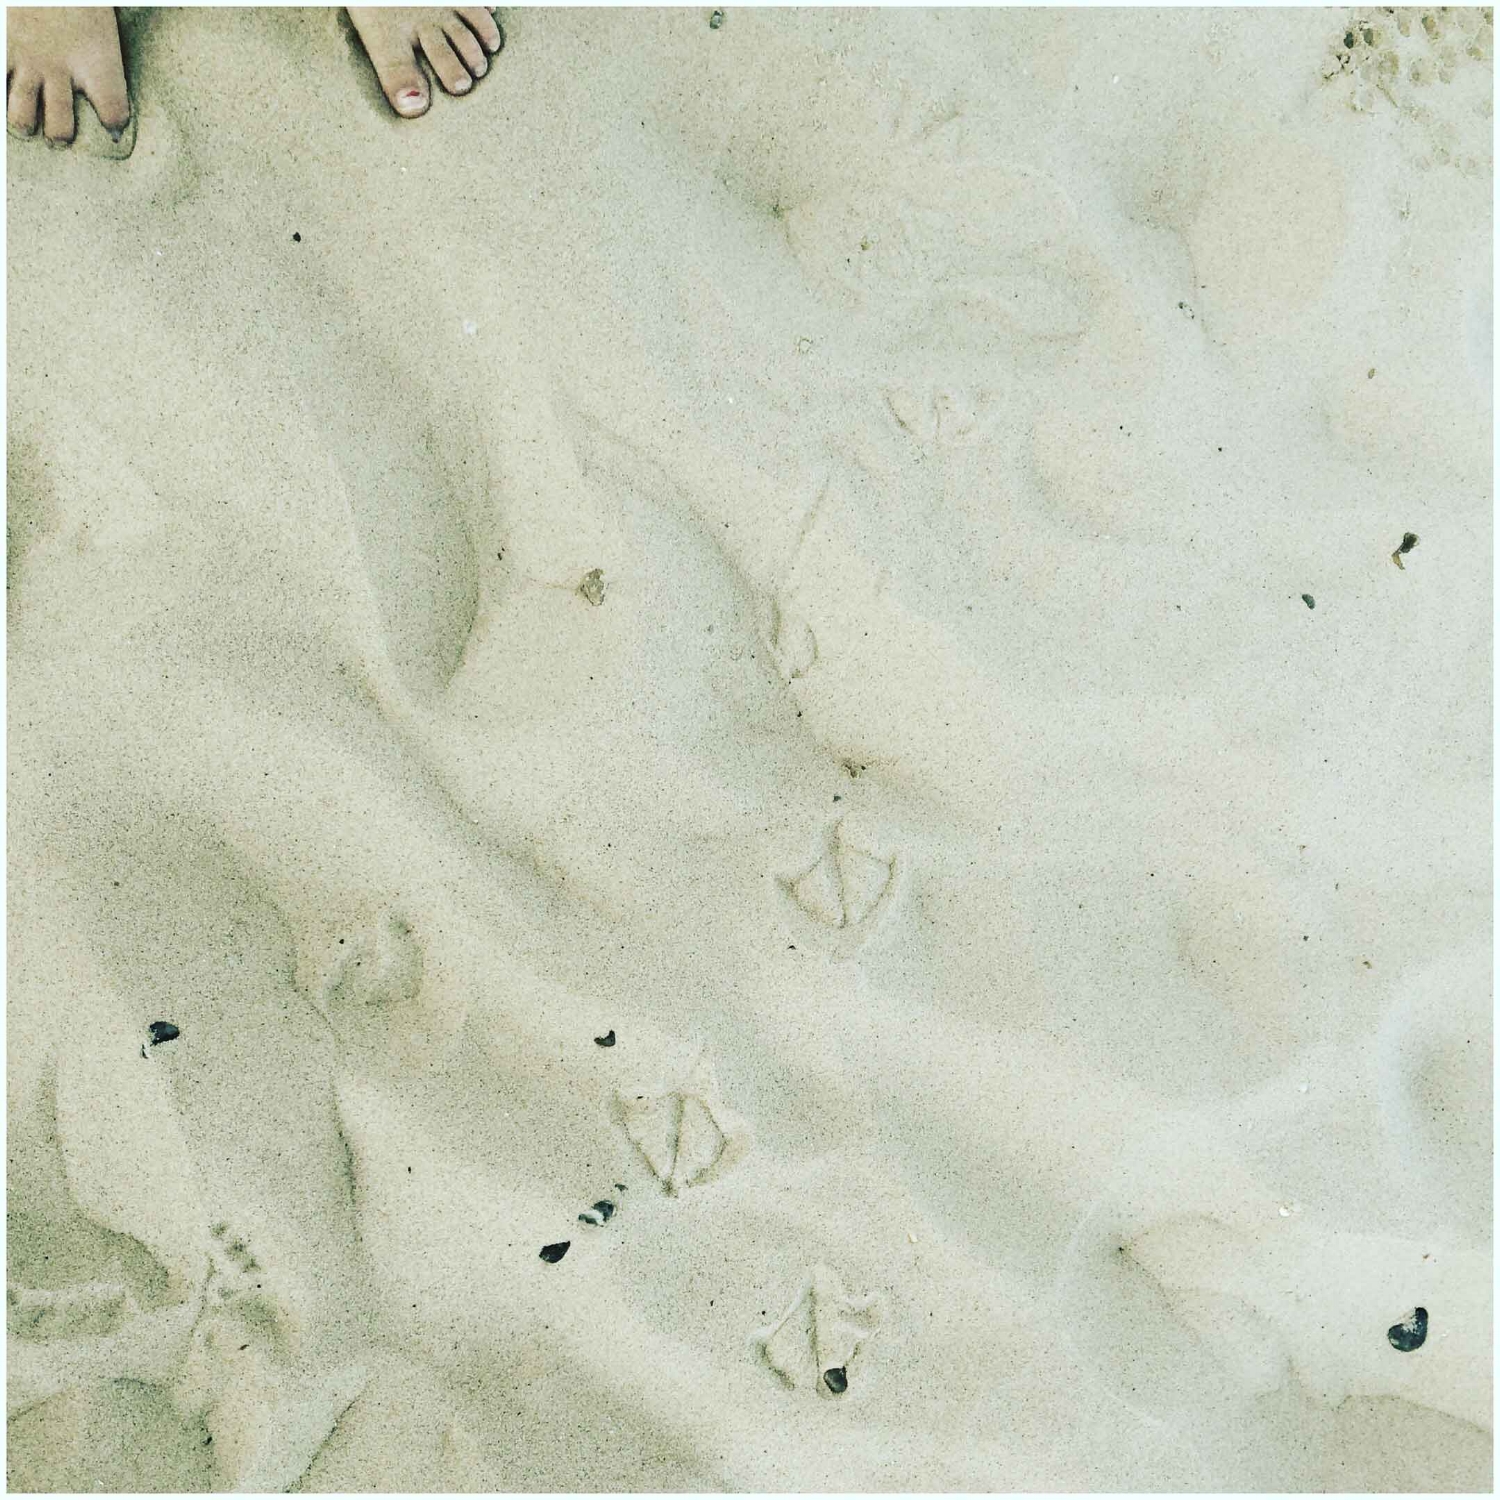
The beach, seagull footprints.

The beach, seagull footprints.

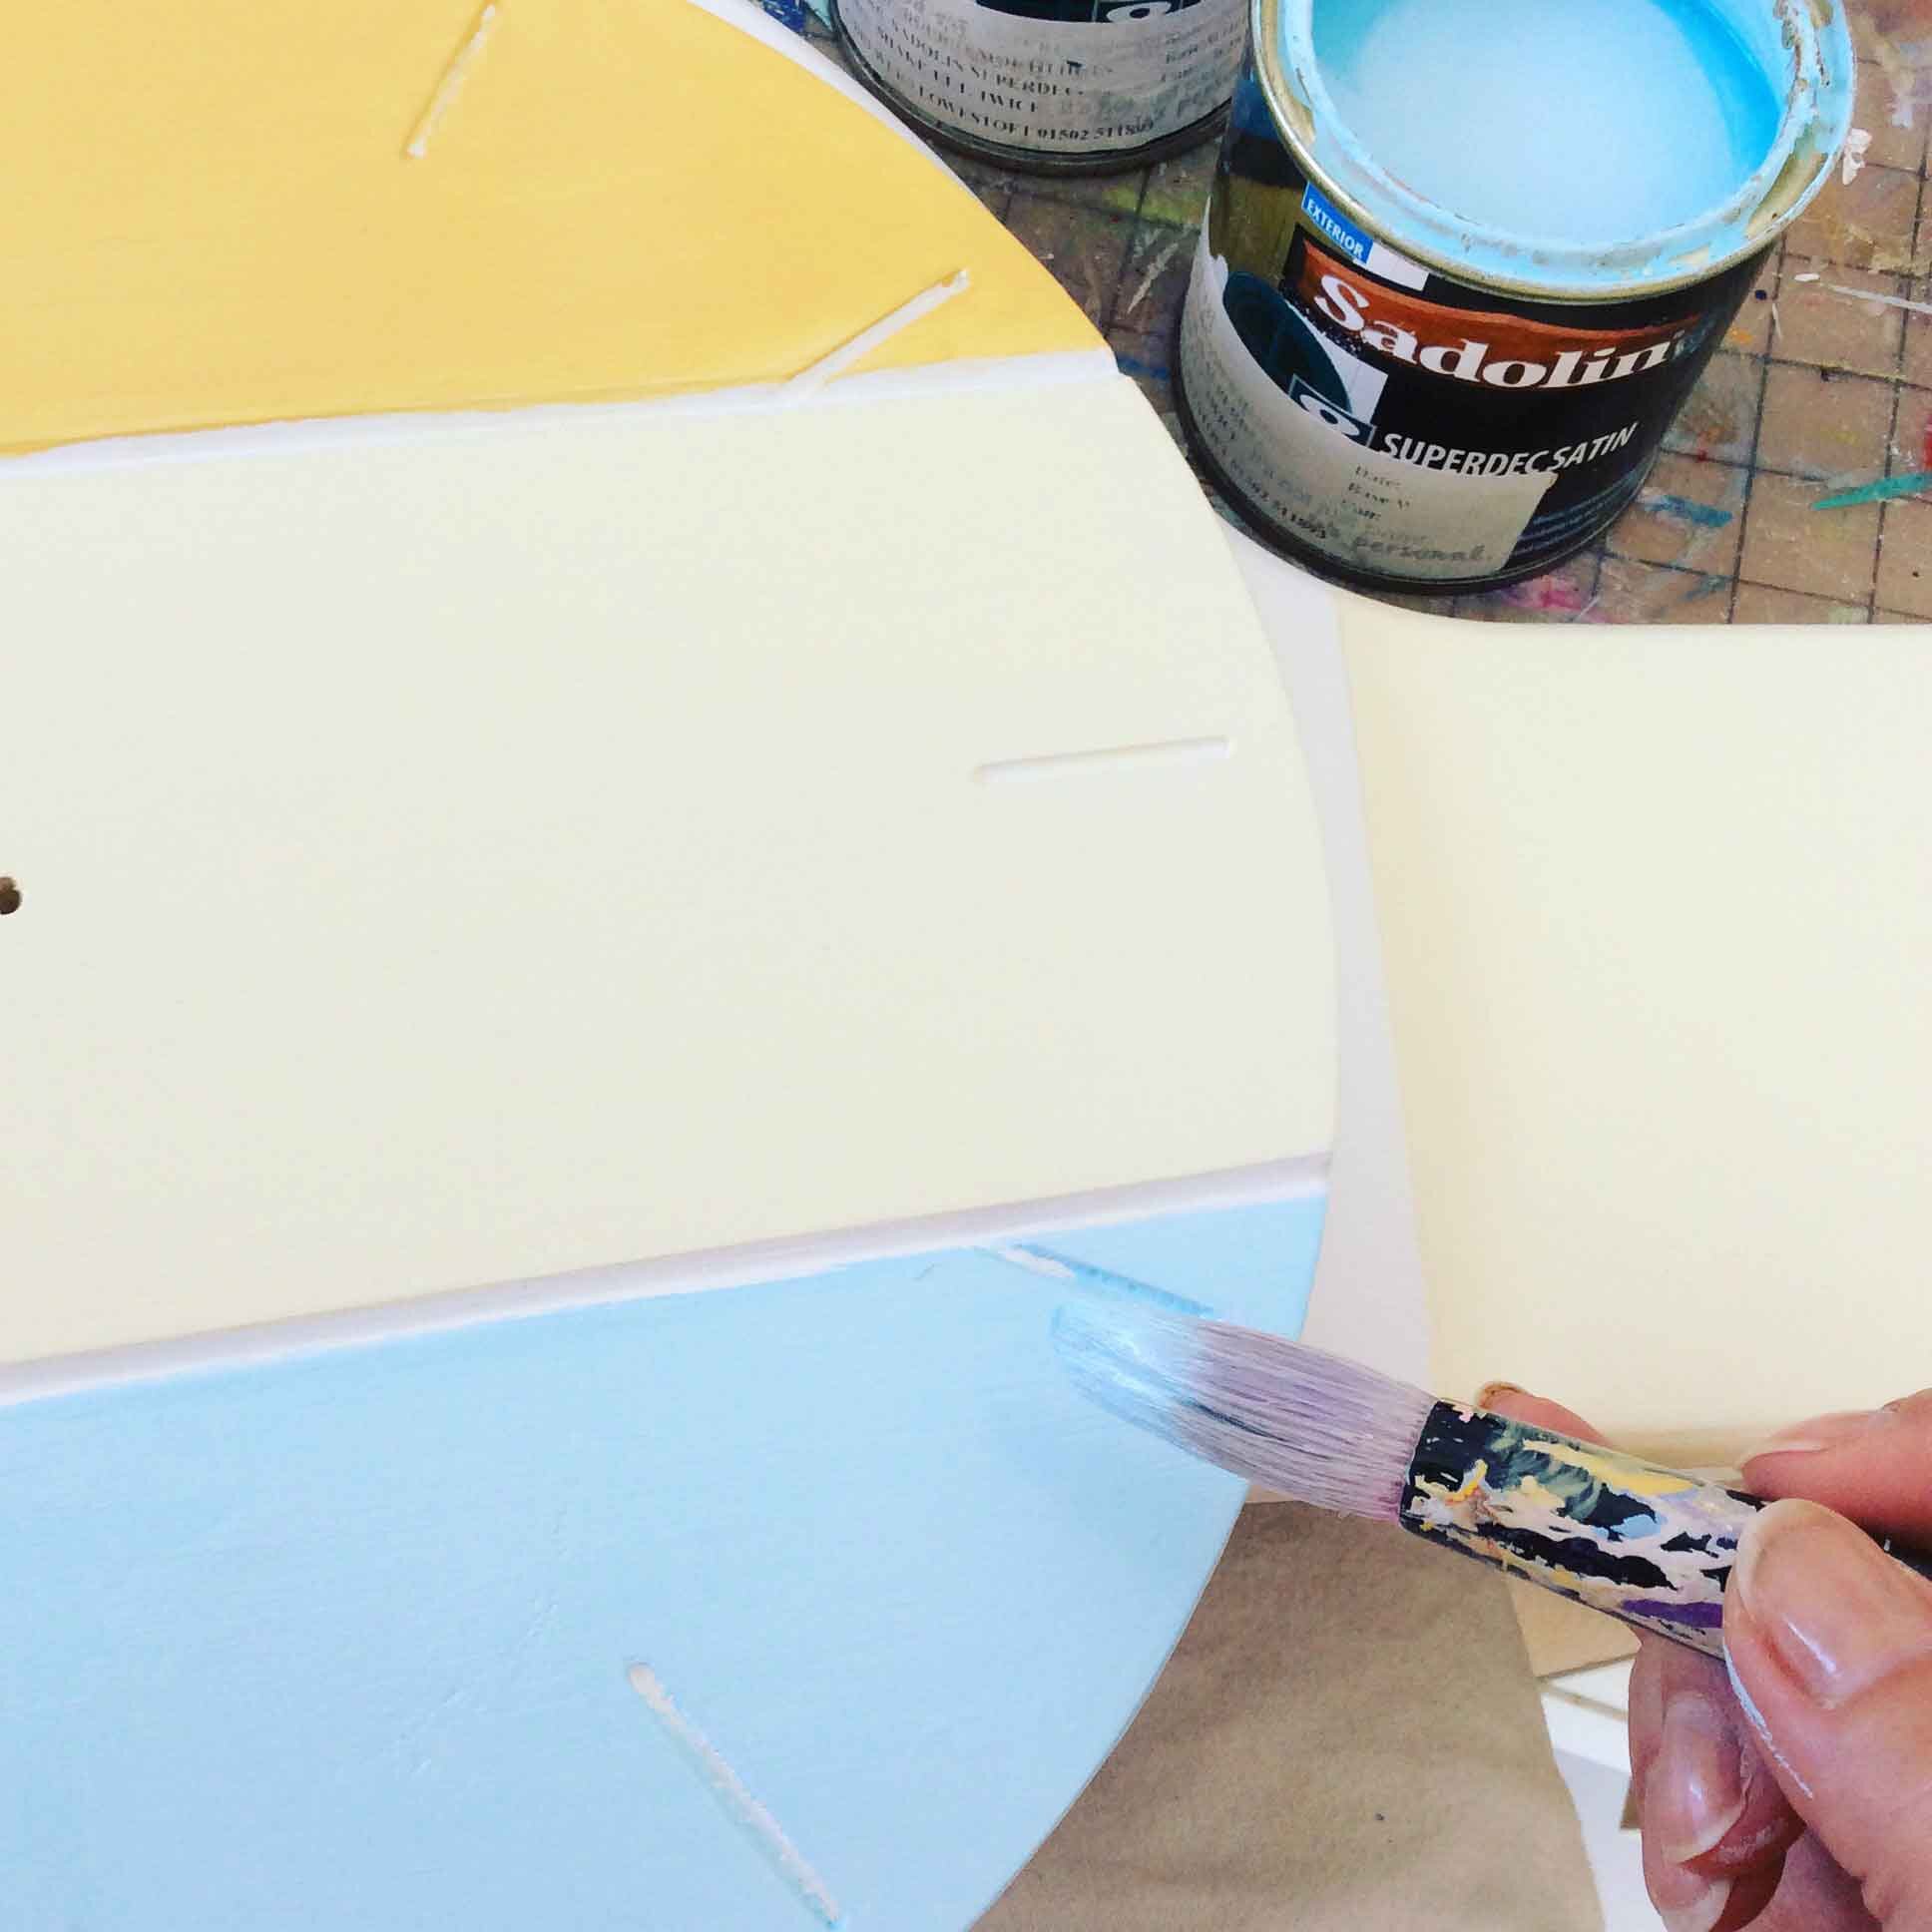
Colours

Colours

The Seagull

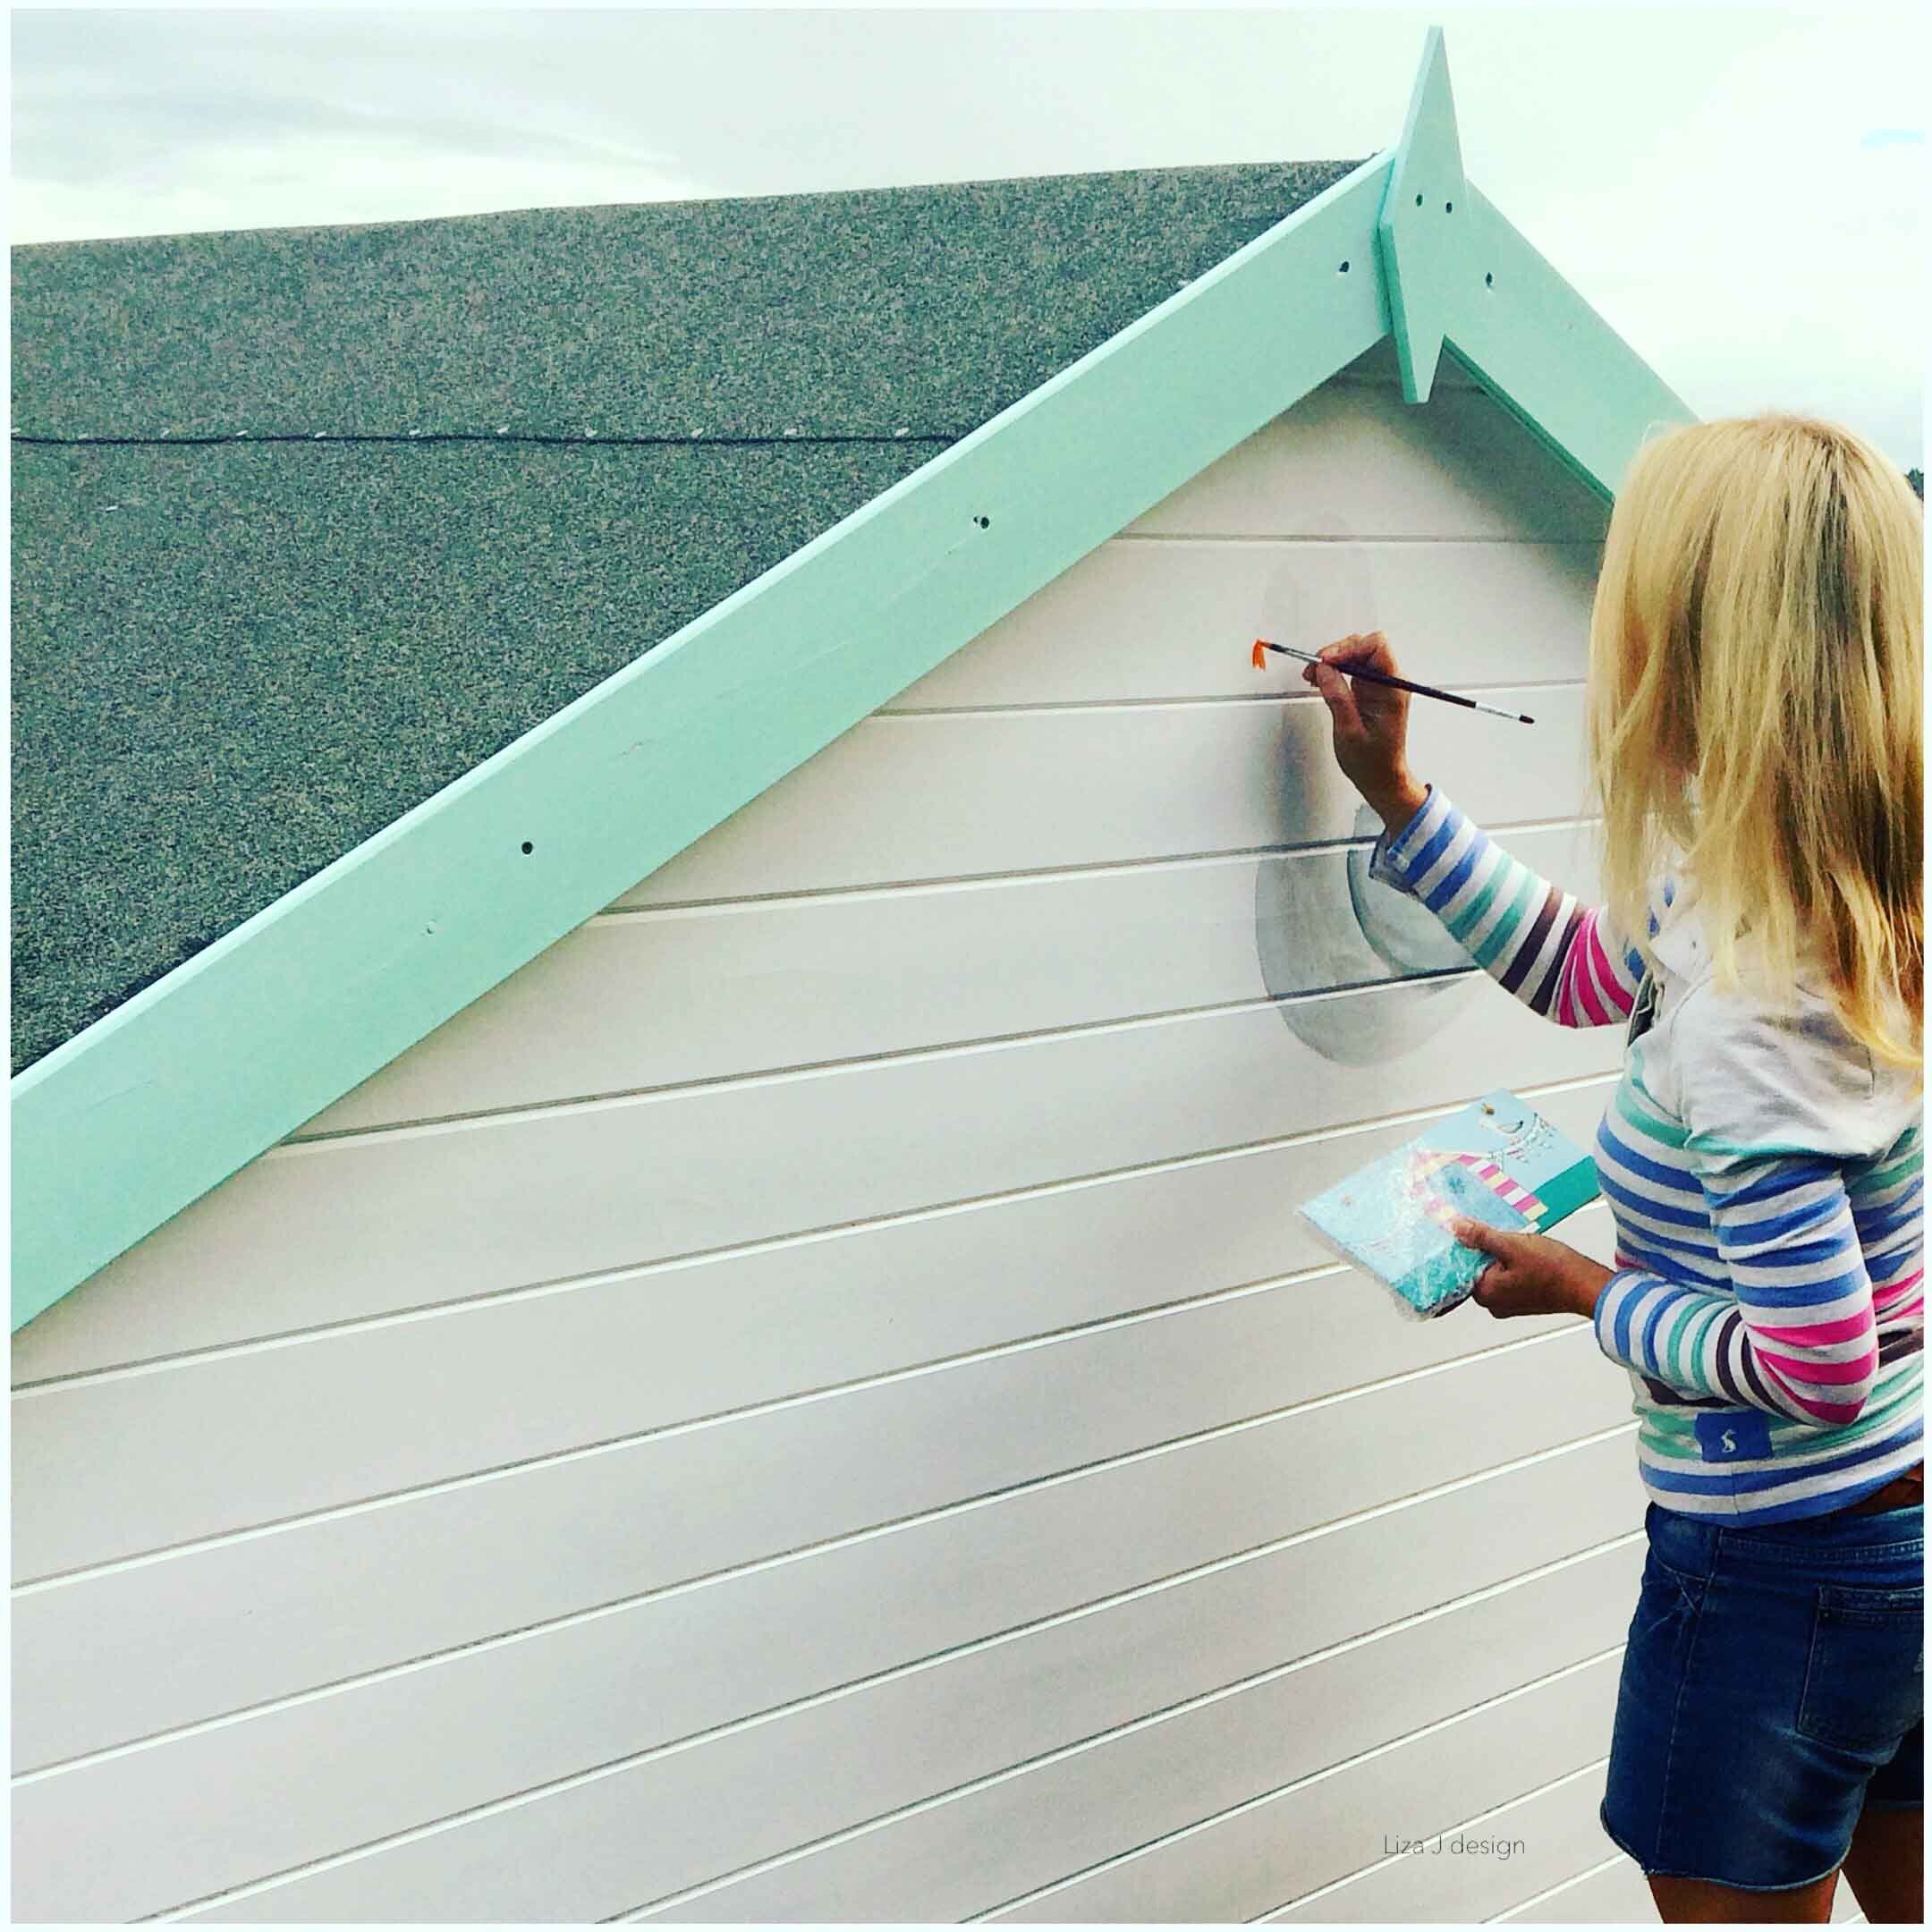
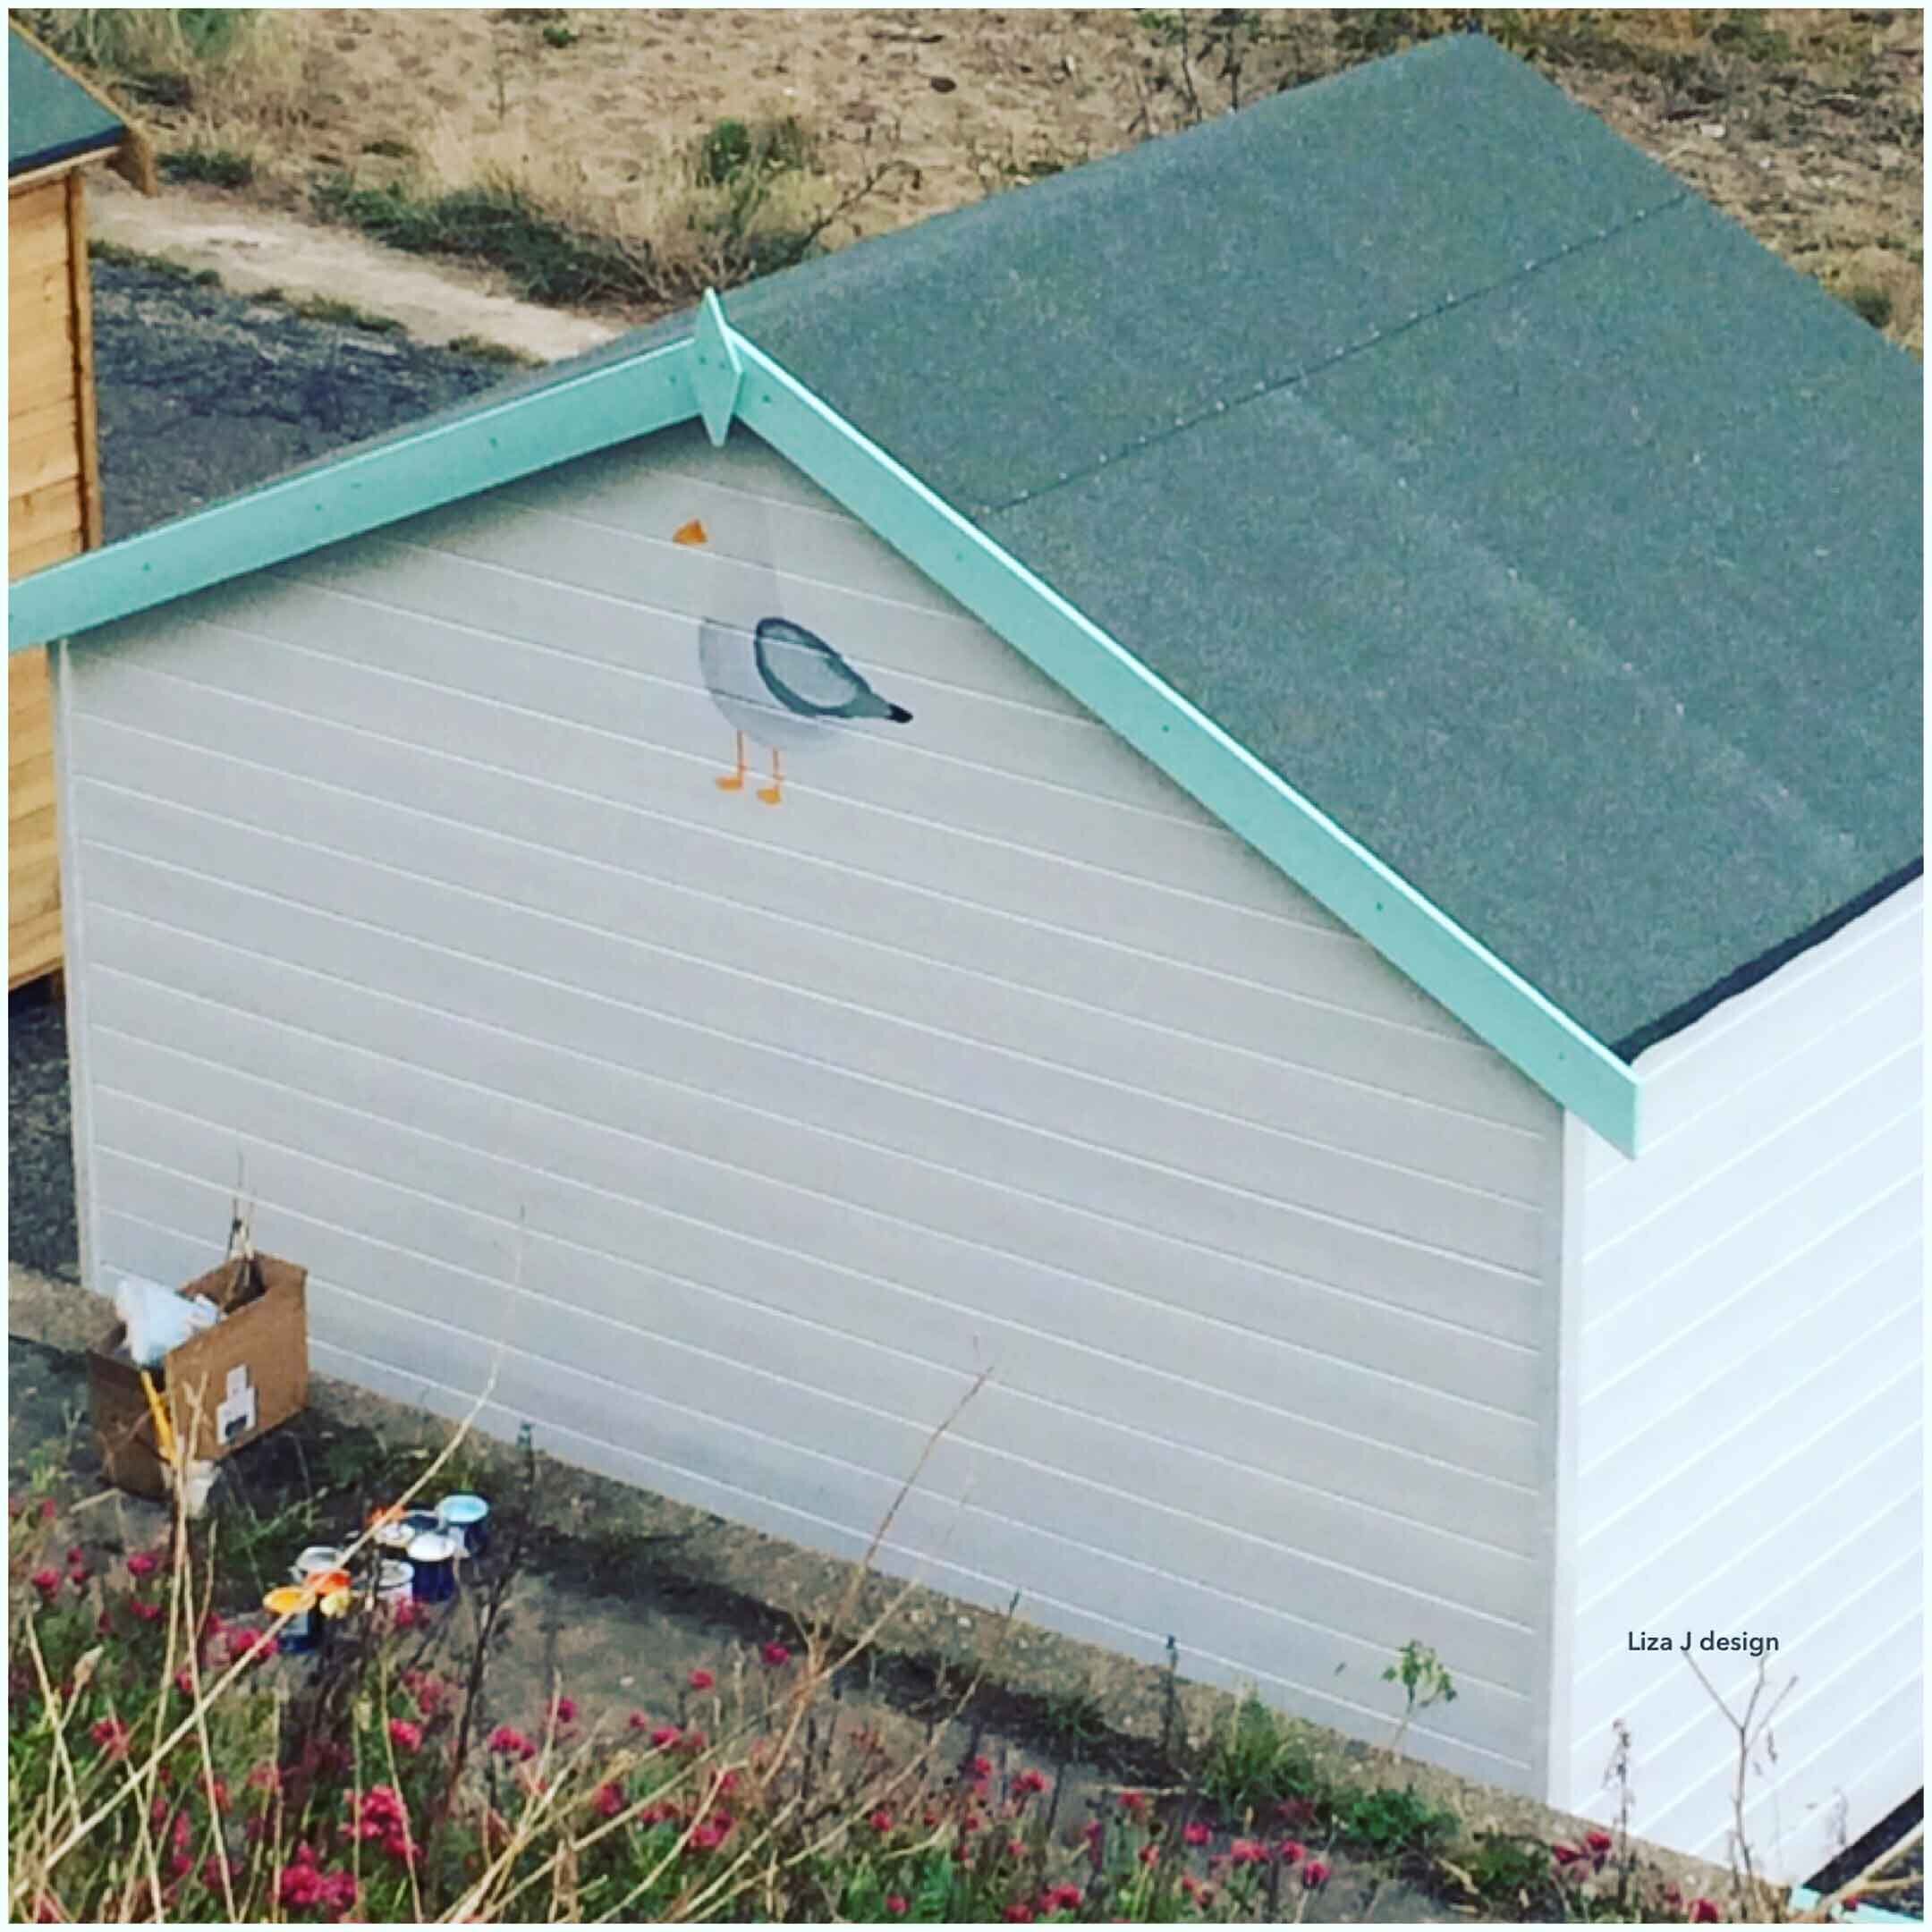
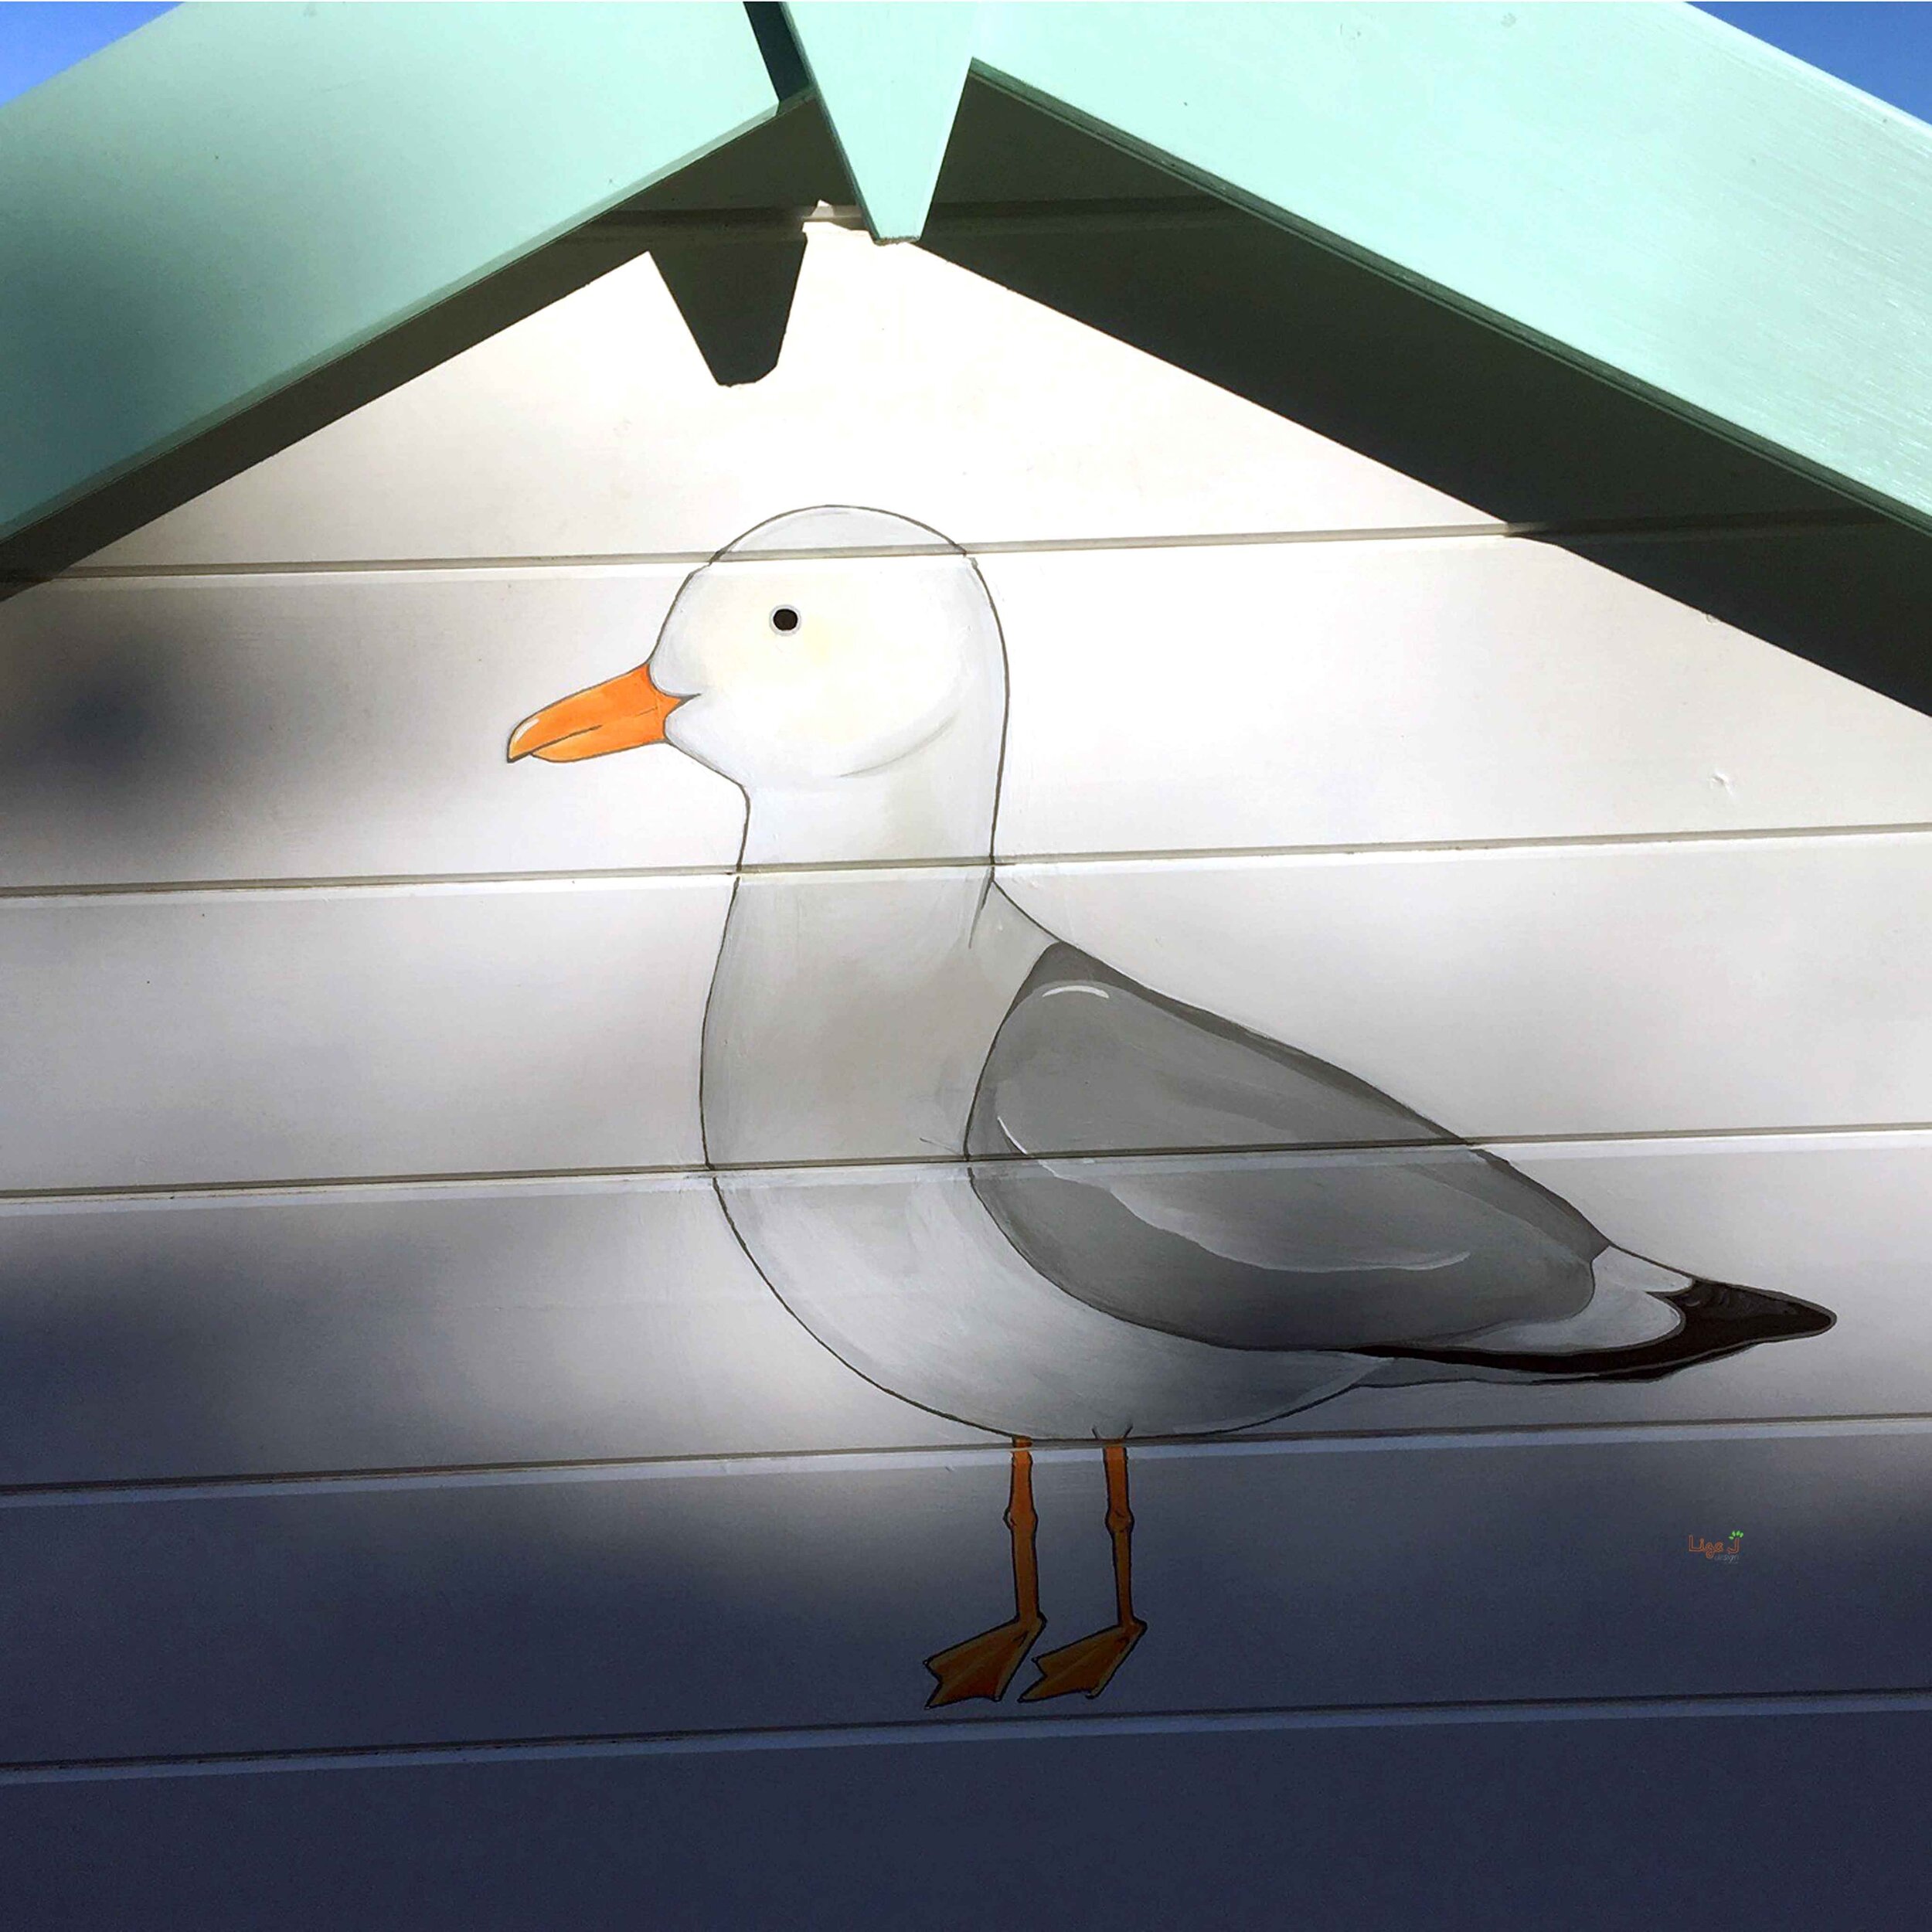
The base colour white was a great blank canvas to paint some characters on, inspired by the recent beach hut sign design created through my work I decided to paint a seagull on the back which is visible from the Jolly Sailors public house.

IMG_0023LP.jpg

View from the top

Spot the seagull...

The Name

Deciding on a name is a tricky business in the beach hut community. Having a walk along the promenade there are many lovely ideas but we wanted something unique to our hut. After the painting of the seagull on the rear of the hut we felt it would be nice to incorporate this into the name, eventually (after much deliberation) we decided to call our hut Sea Gu11 (the ll's of seagull are represented as the number 11 as our hut is in fact number 11!)

IMG_0020LP.jpg

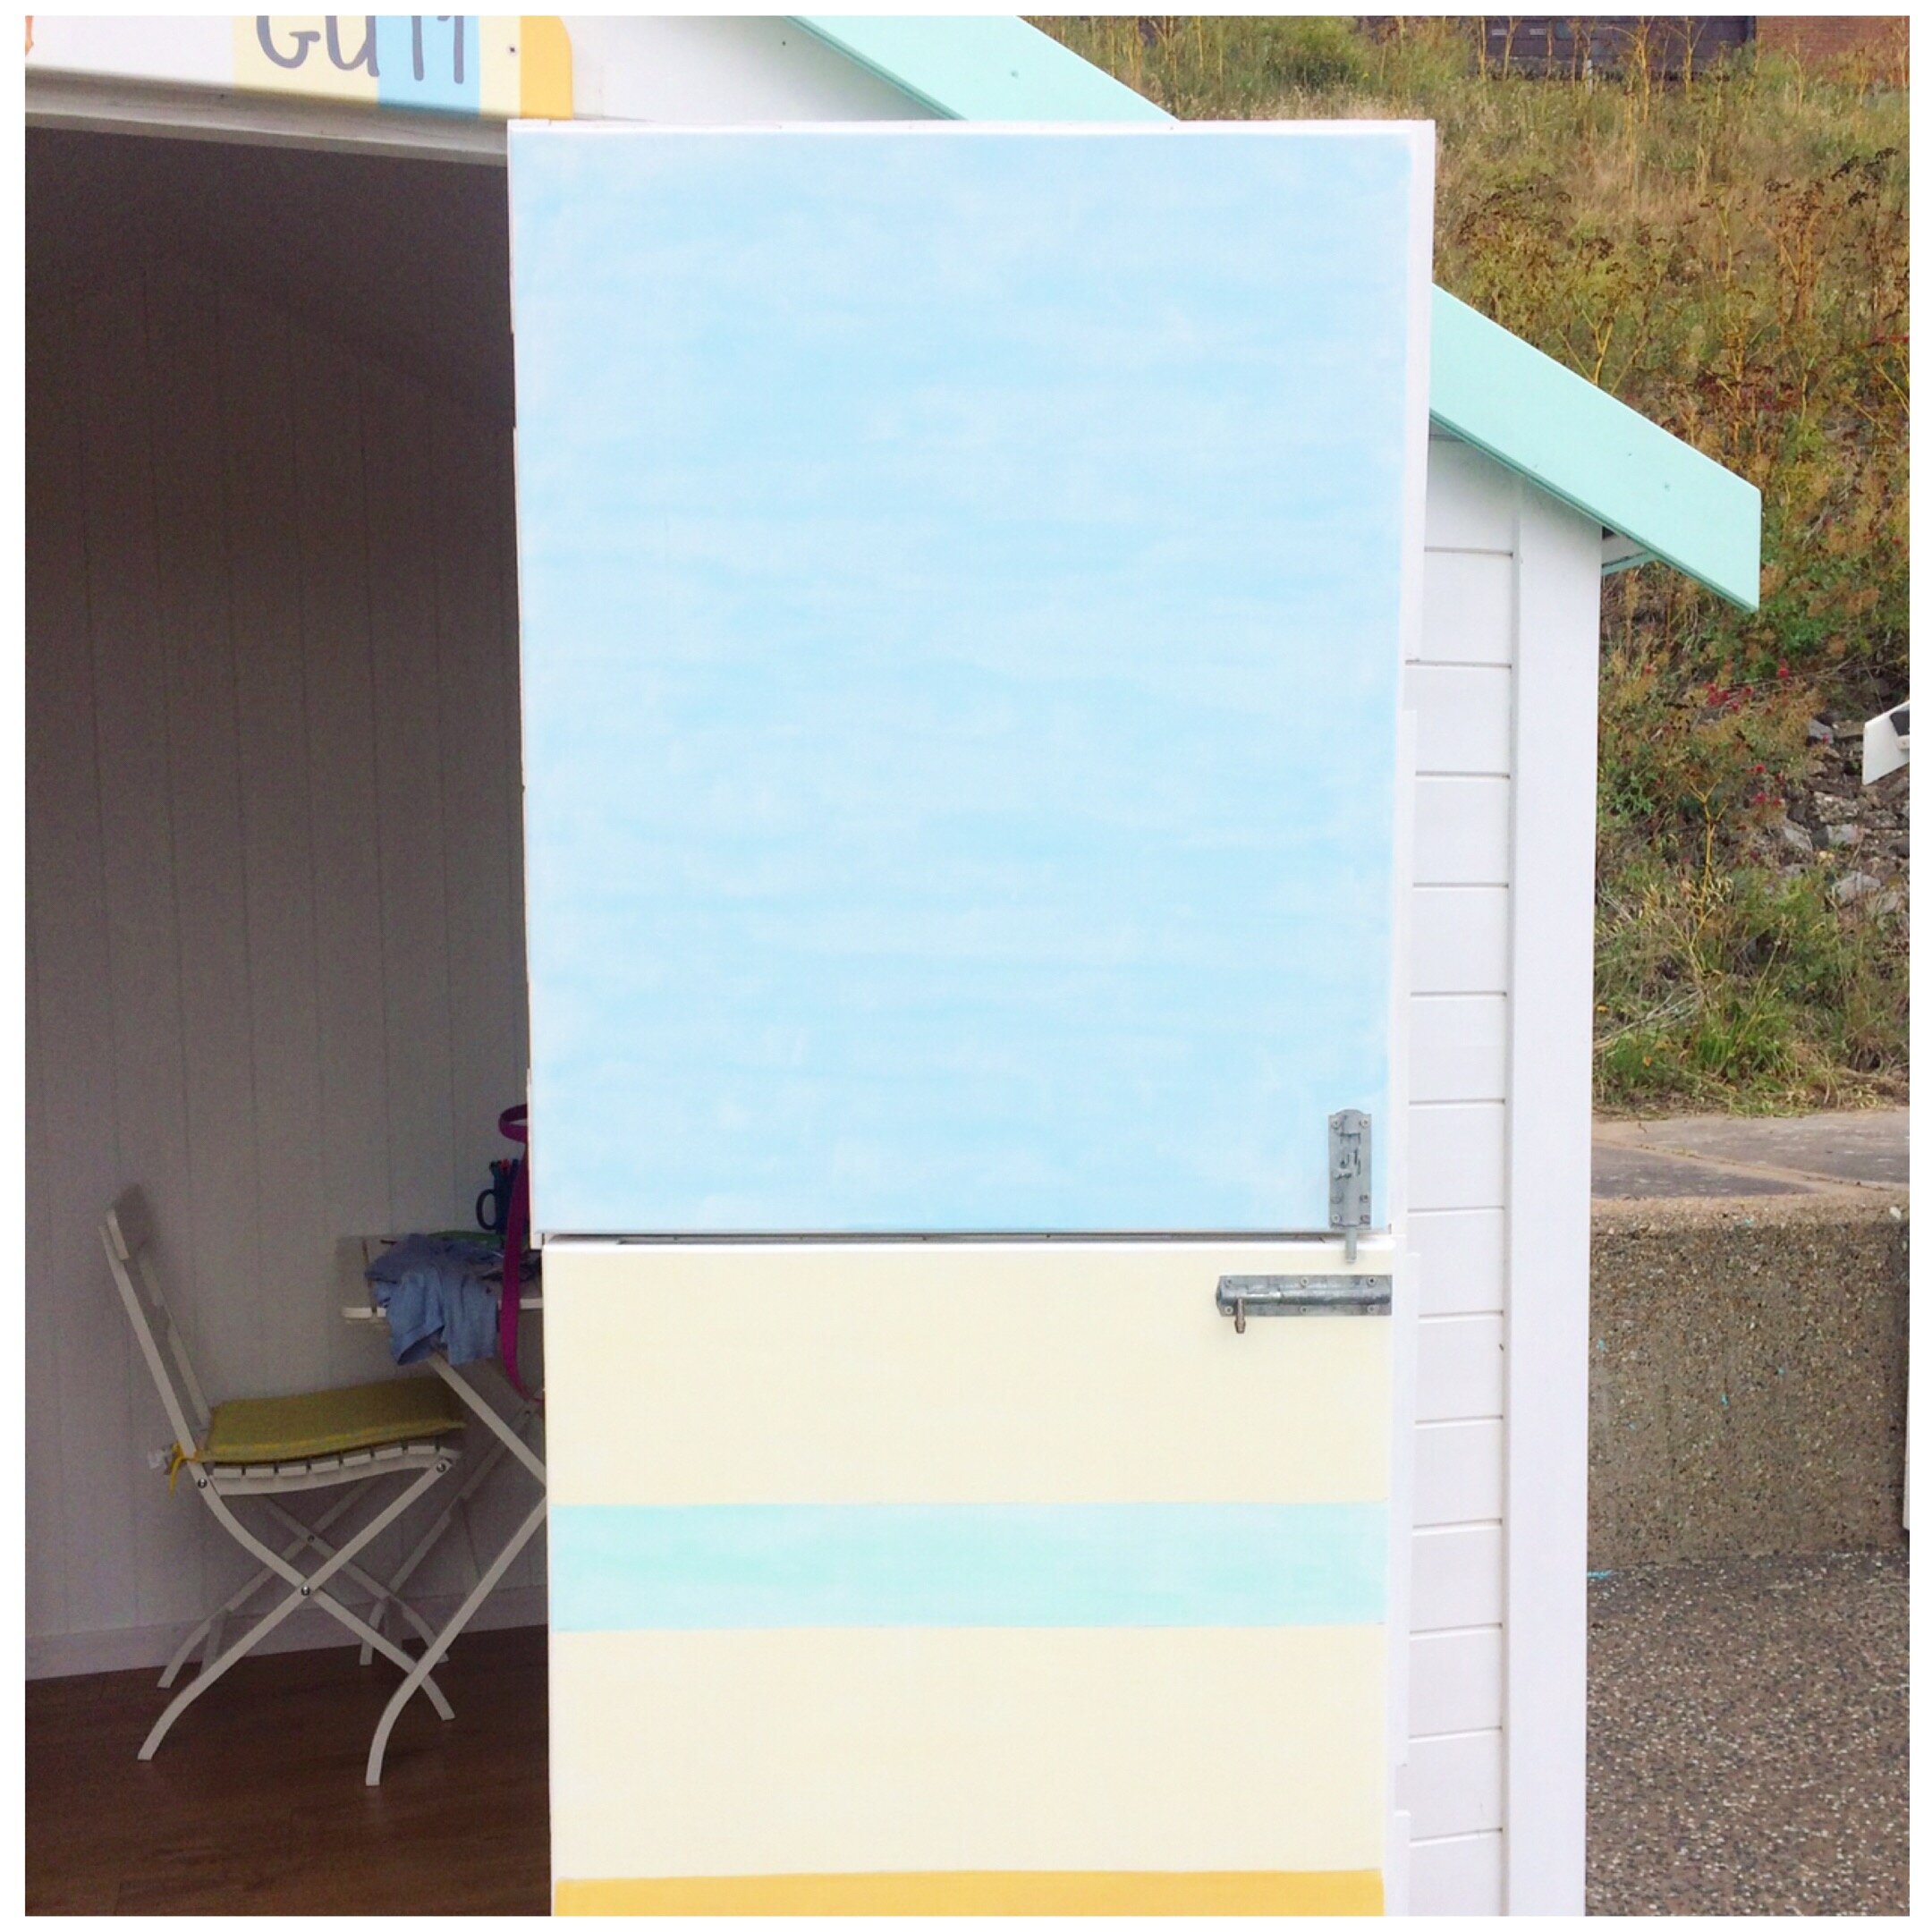
We then added some stripes on the front of the doors, as this is a stable door design we decided to reflect the colours of the sea and sky with blues on the top section with the sandy beach yellows on the bottom section.

IMG_0032LP.jpg
IMG_0030LP.jpg

The Interior

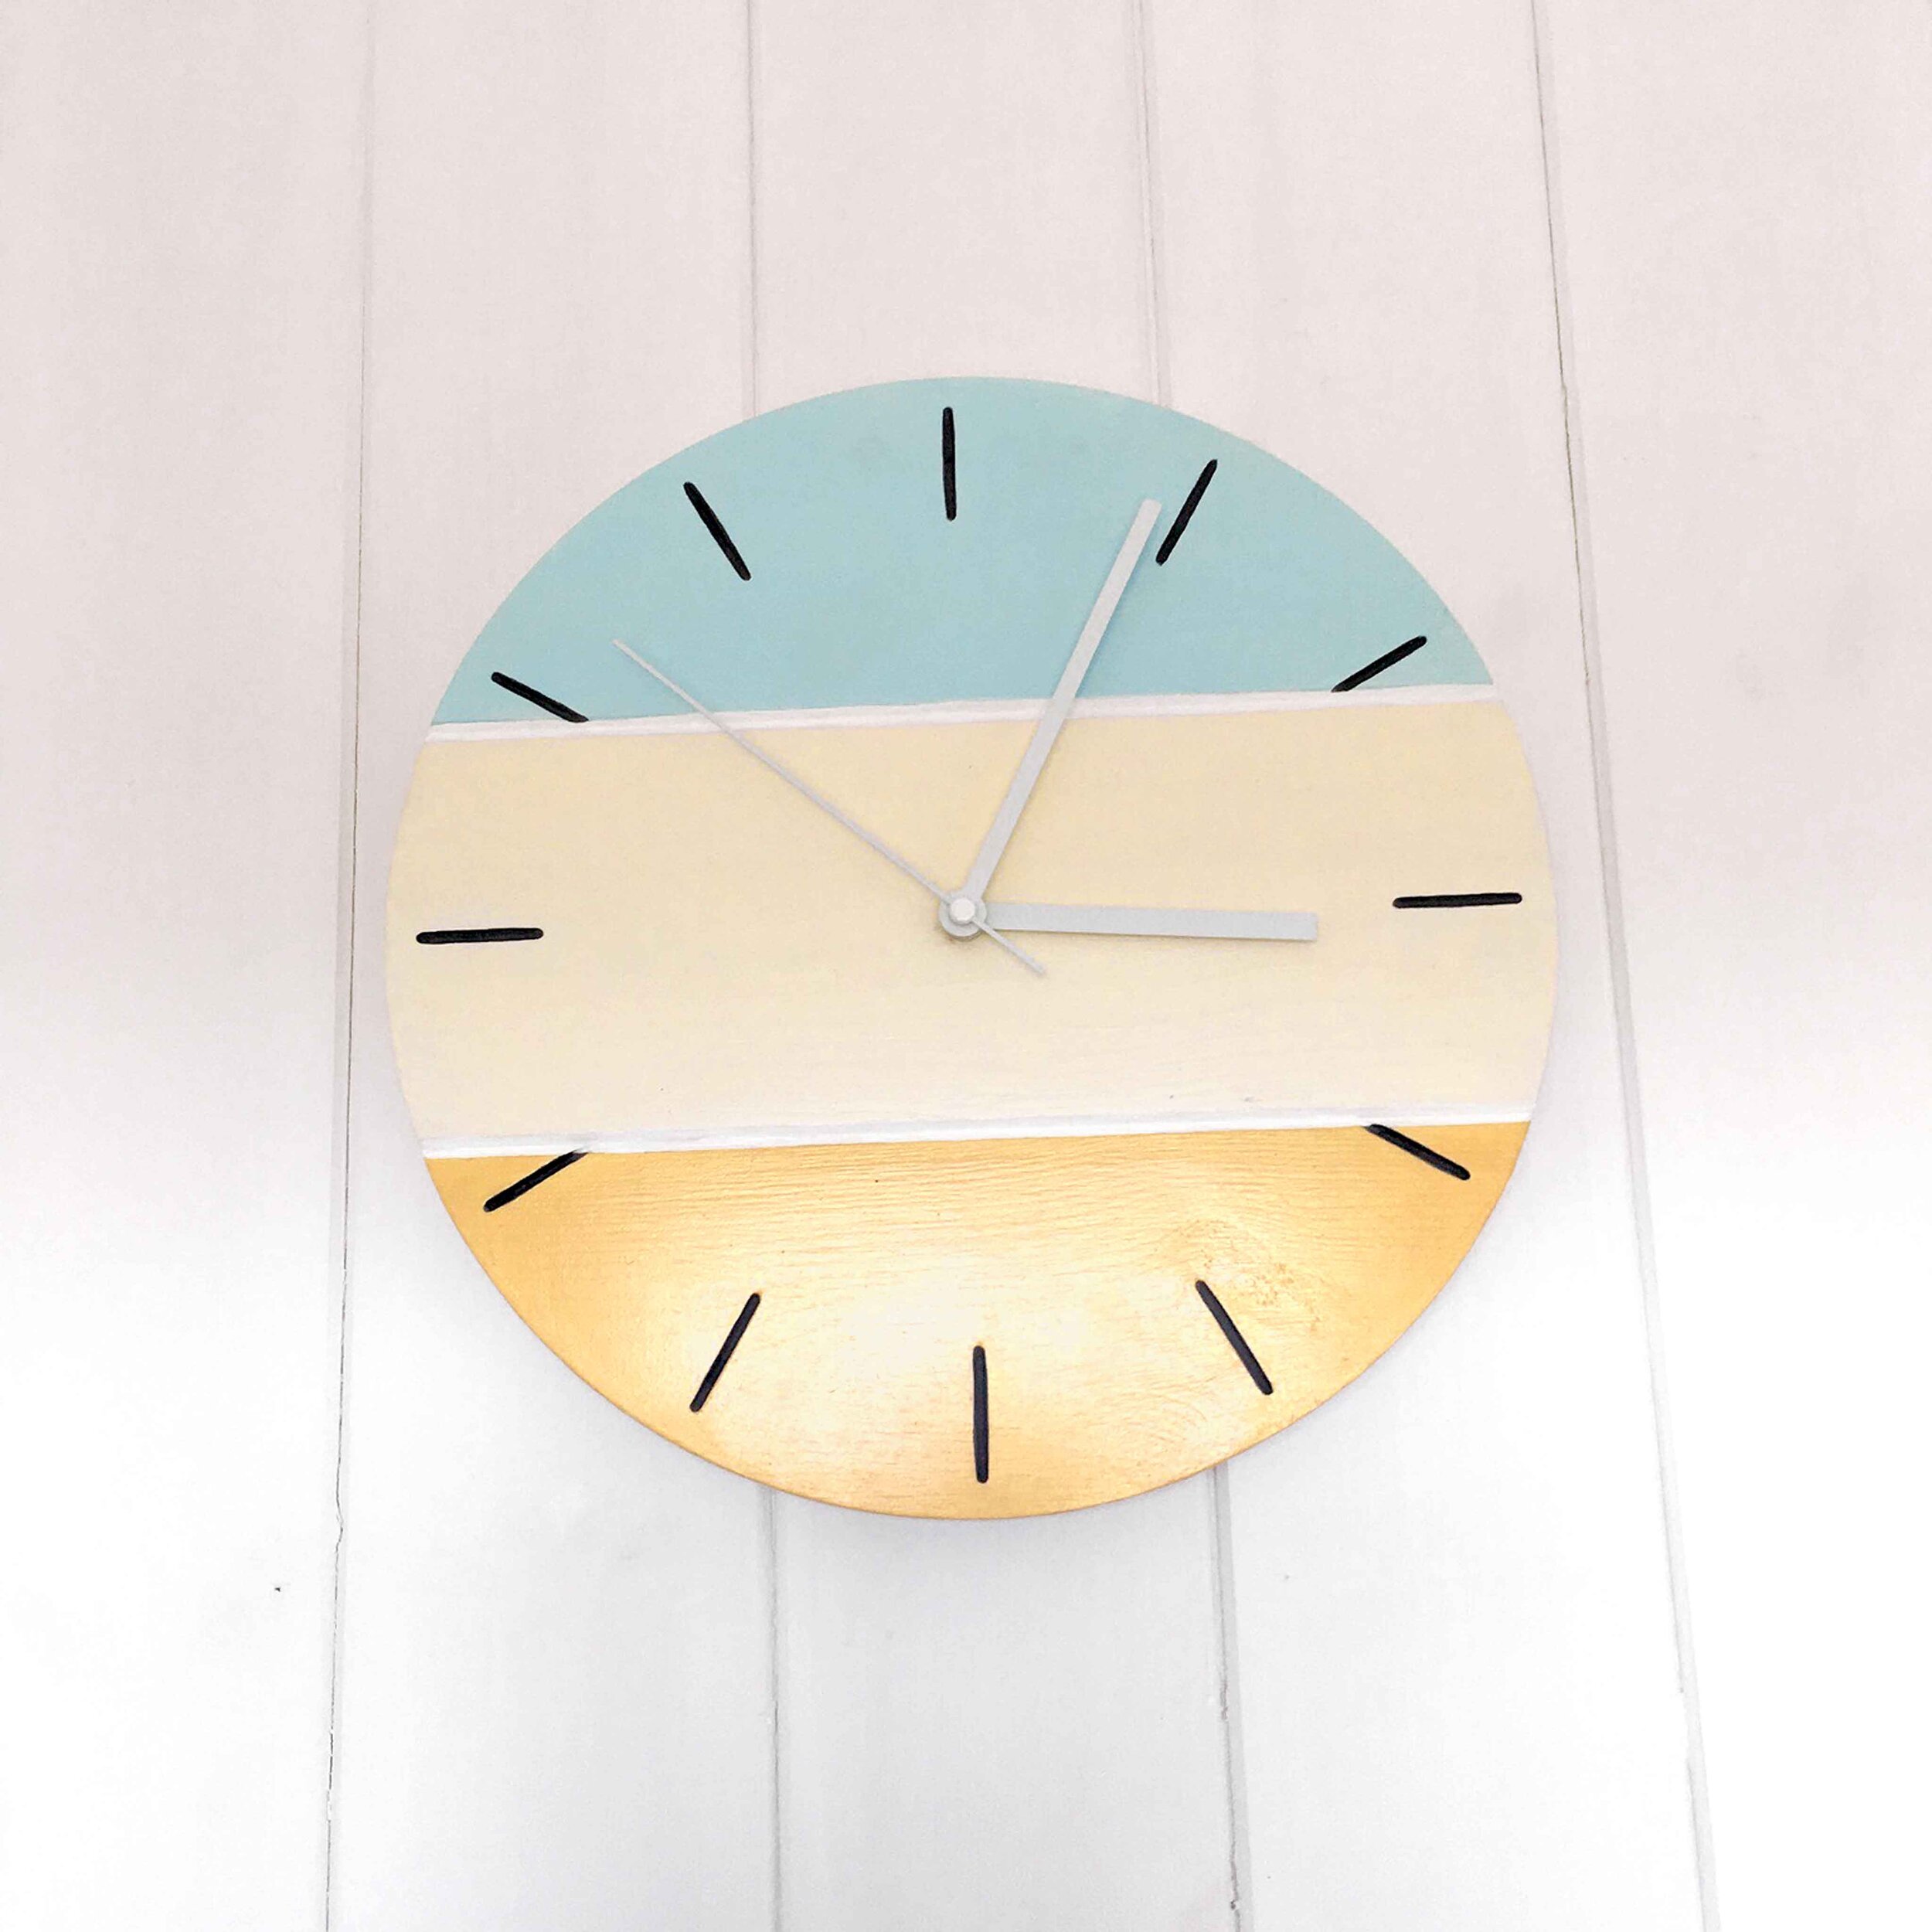
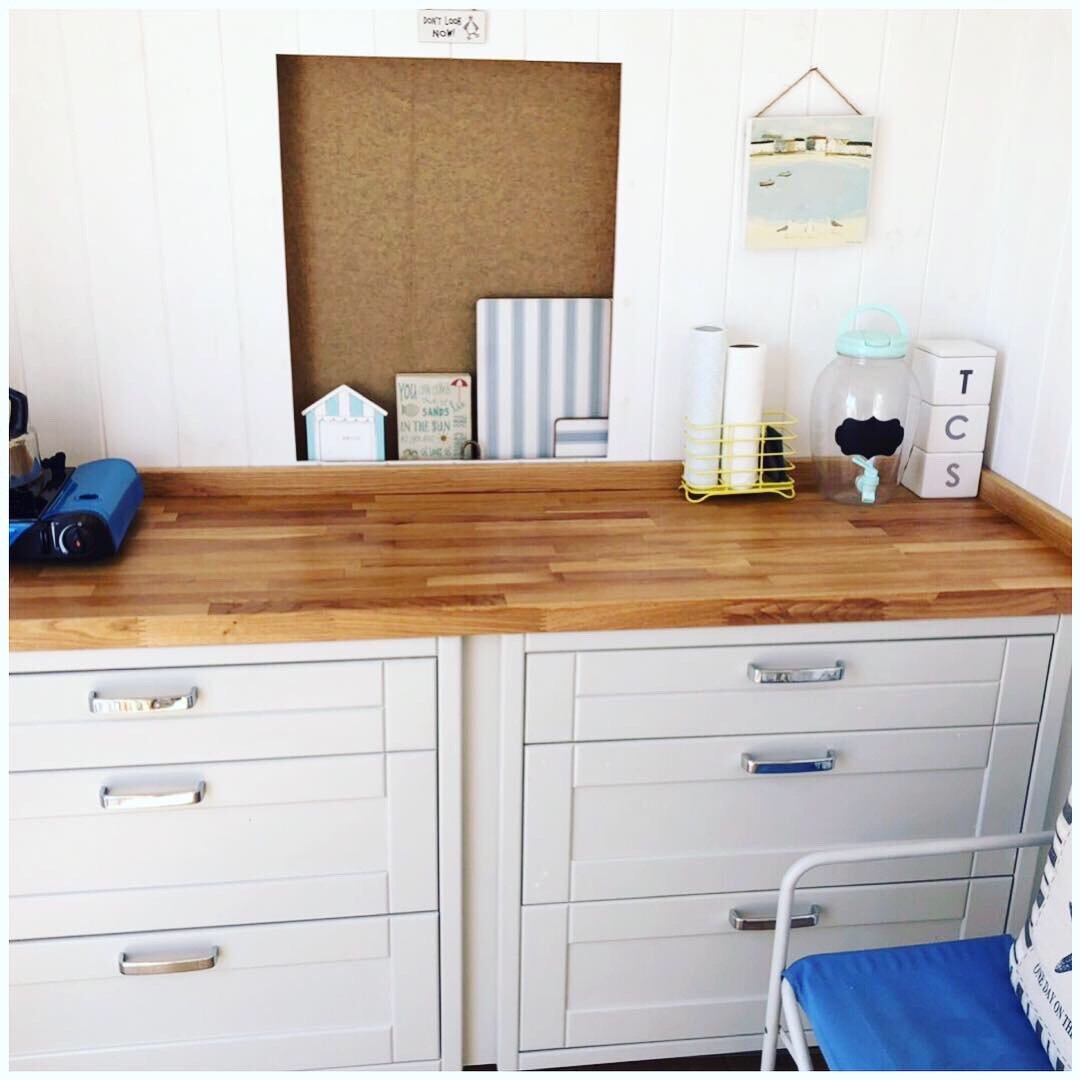
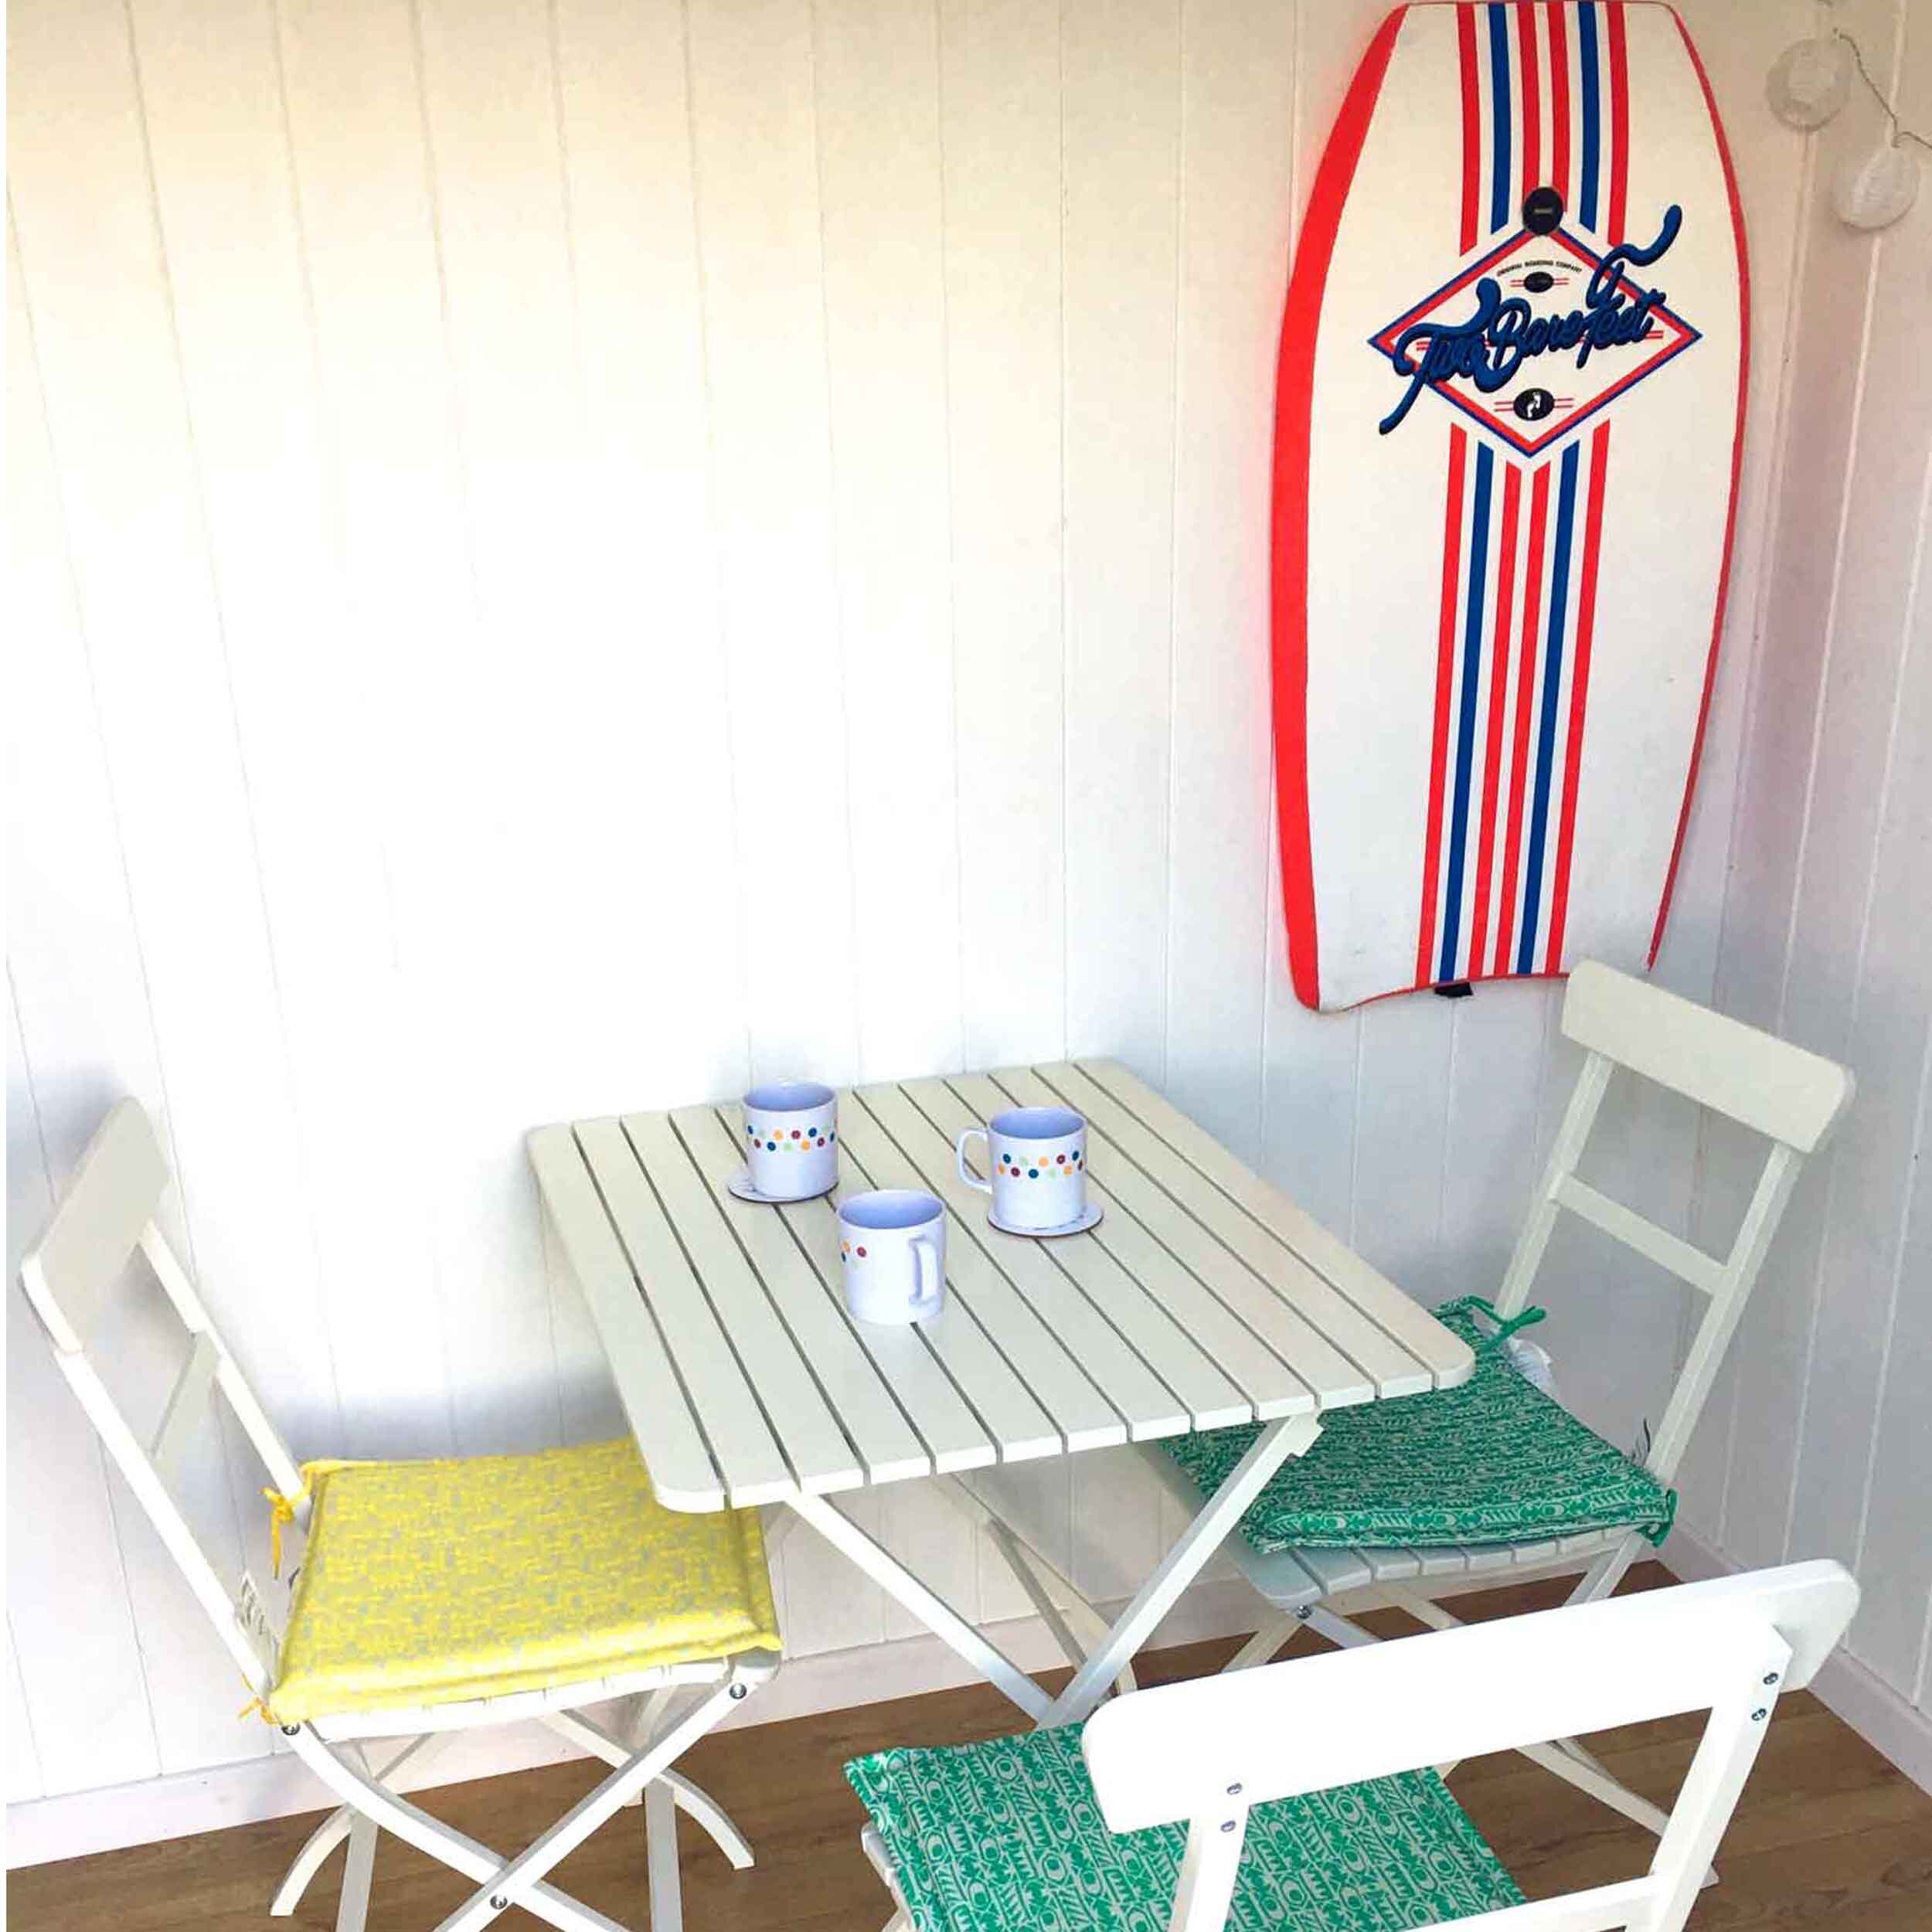
The colours of the outside have been carried on in the inside. We even made a clock and painted that the same colours. The whole hut has been boarded out, painted white and wooden floor laid. It is an ongoing project with bits adding to it while still trying to use it as a relaxing day by the beach (and not working on it all the time).  

The Mural

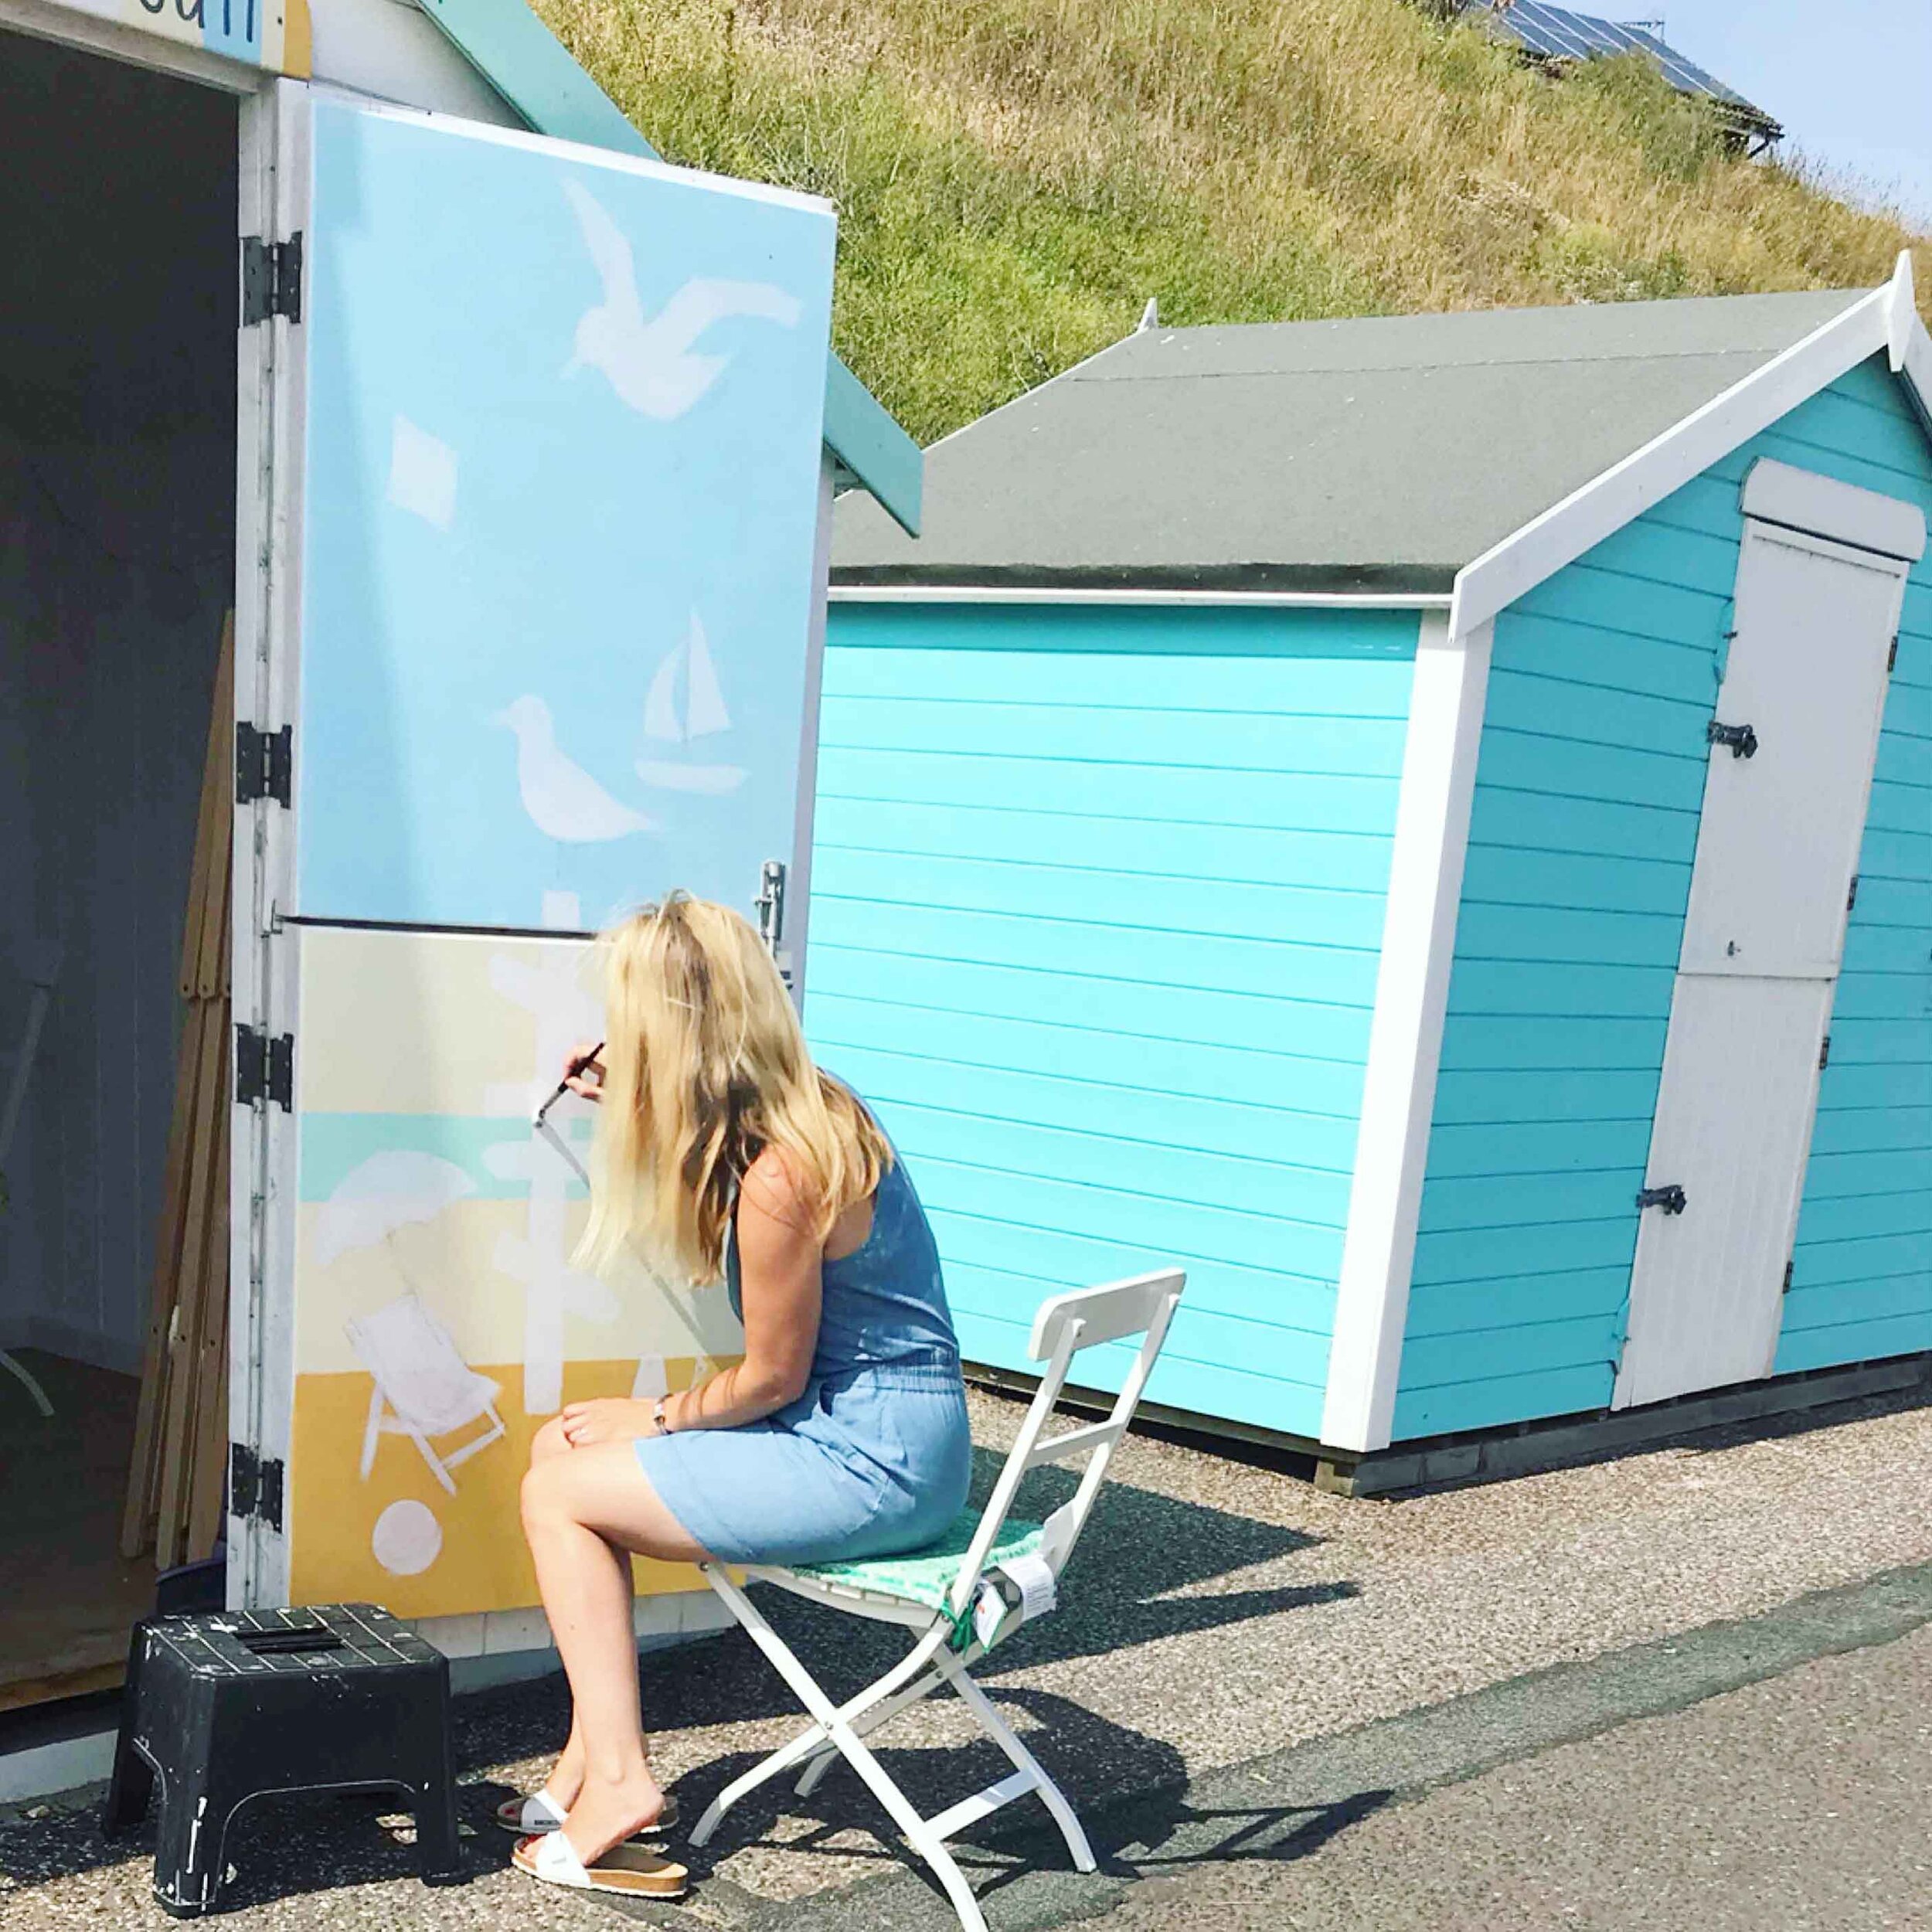
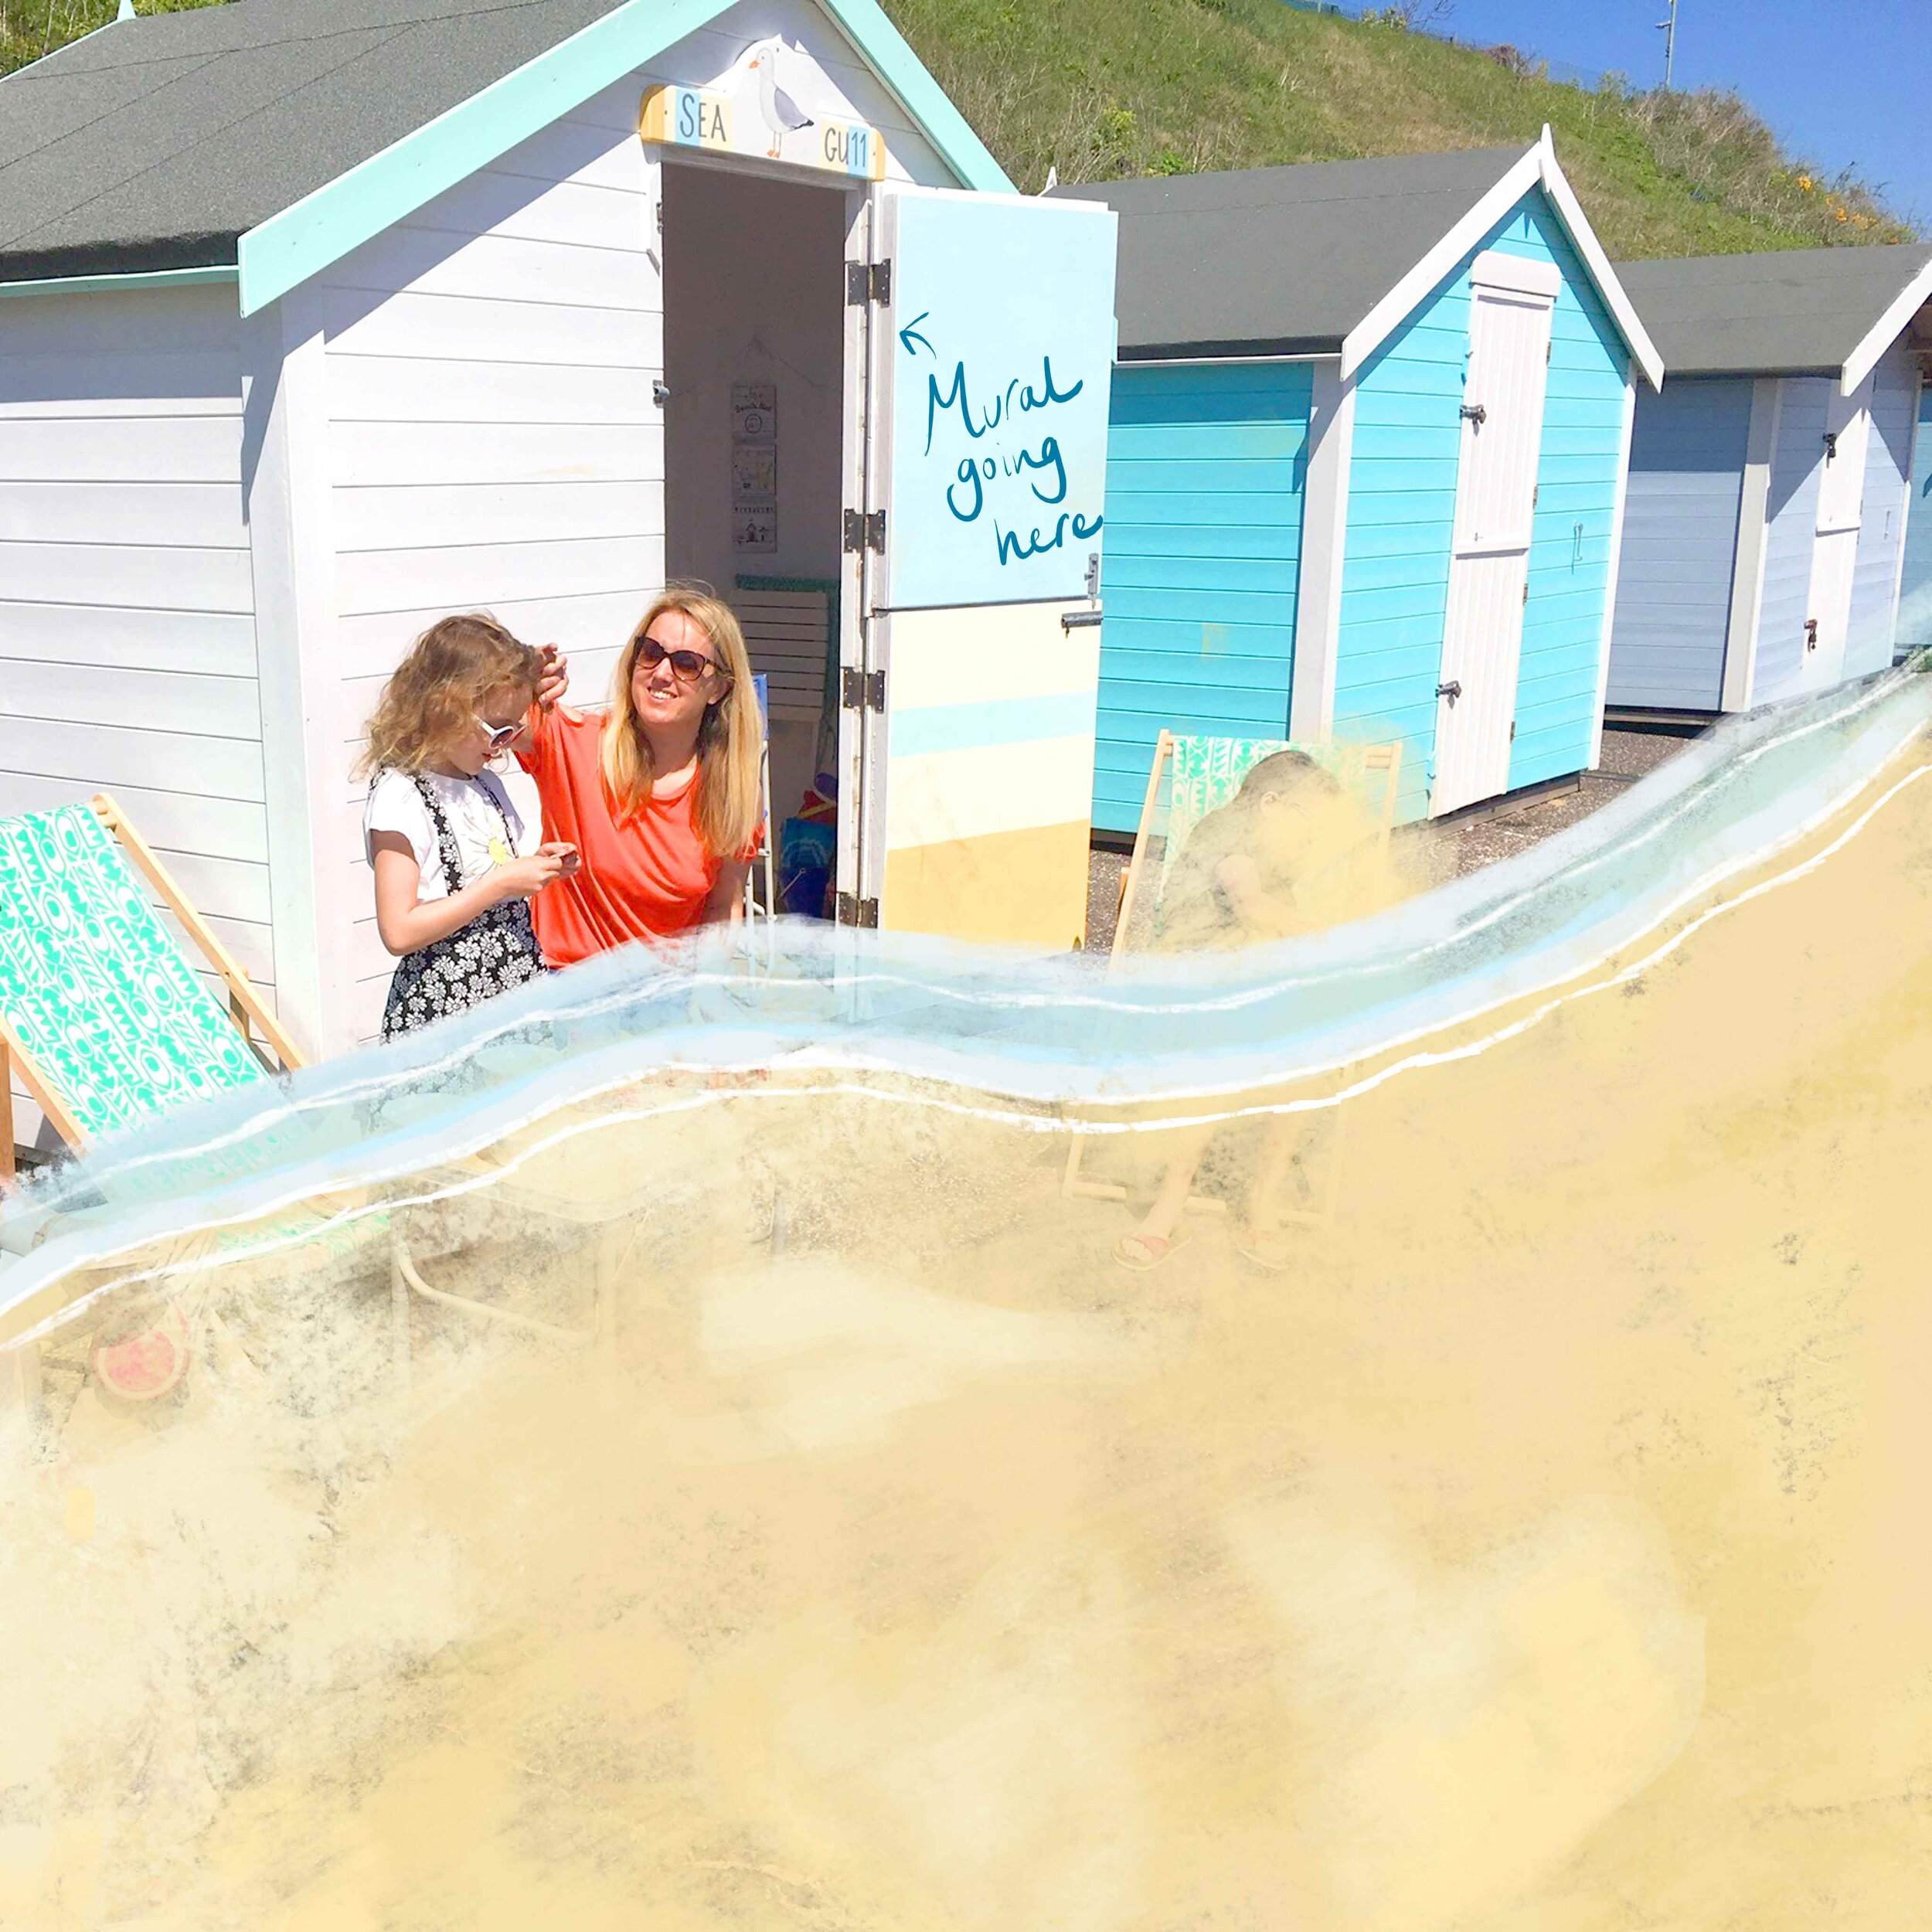
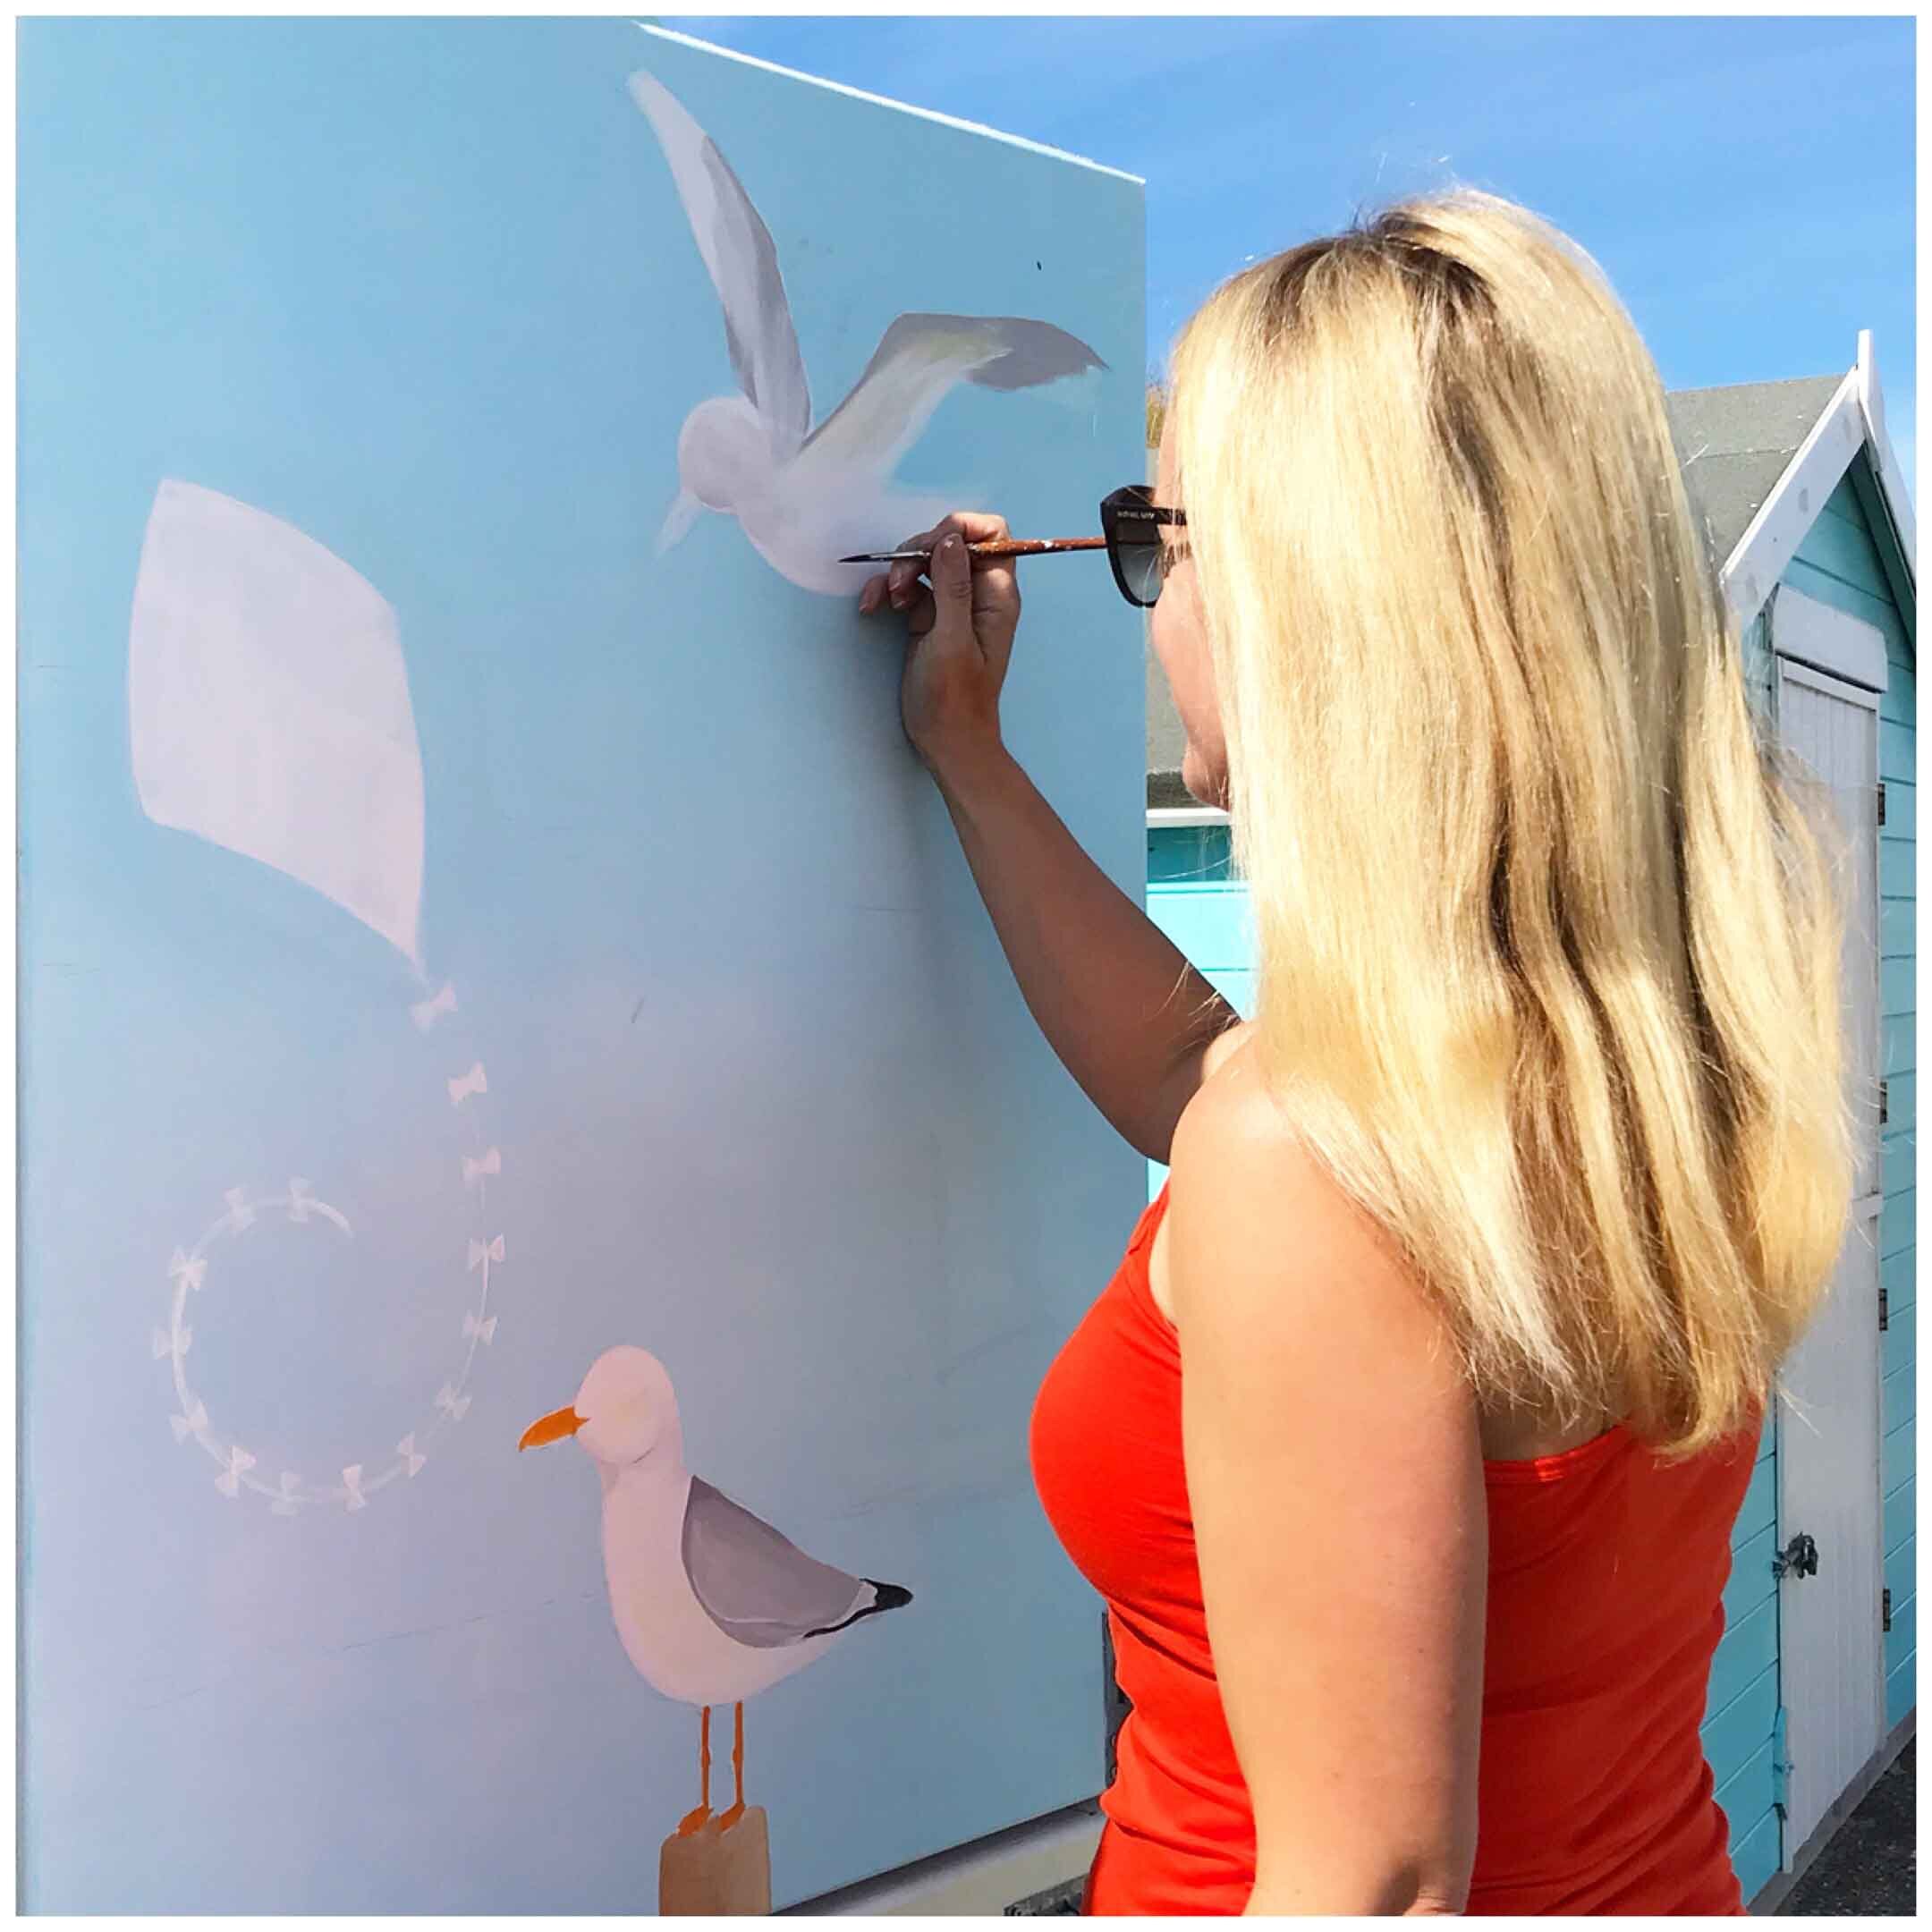
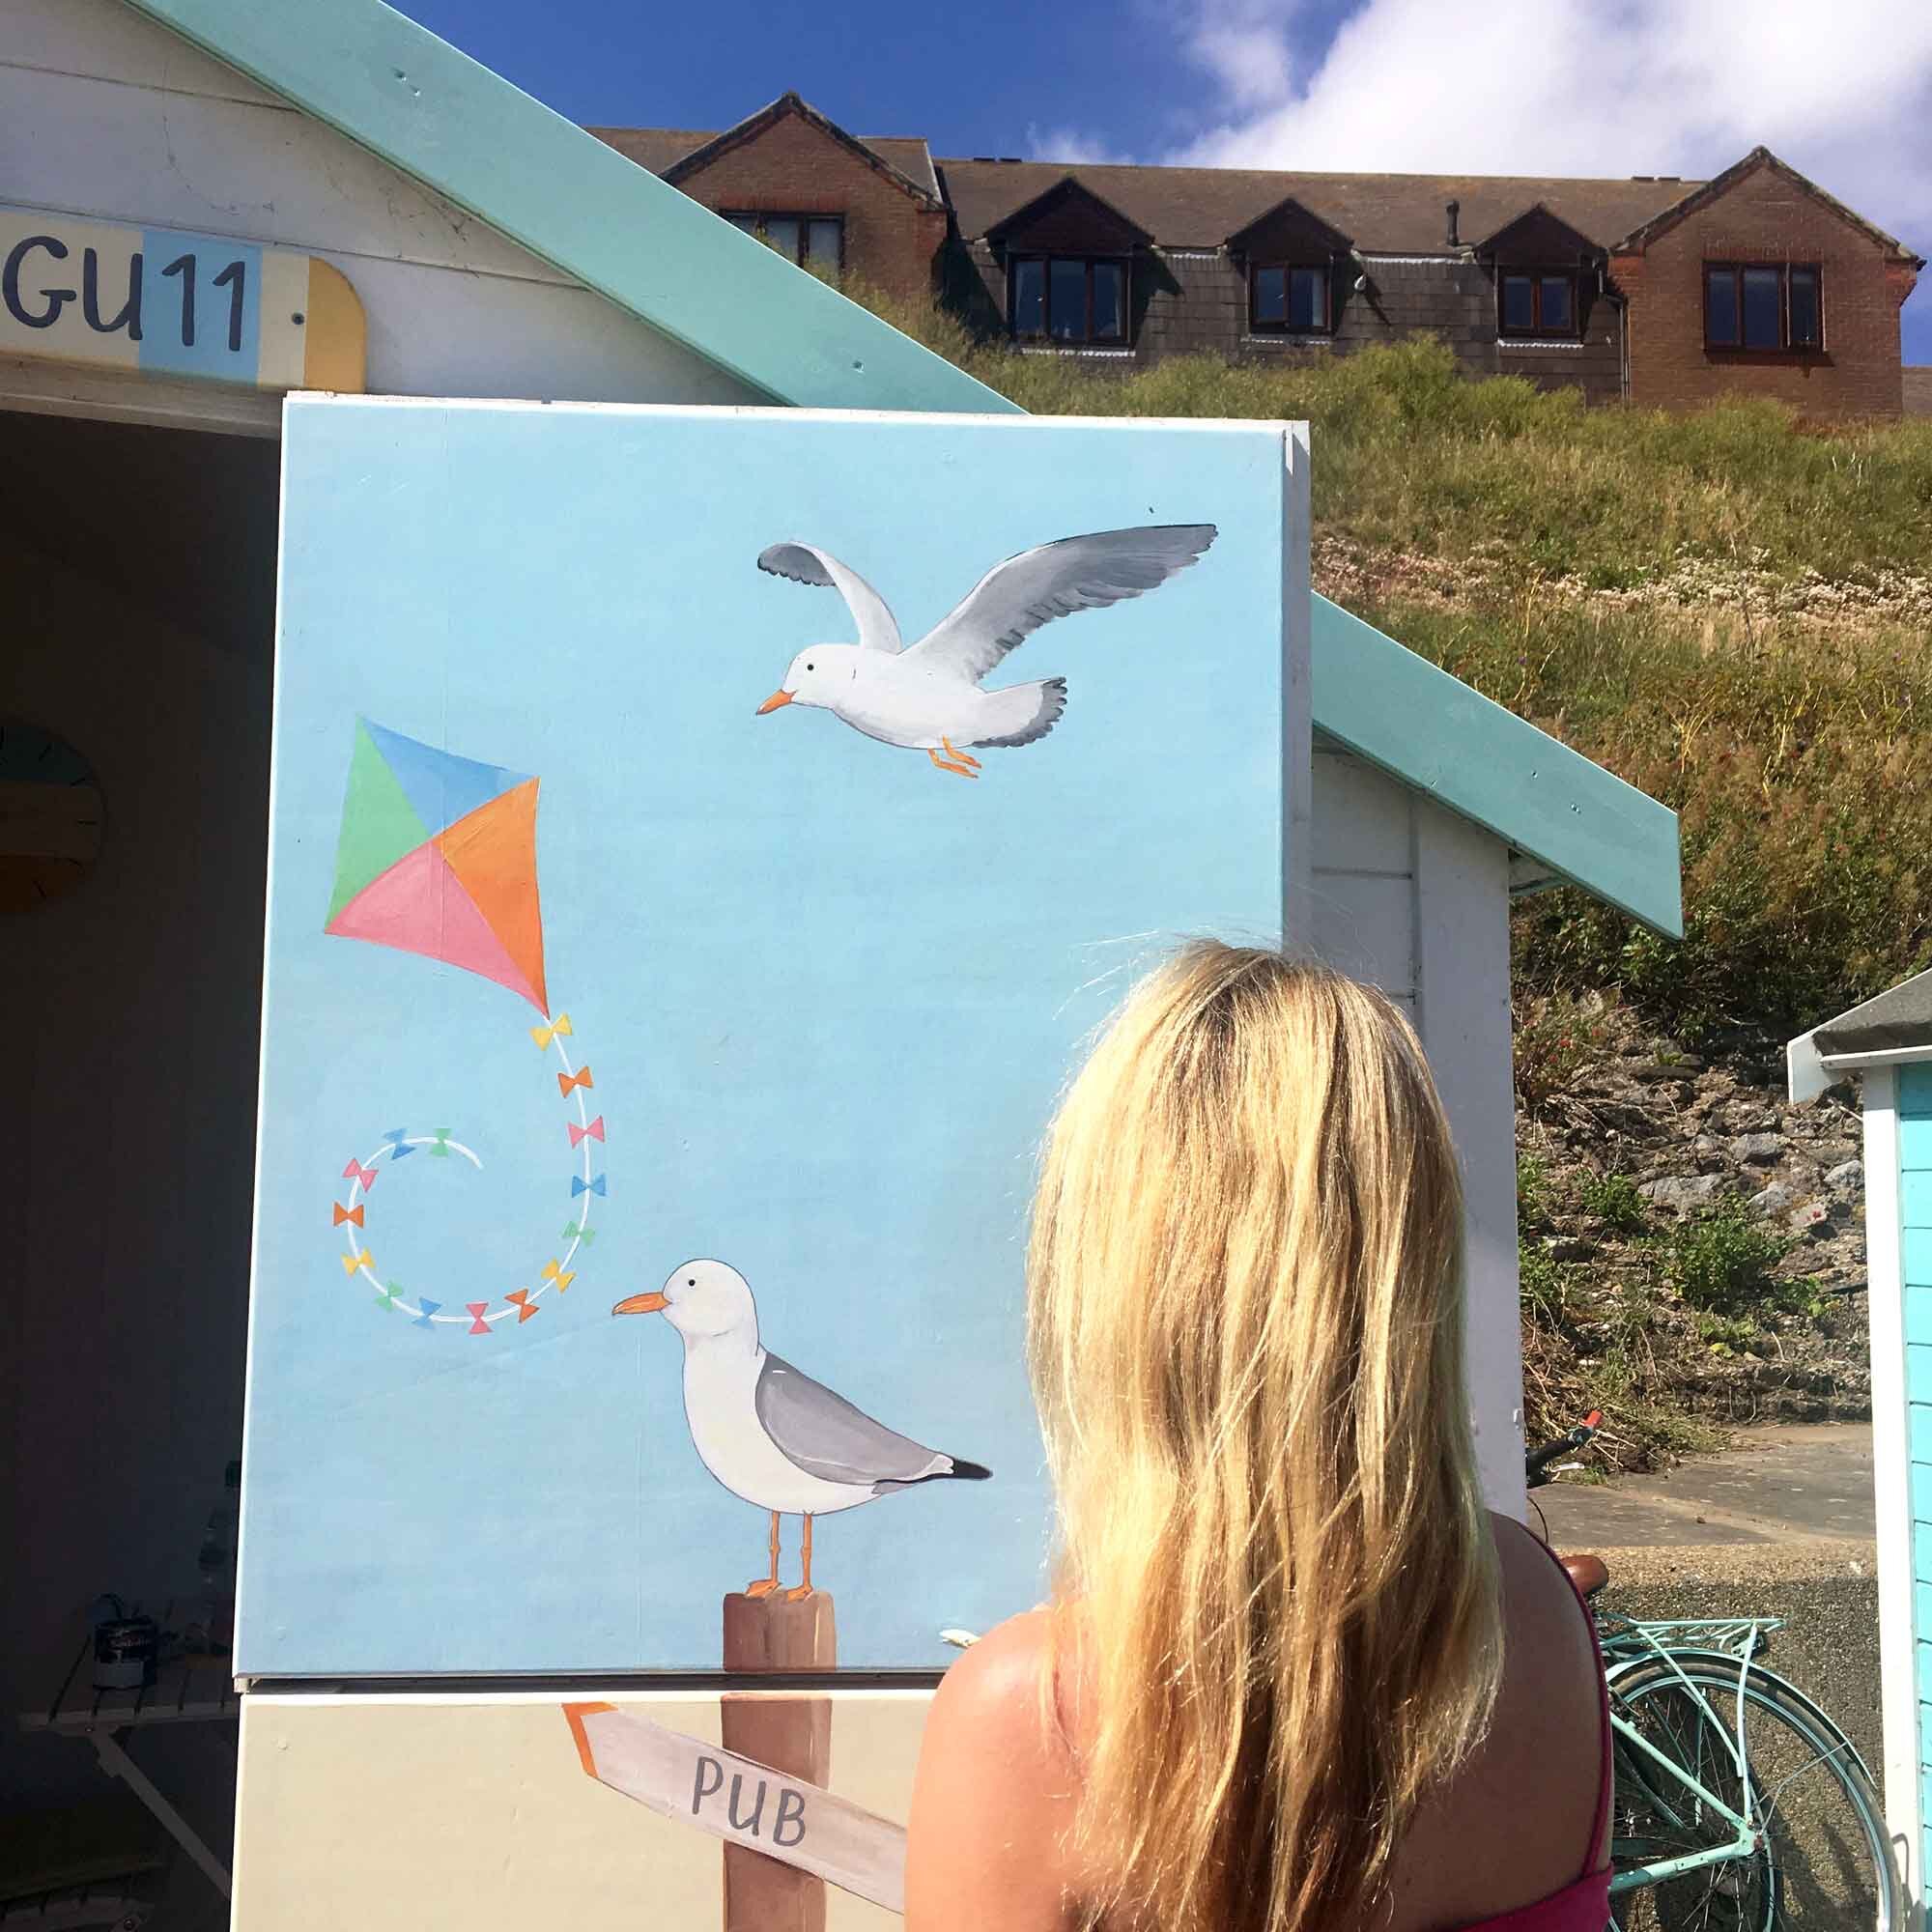
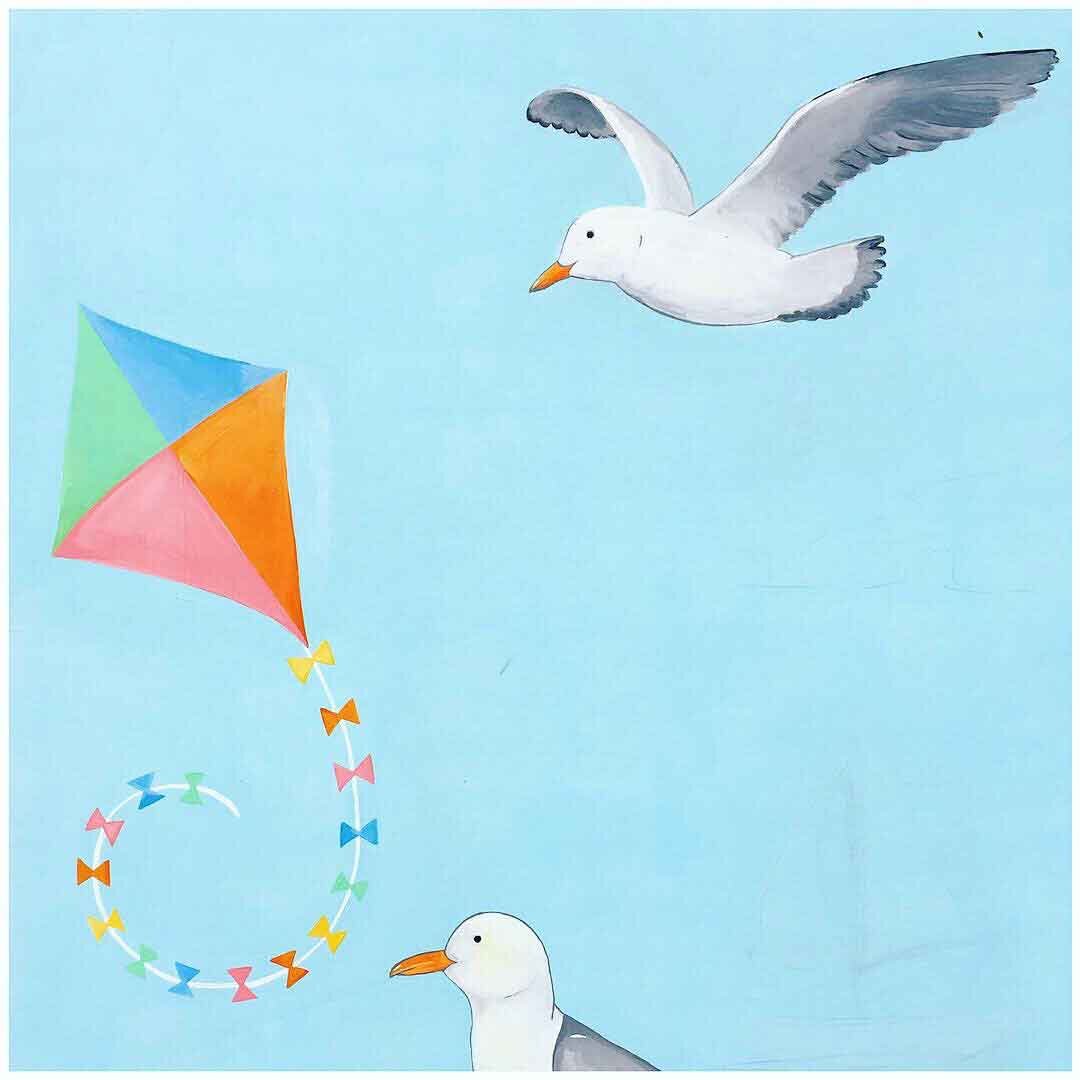
Enjoying the hut can take over from actually working in the hut; it has tea making facilities and when the British weather is good (which can be hit and miss), it is nice to take advantage for some relax time. The next thing to do is finish the windows and paint the mural planned for the inside of the door with a nice beach scene, as you can see the background has been painted but it still needs the design painted but this will hopefully be completed in the next few weeks (in-between work painting). 

IMG_0490LP.jpg
IMG_0613LP.jpg

From Start to Finish

So thats the start and I will add to this post in the future once the hut is completely finished!

The new Seagull birthday card has been reproduced from the actual seagull on the hut!

Liza Cole,

Founder and Designer, Liza J design

July 2019
India, School

Resident Artist - Primary School Project, India Art October 2015

I was recently asked to get involved with another project for the local Primary School to produce some artwork to take to India on their forthcoming trip. 

The Project

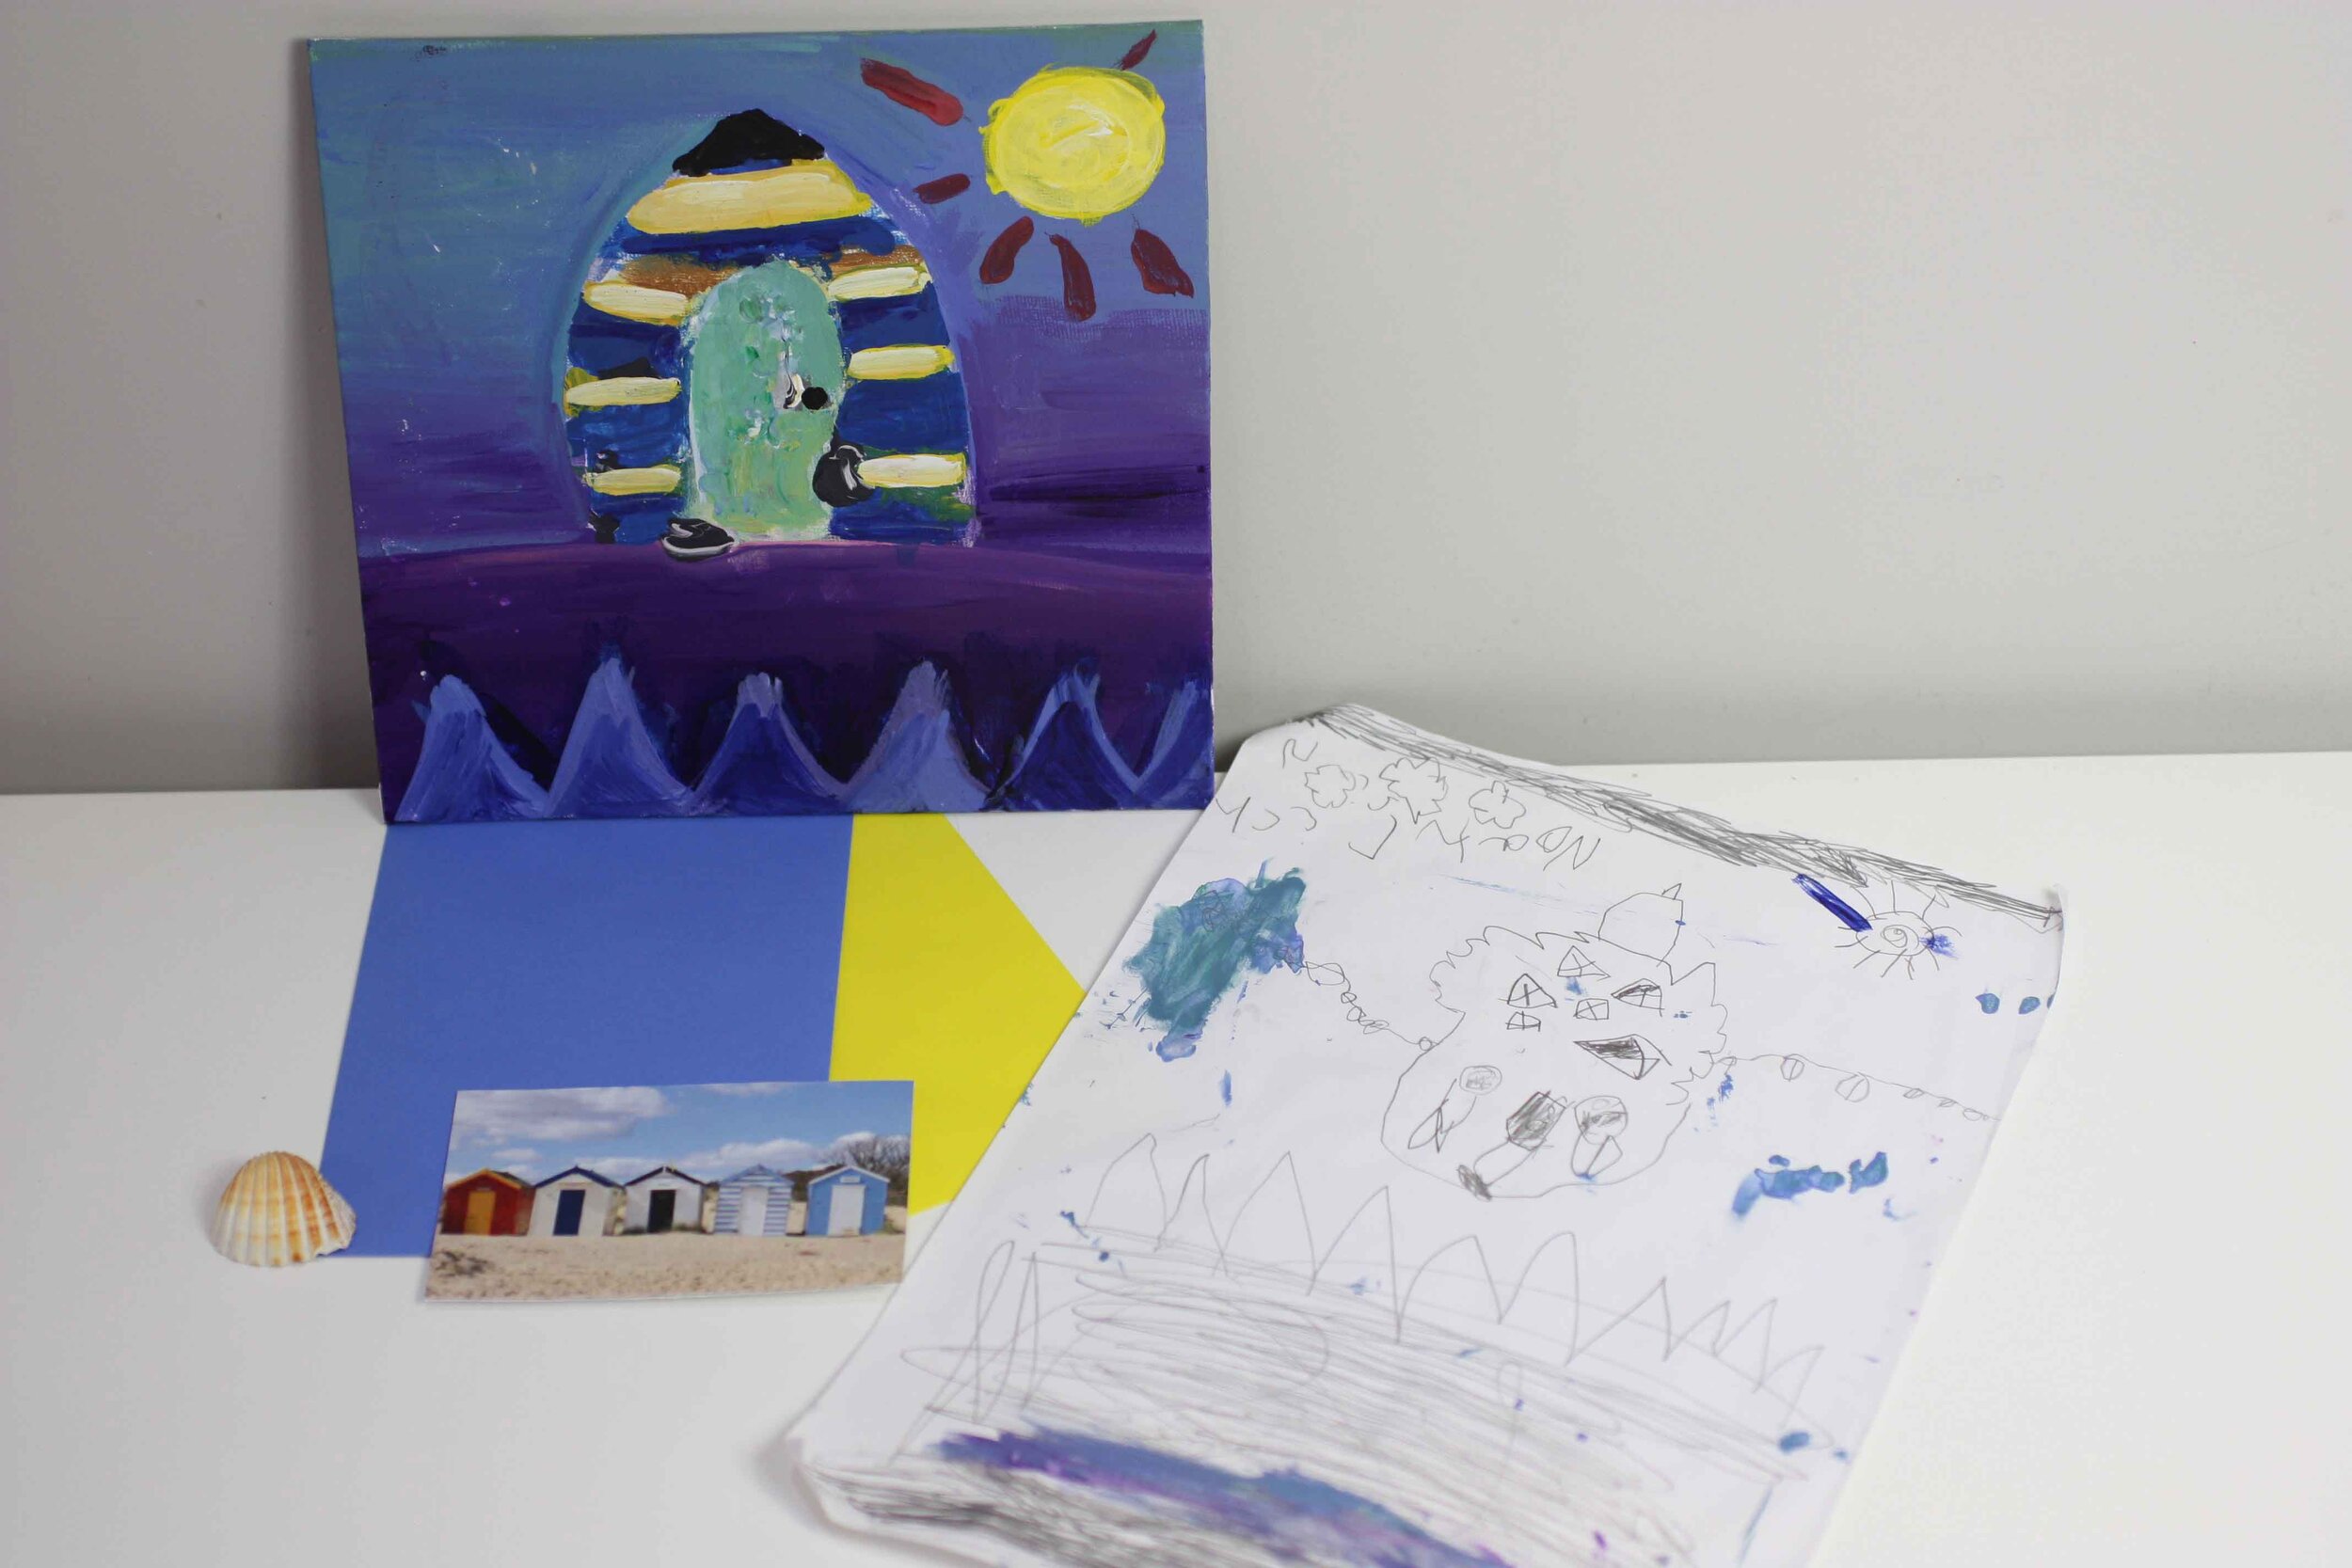
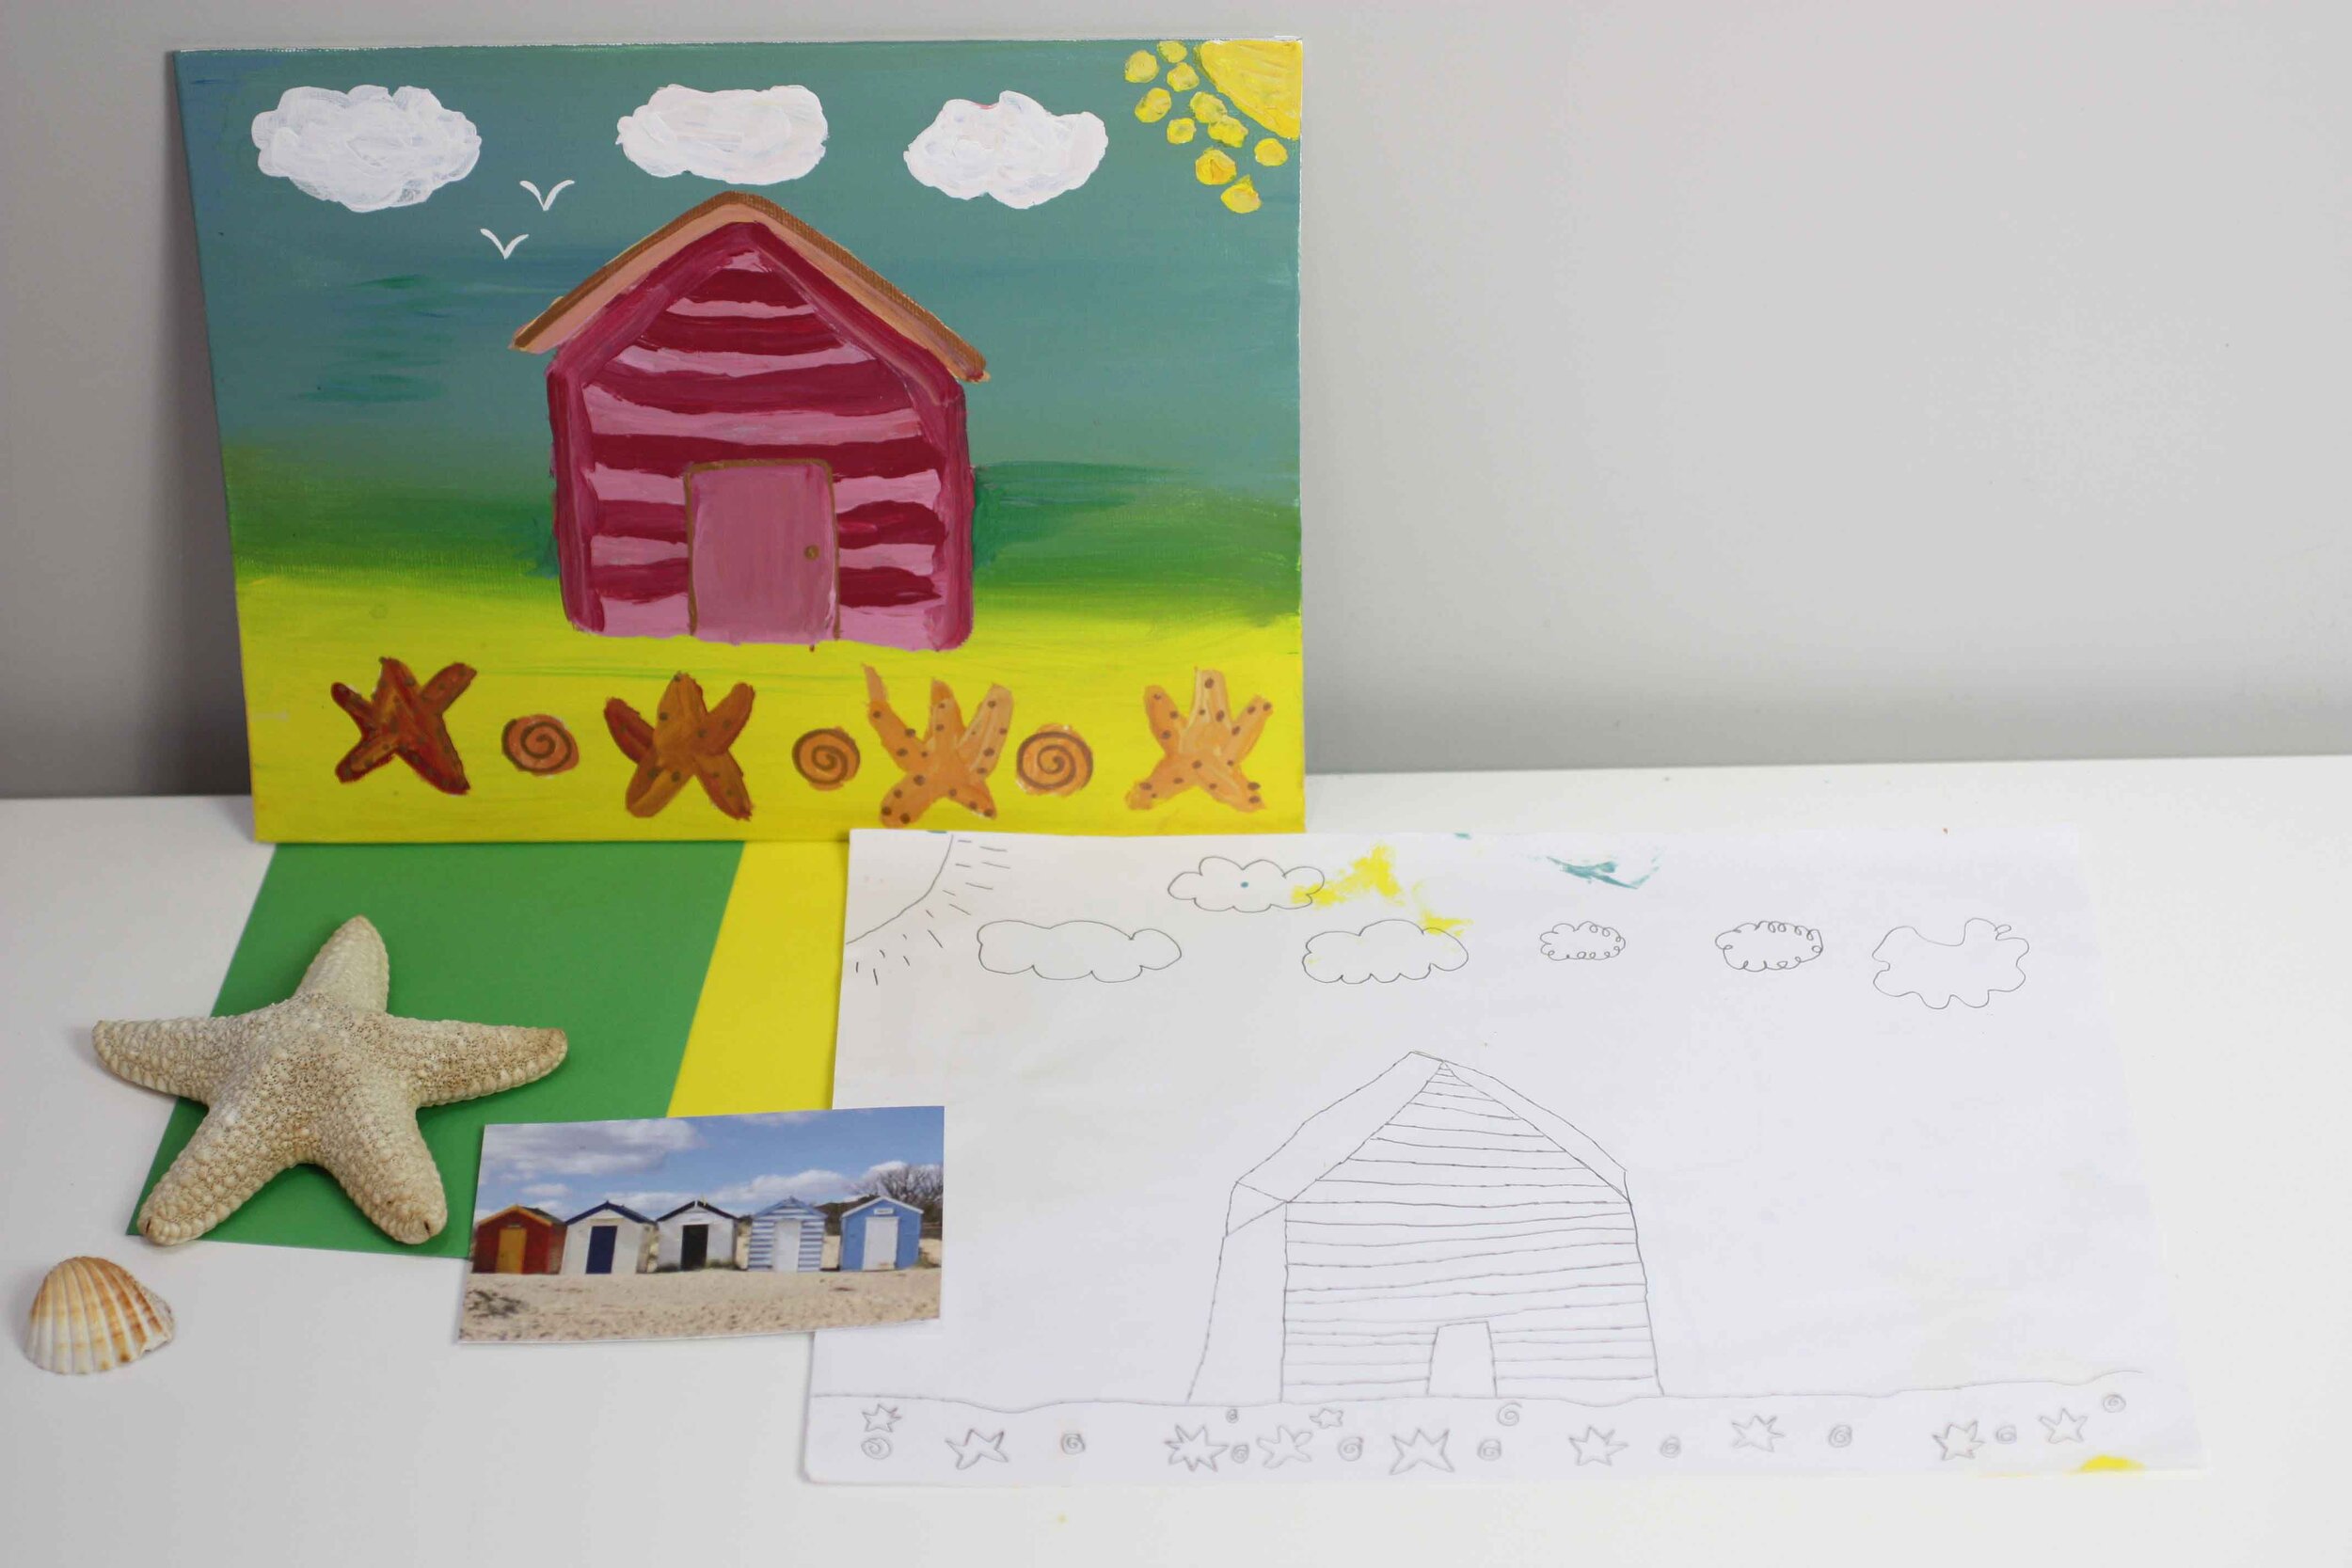
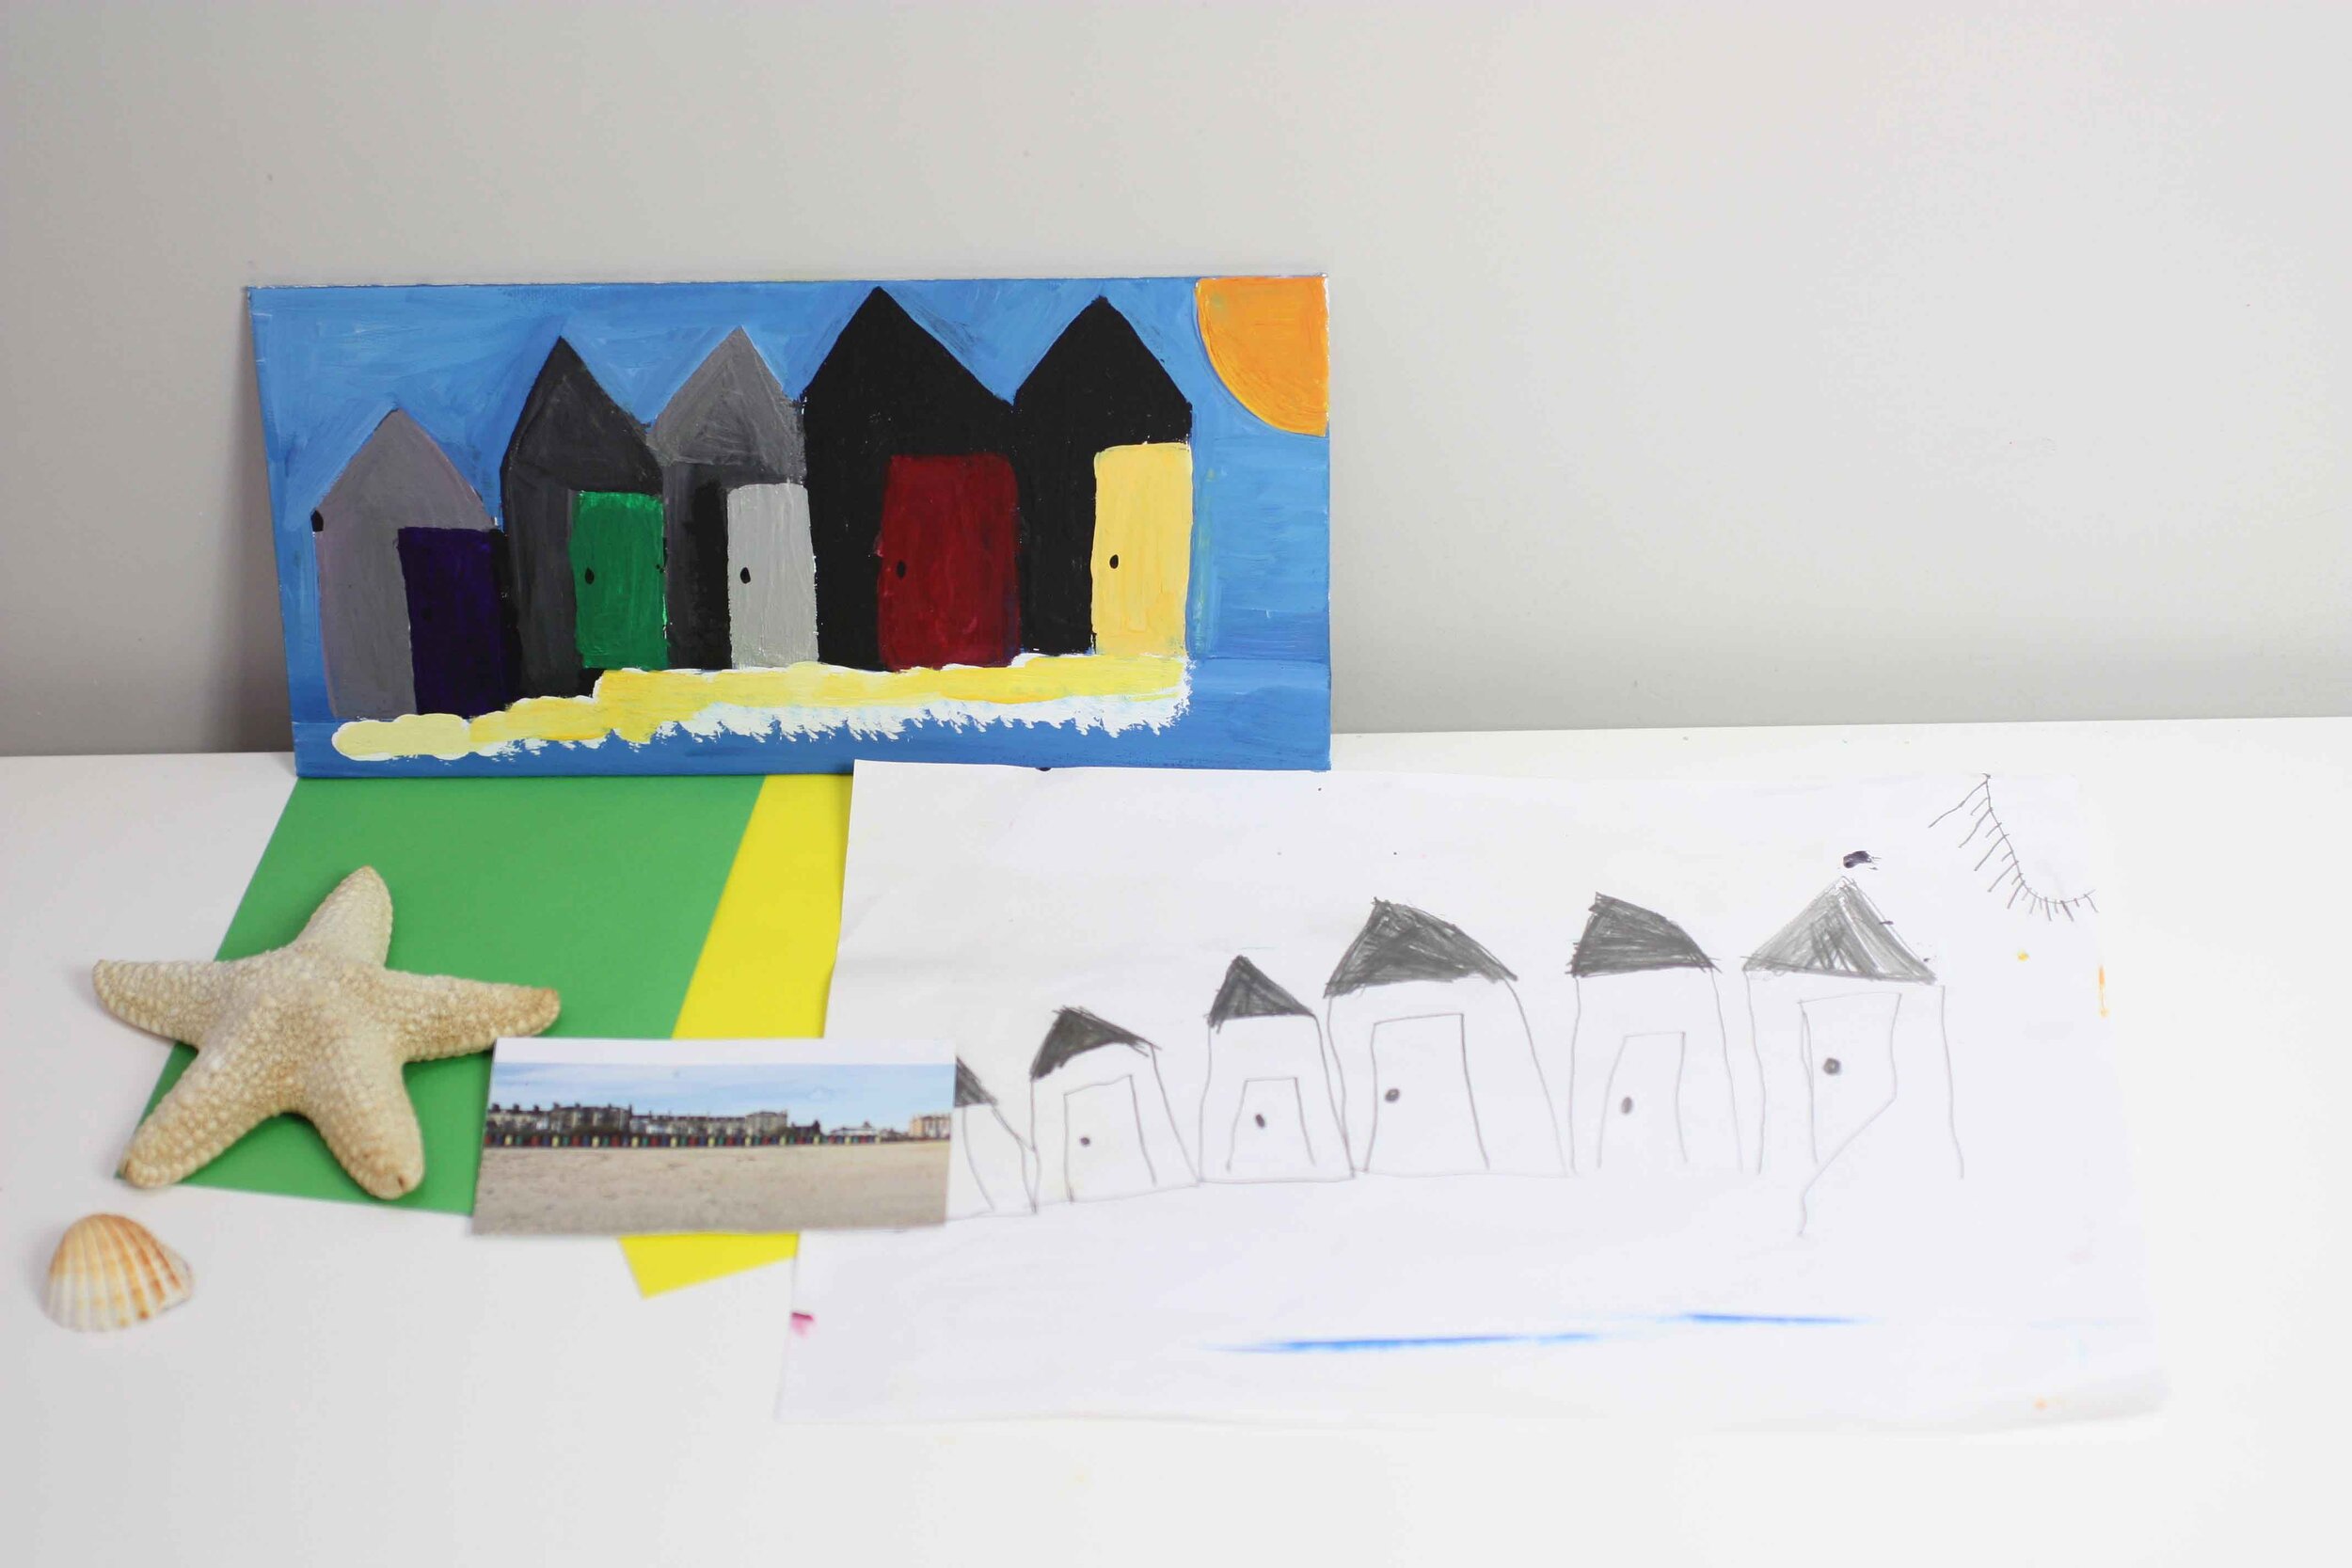
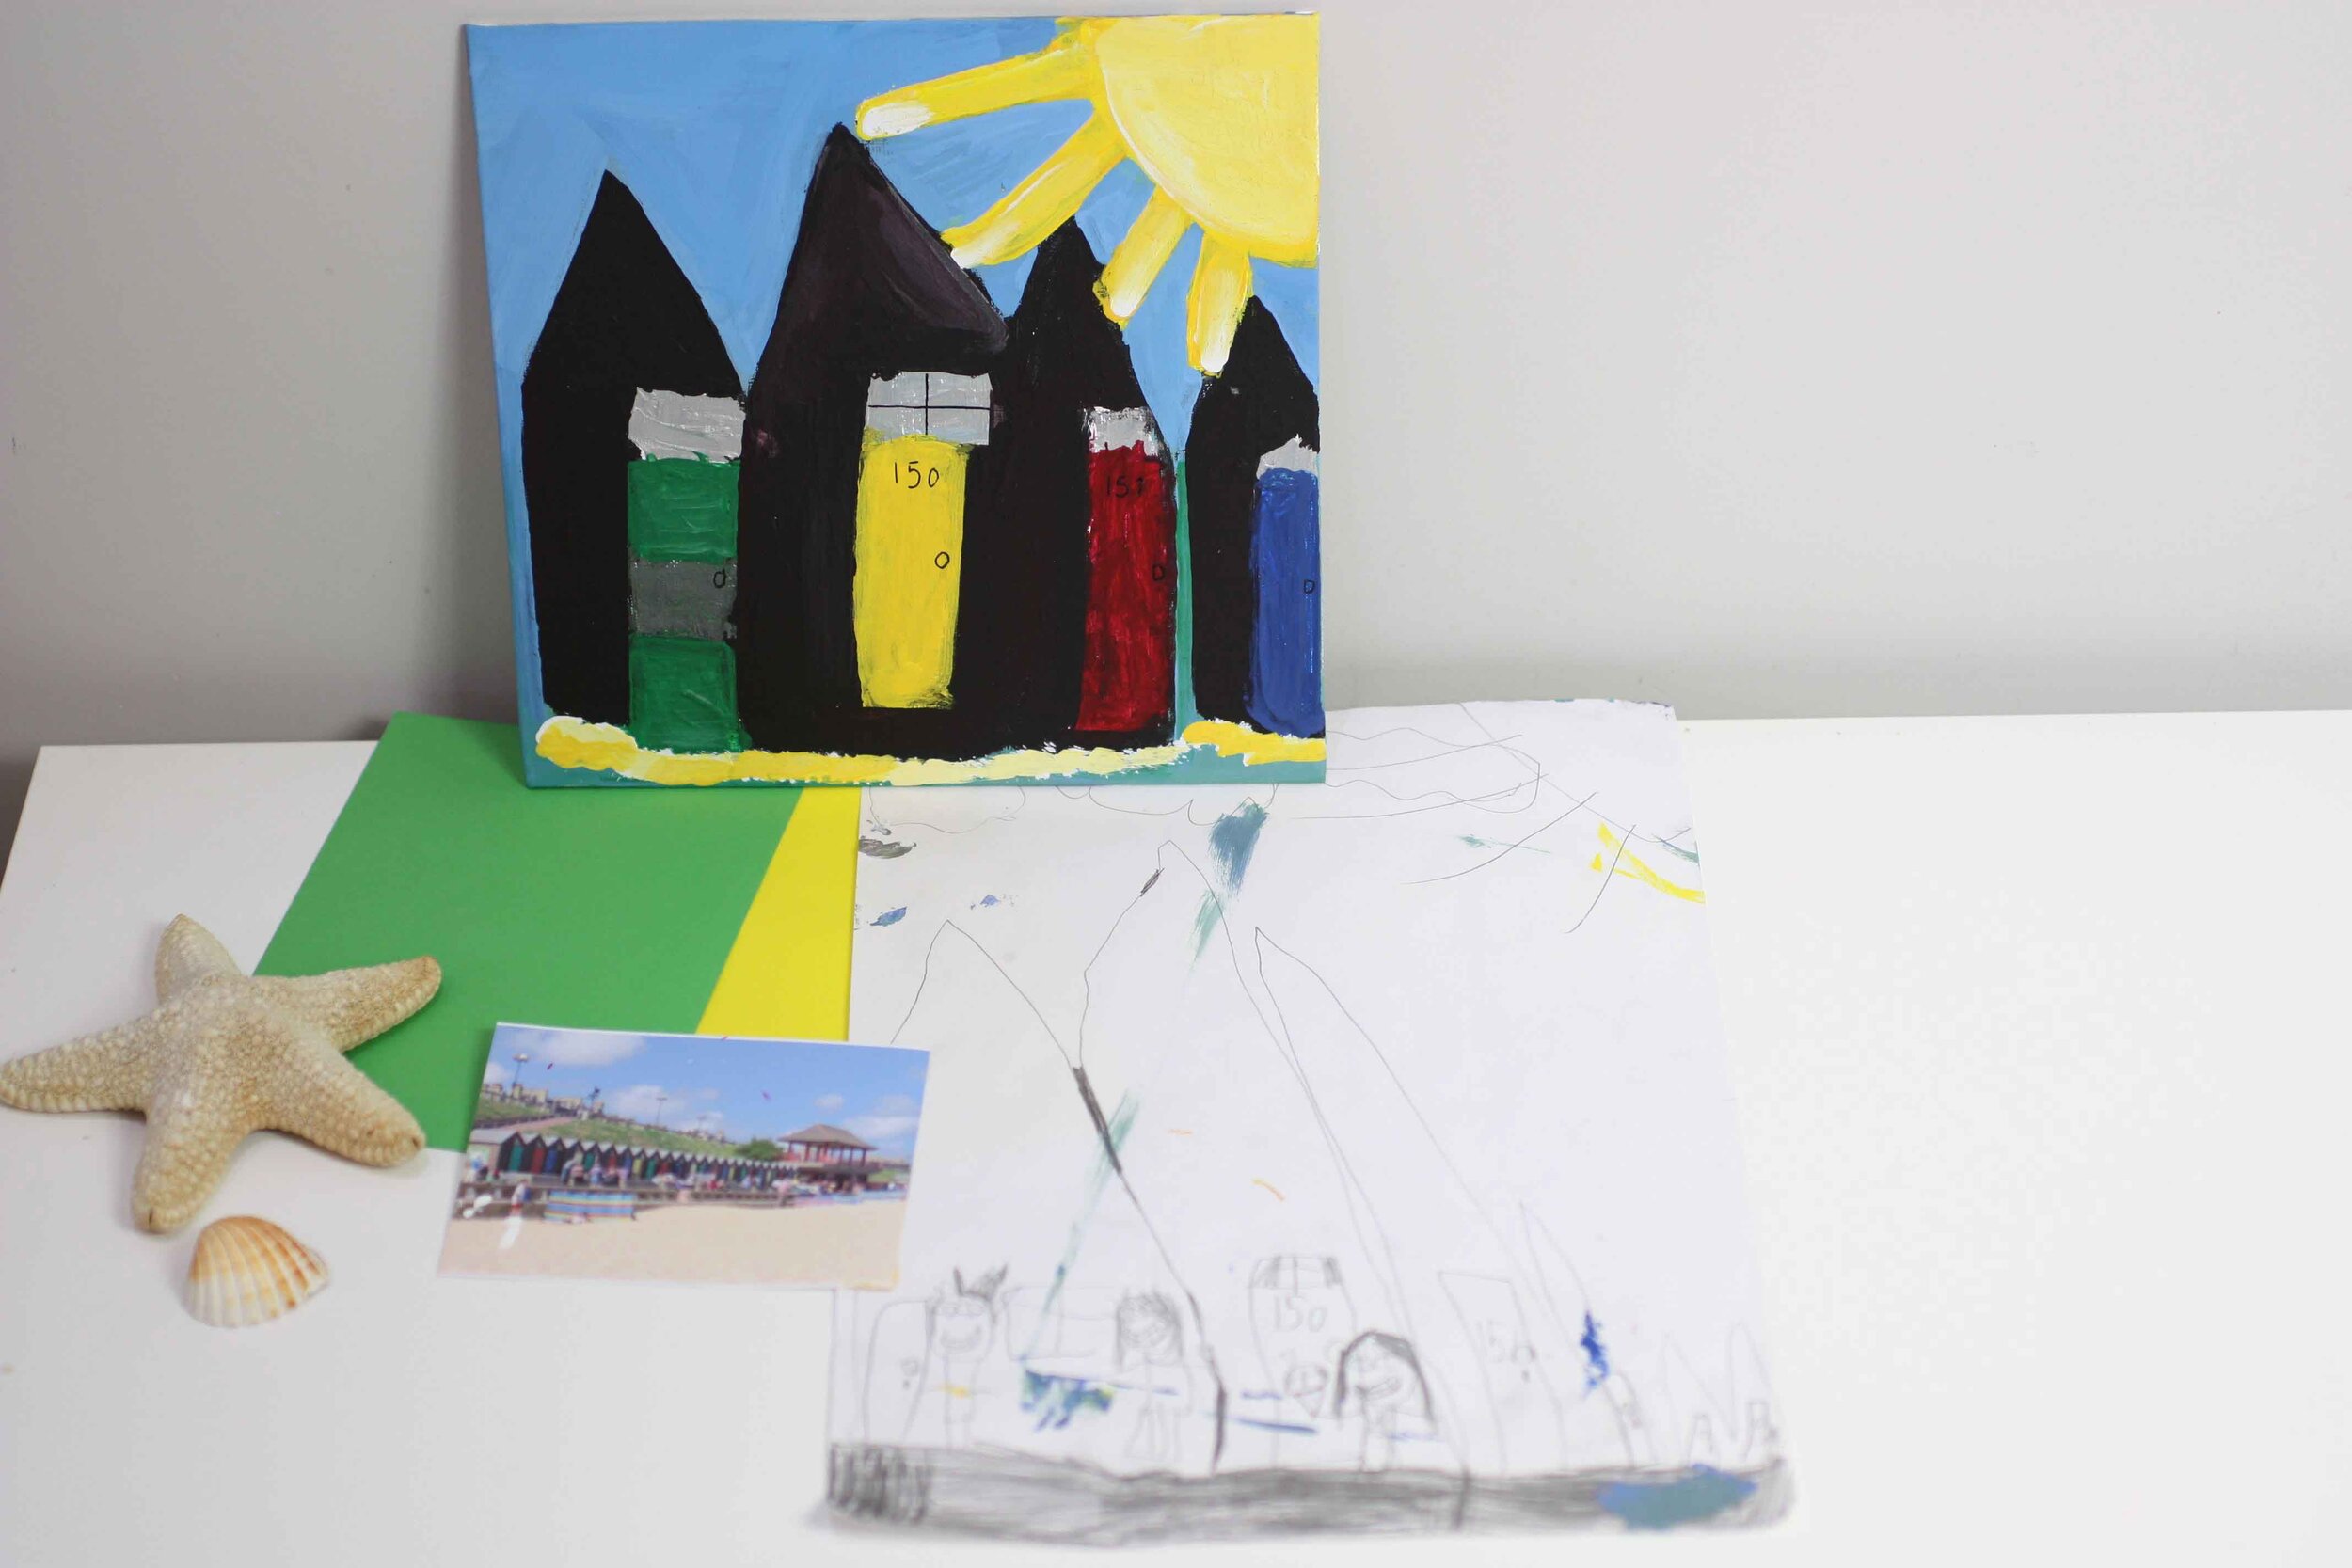
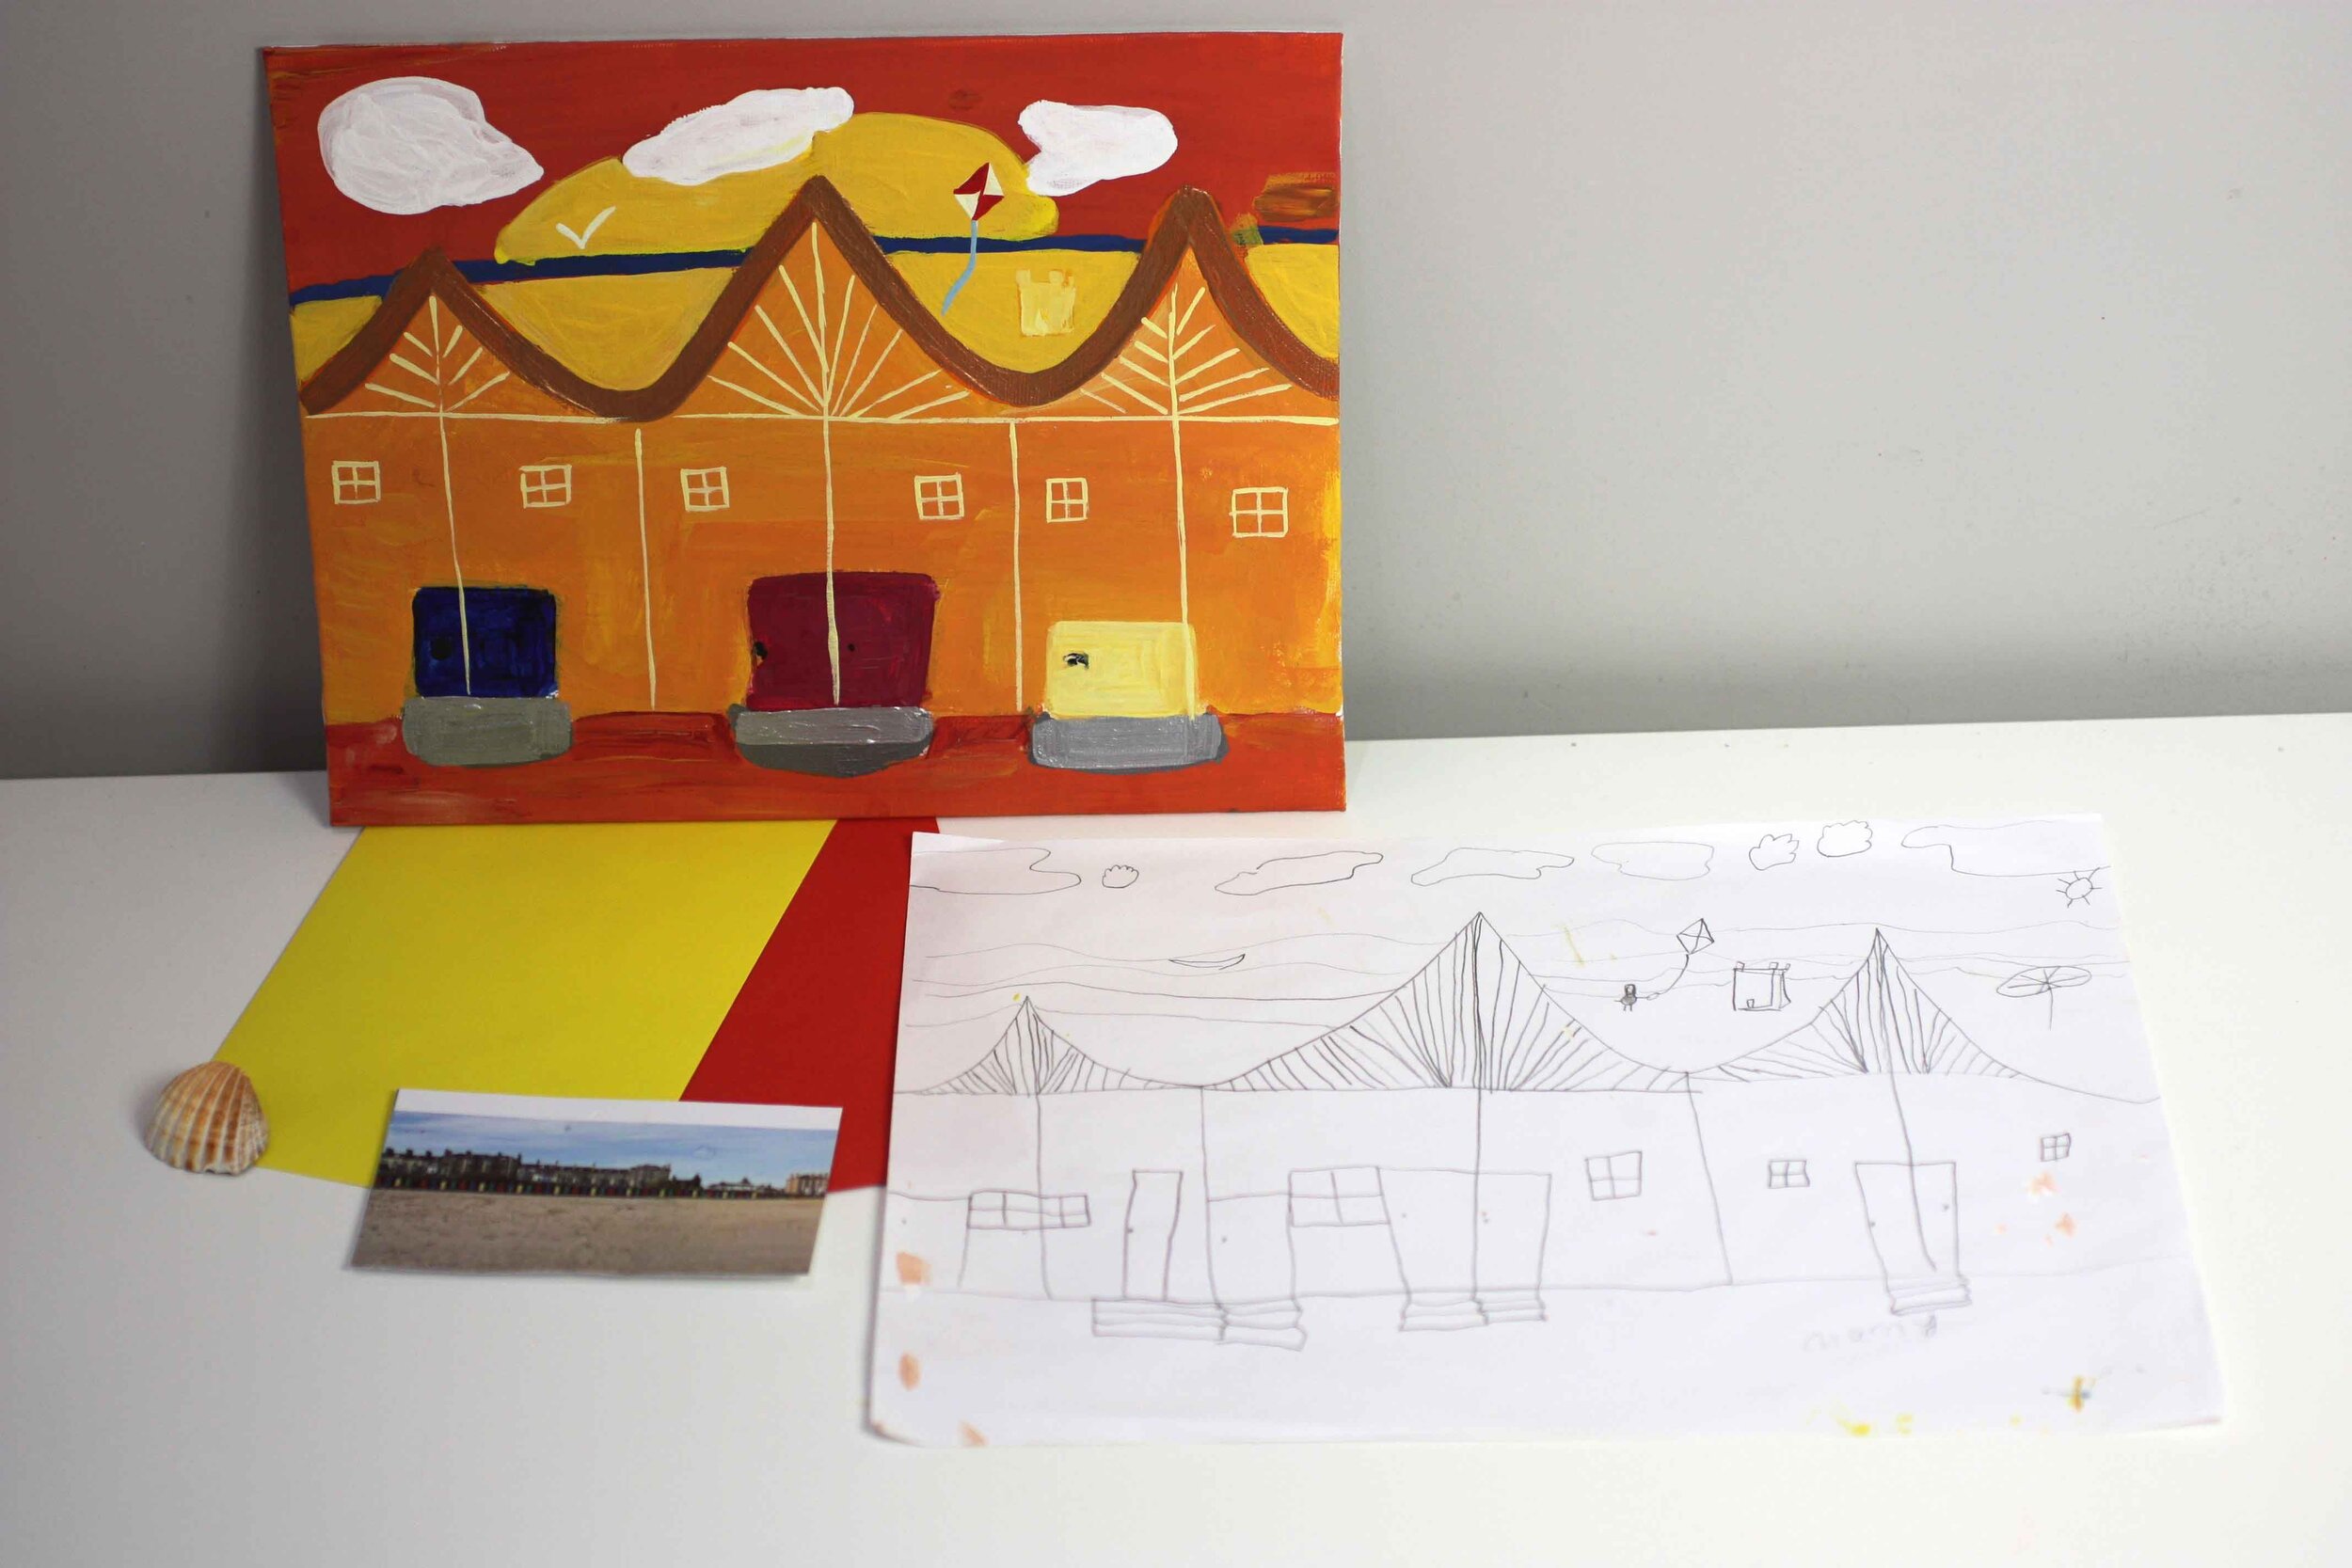
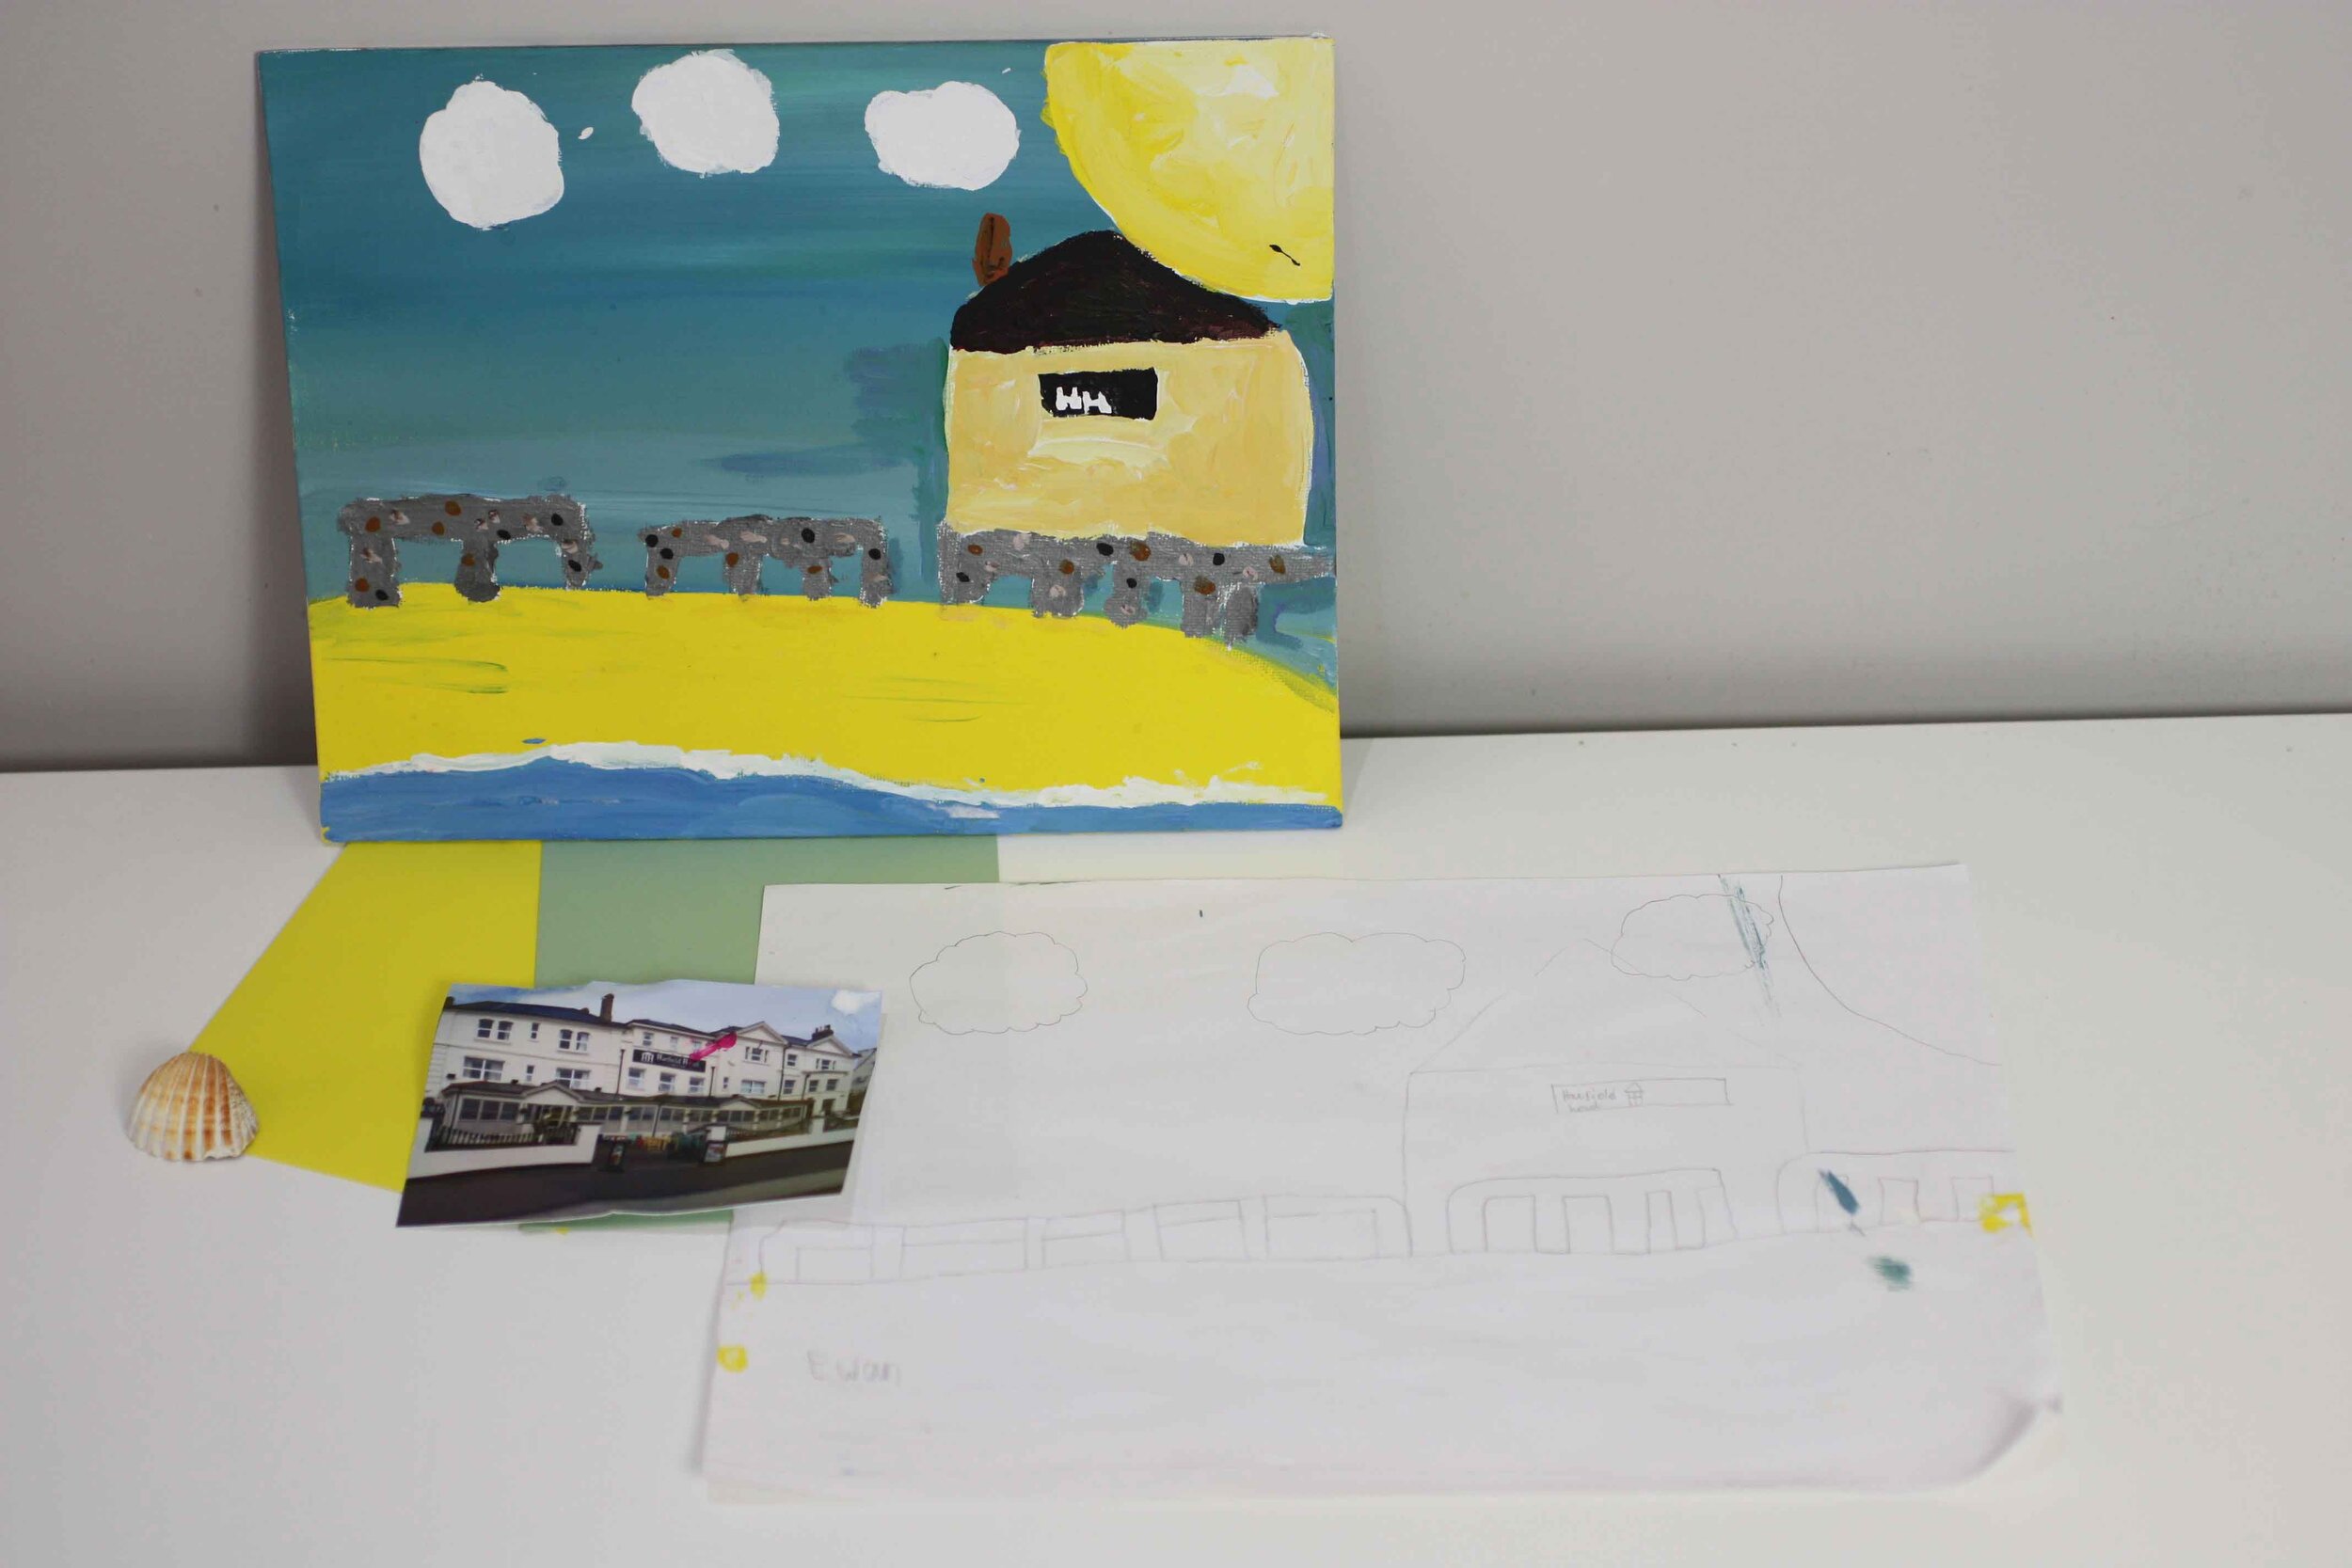
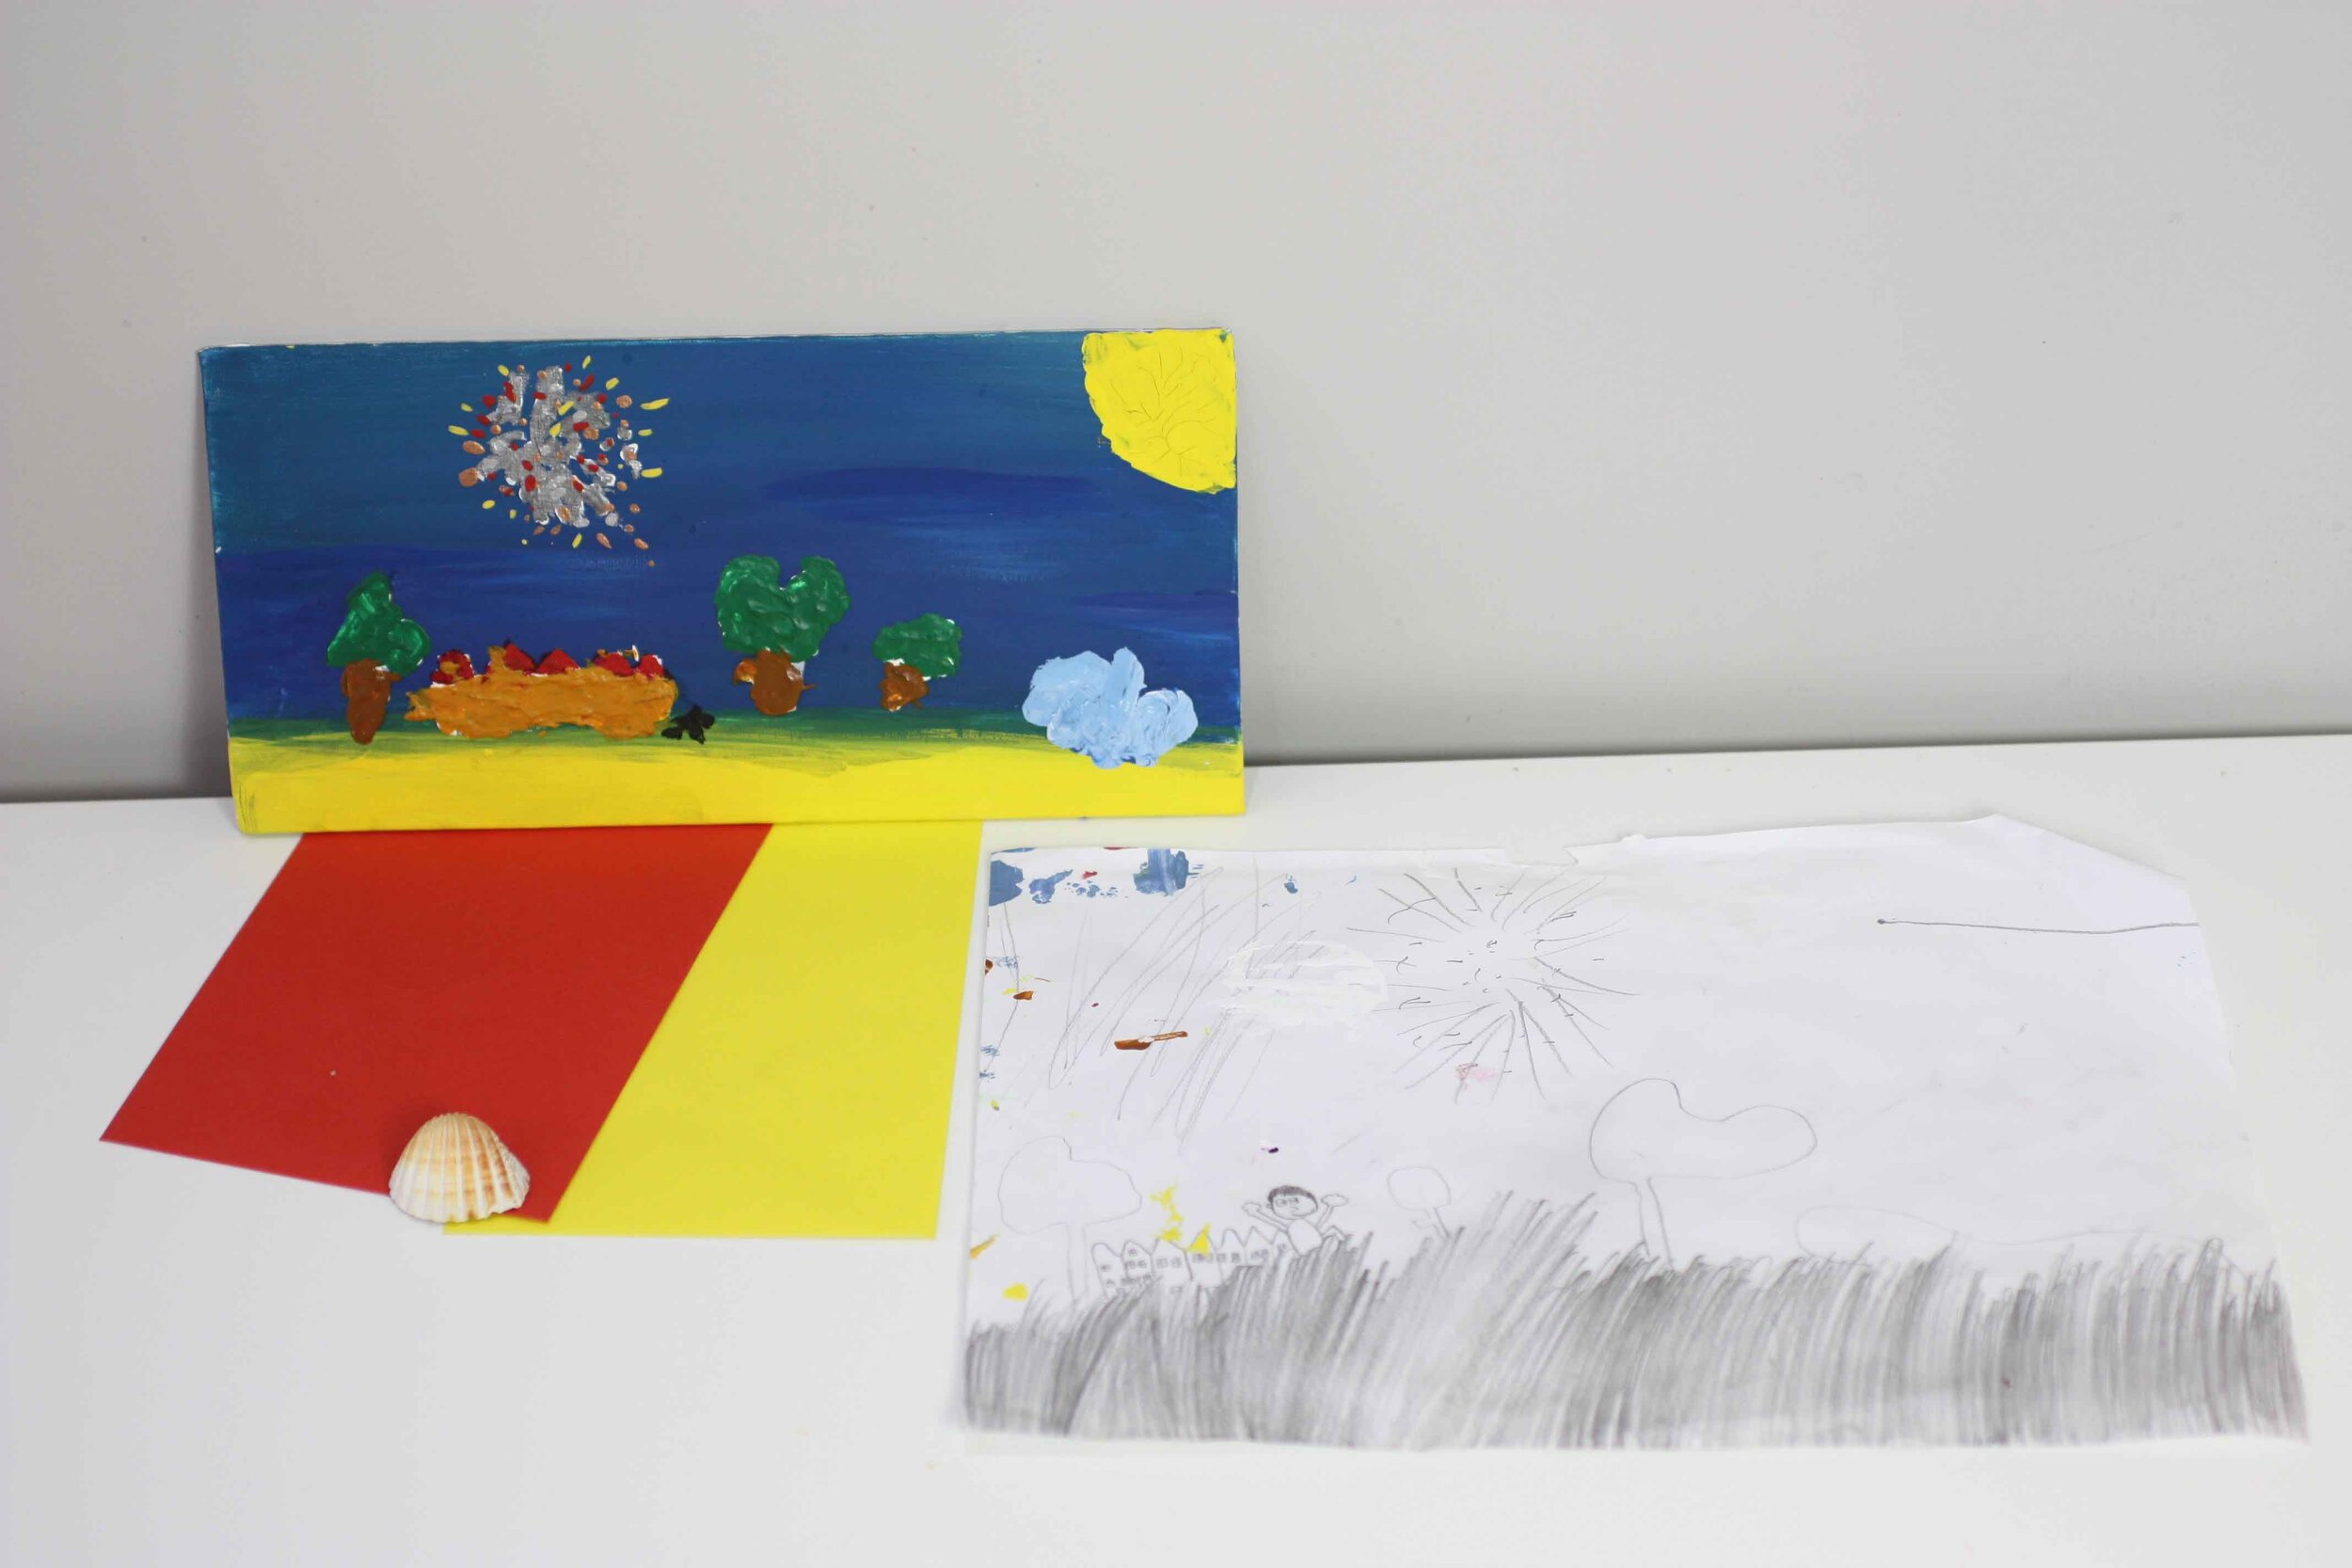
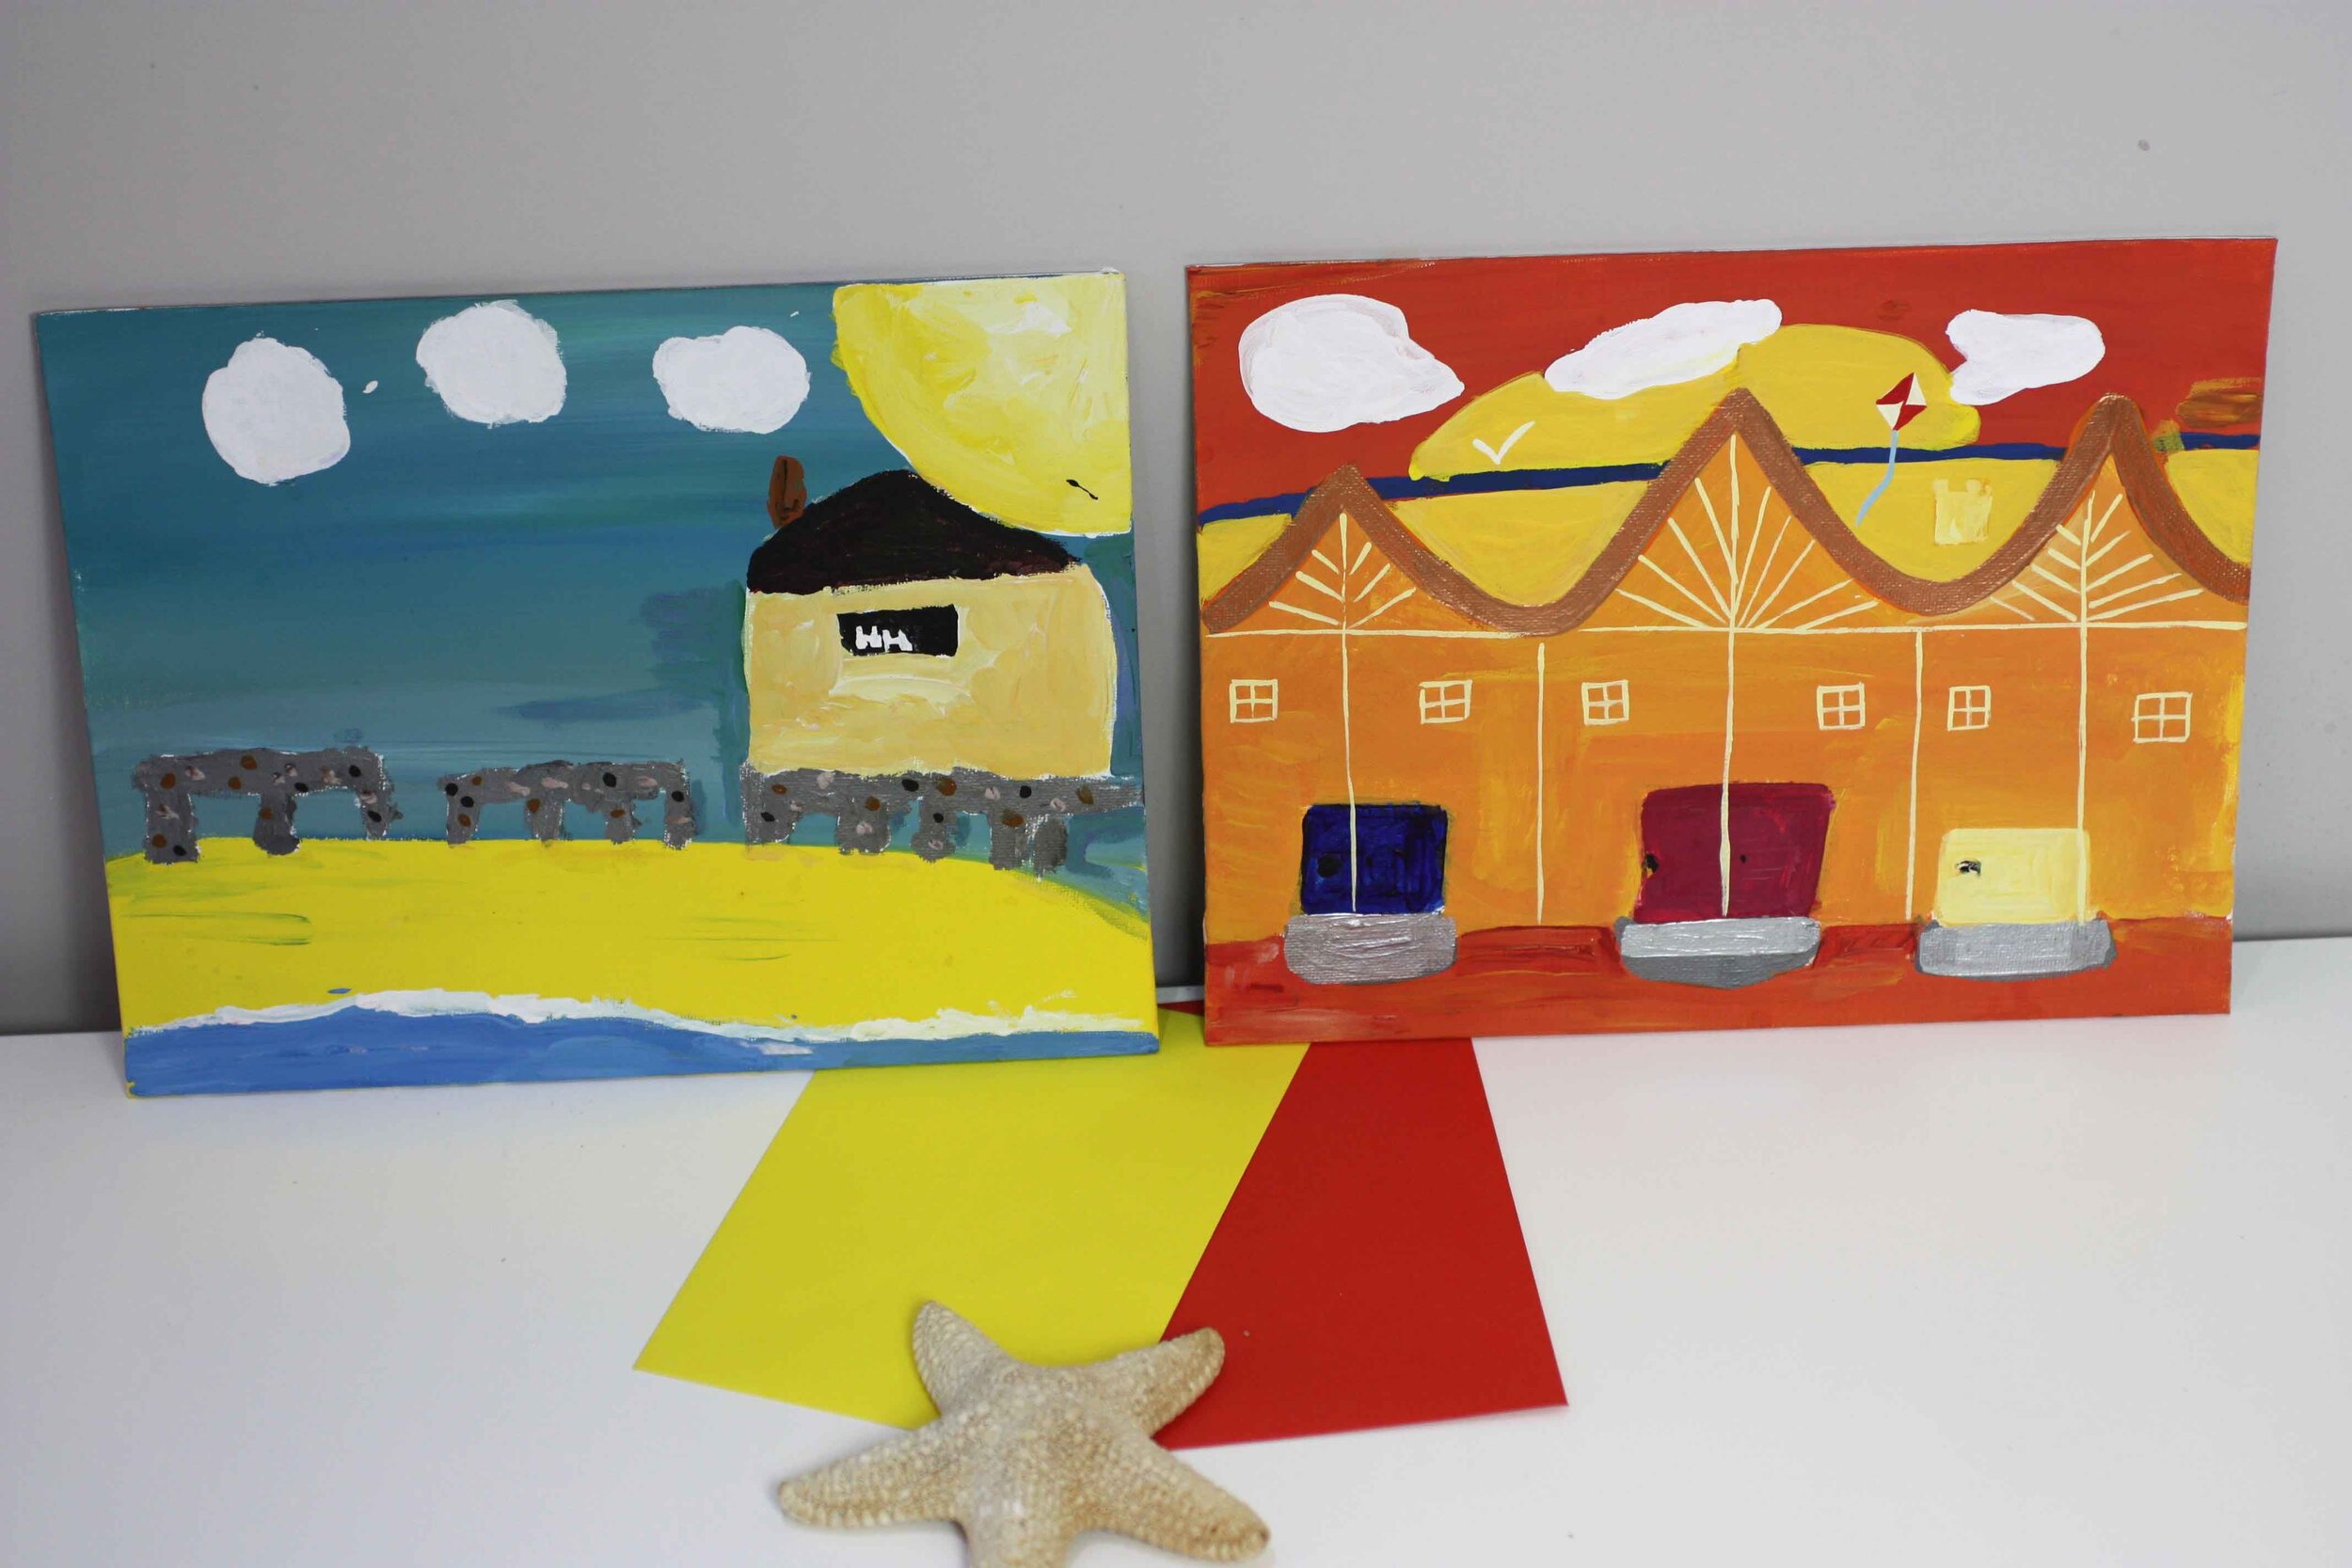
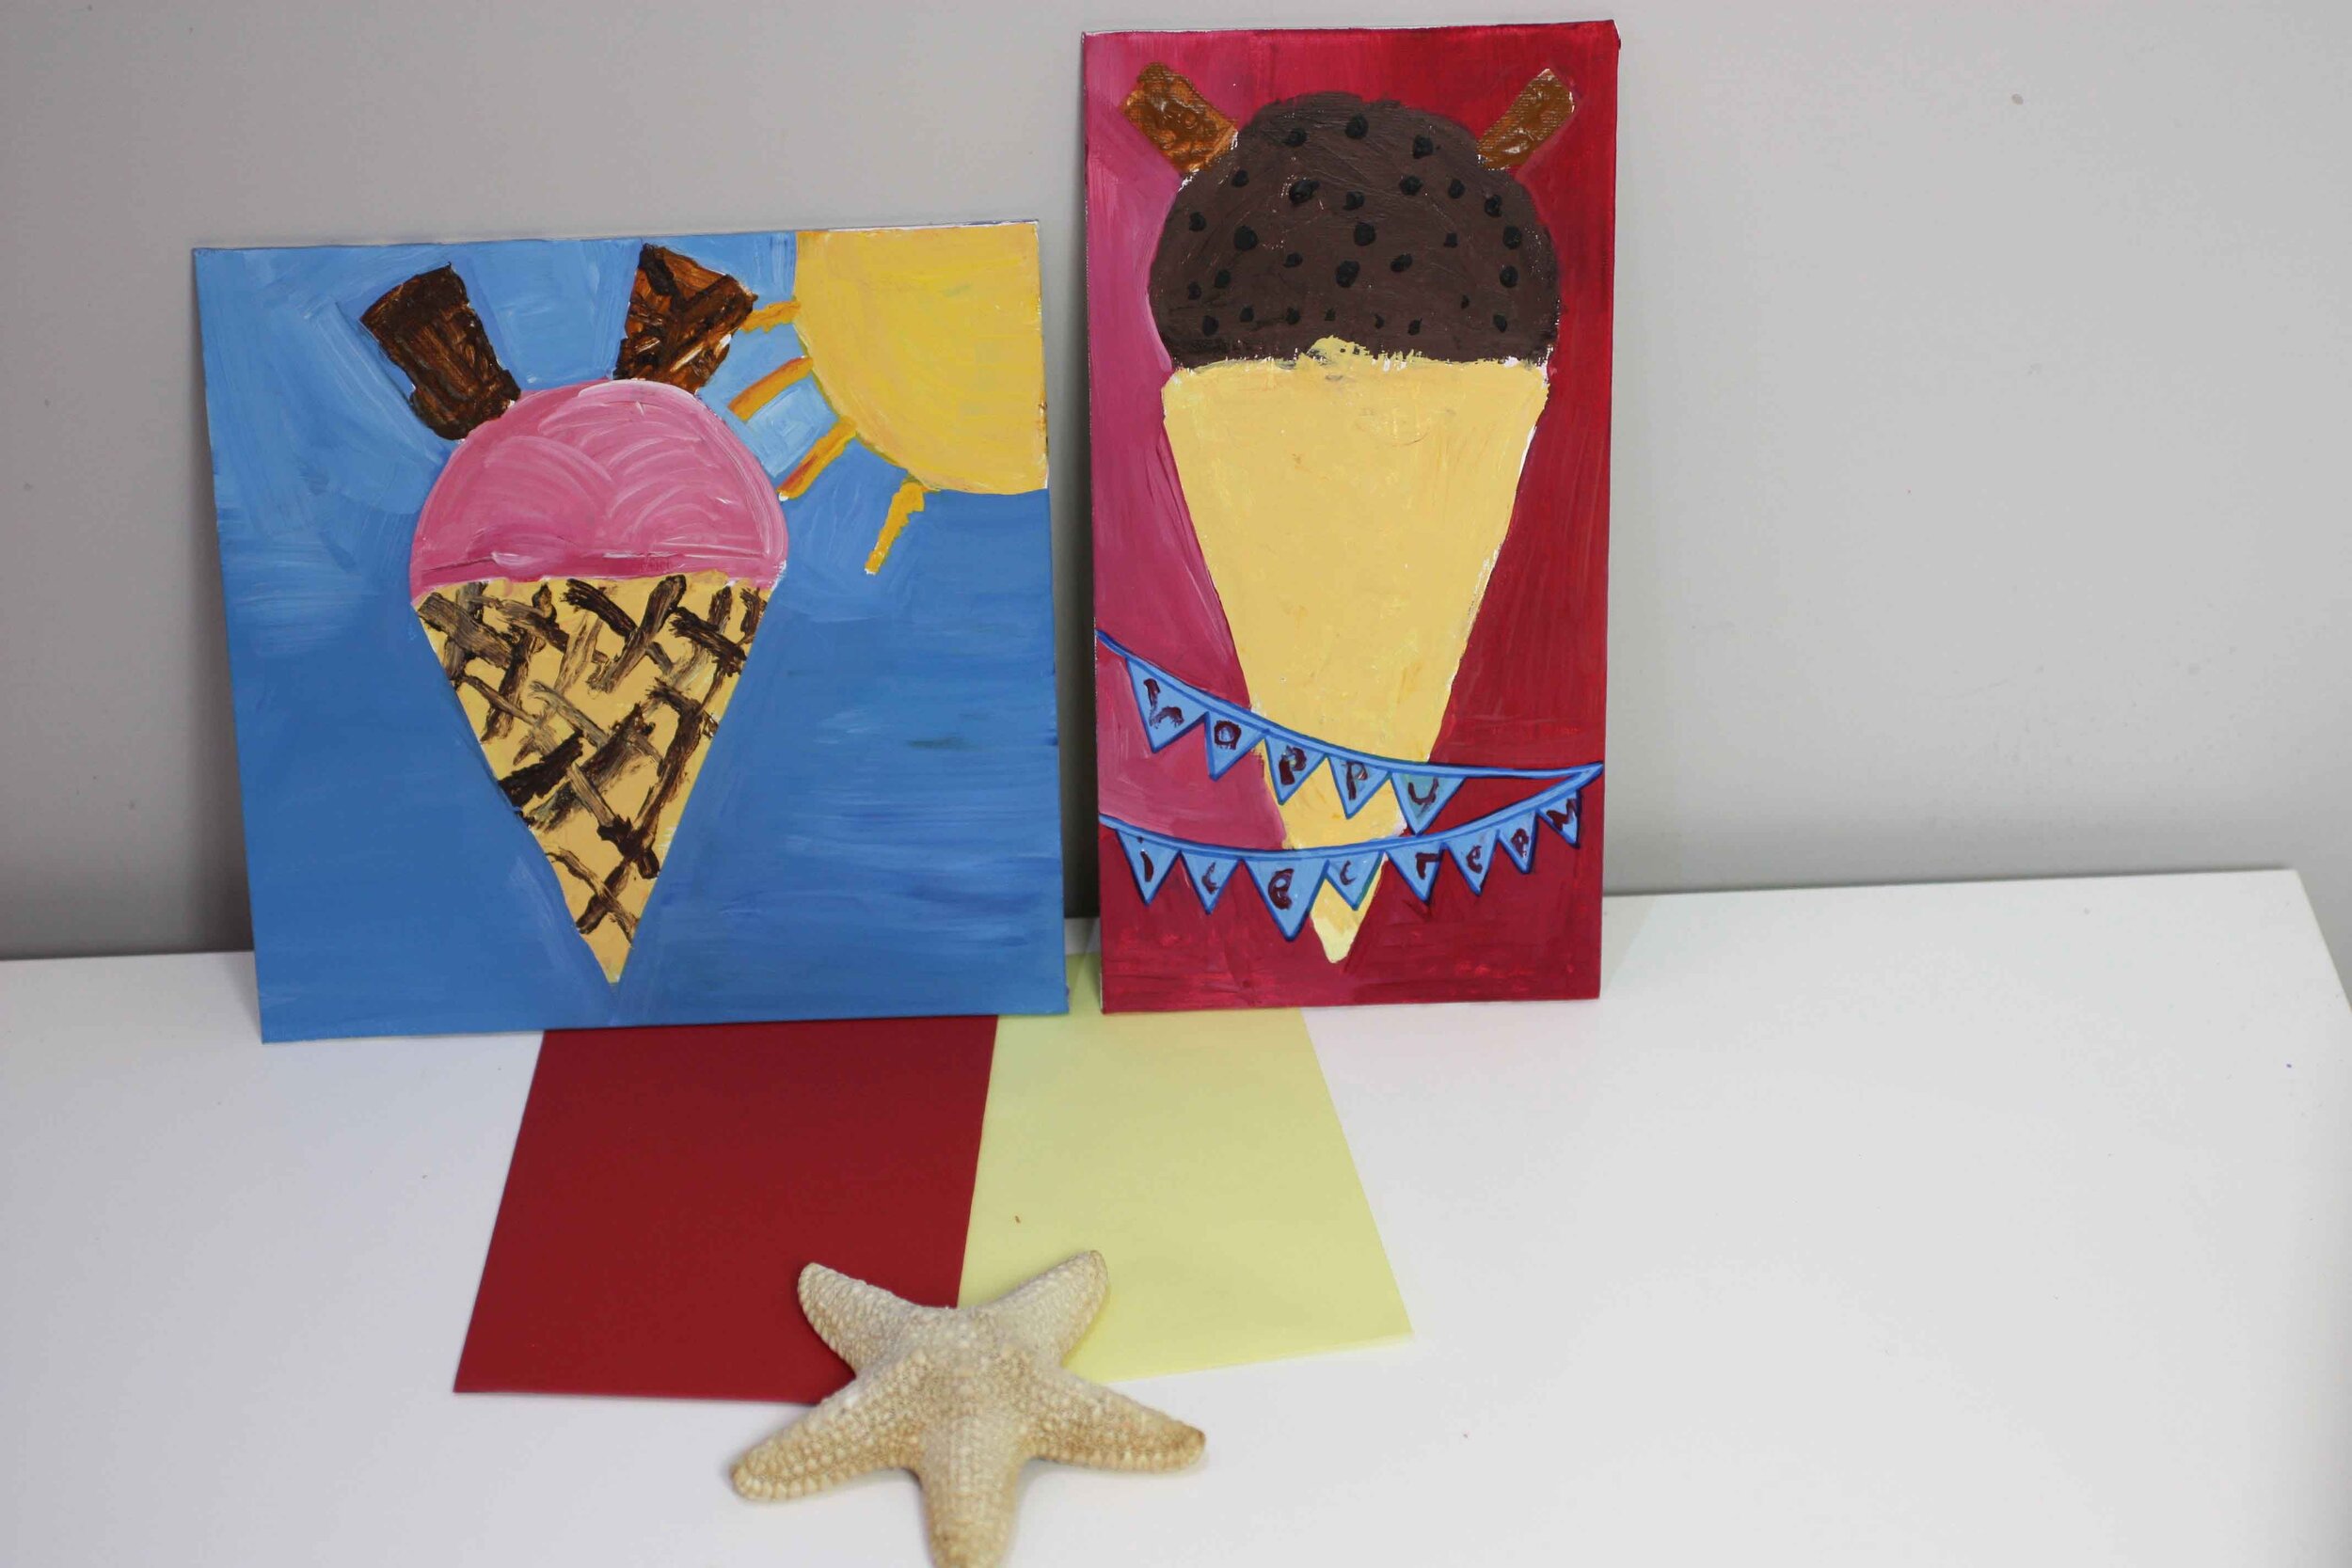
As the artwork was destined for India, initial ideas decided on a subject matter of 'our local surroundings'; creating artwork representing the 'seaside' near where the children go to school and live.

I've just discovered canvas boards and thought they would be a great base to work on as they are easy to store and travel in the Headmasters' suitcase on the trip to India!

Children where picked from each year group, Upper Key Stage 1 (Year 2) up to Key Stage 2 (Year 5); due to the nature of how the boards would be hand delivered to India unfortunately only a few children where able to be selected in this task and a total of 15 final pieces of artwork was produced.

The development of the artwork

The project ran over four sessions, the first session the children were asked to think of their surrounding area and produce a quick sketch and paint the background colour of their canvas board. 

The second session the children were told to copy their sketch onto the canvas board (with a little guidance for the younger ones, to proportion the scale of the drawing so it filled the board) and then block the sketch in white paint to prepare for the colour. 

The third session the children learnt the art of creating layers onto a canvas to get an overall better effect, by allowing the white paint to dry they were then able to add the first stage colour detail.

The final session was applying another layer of colour to get more depth into the paintings. During this session I also helped the children by tidying the edges and adding the final detail of outlines that were present in their original drawings.

The paintings were then taken back to the studio and spray varnished.

The results:

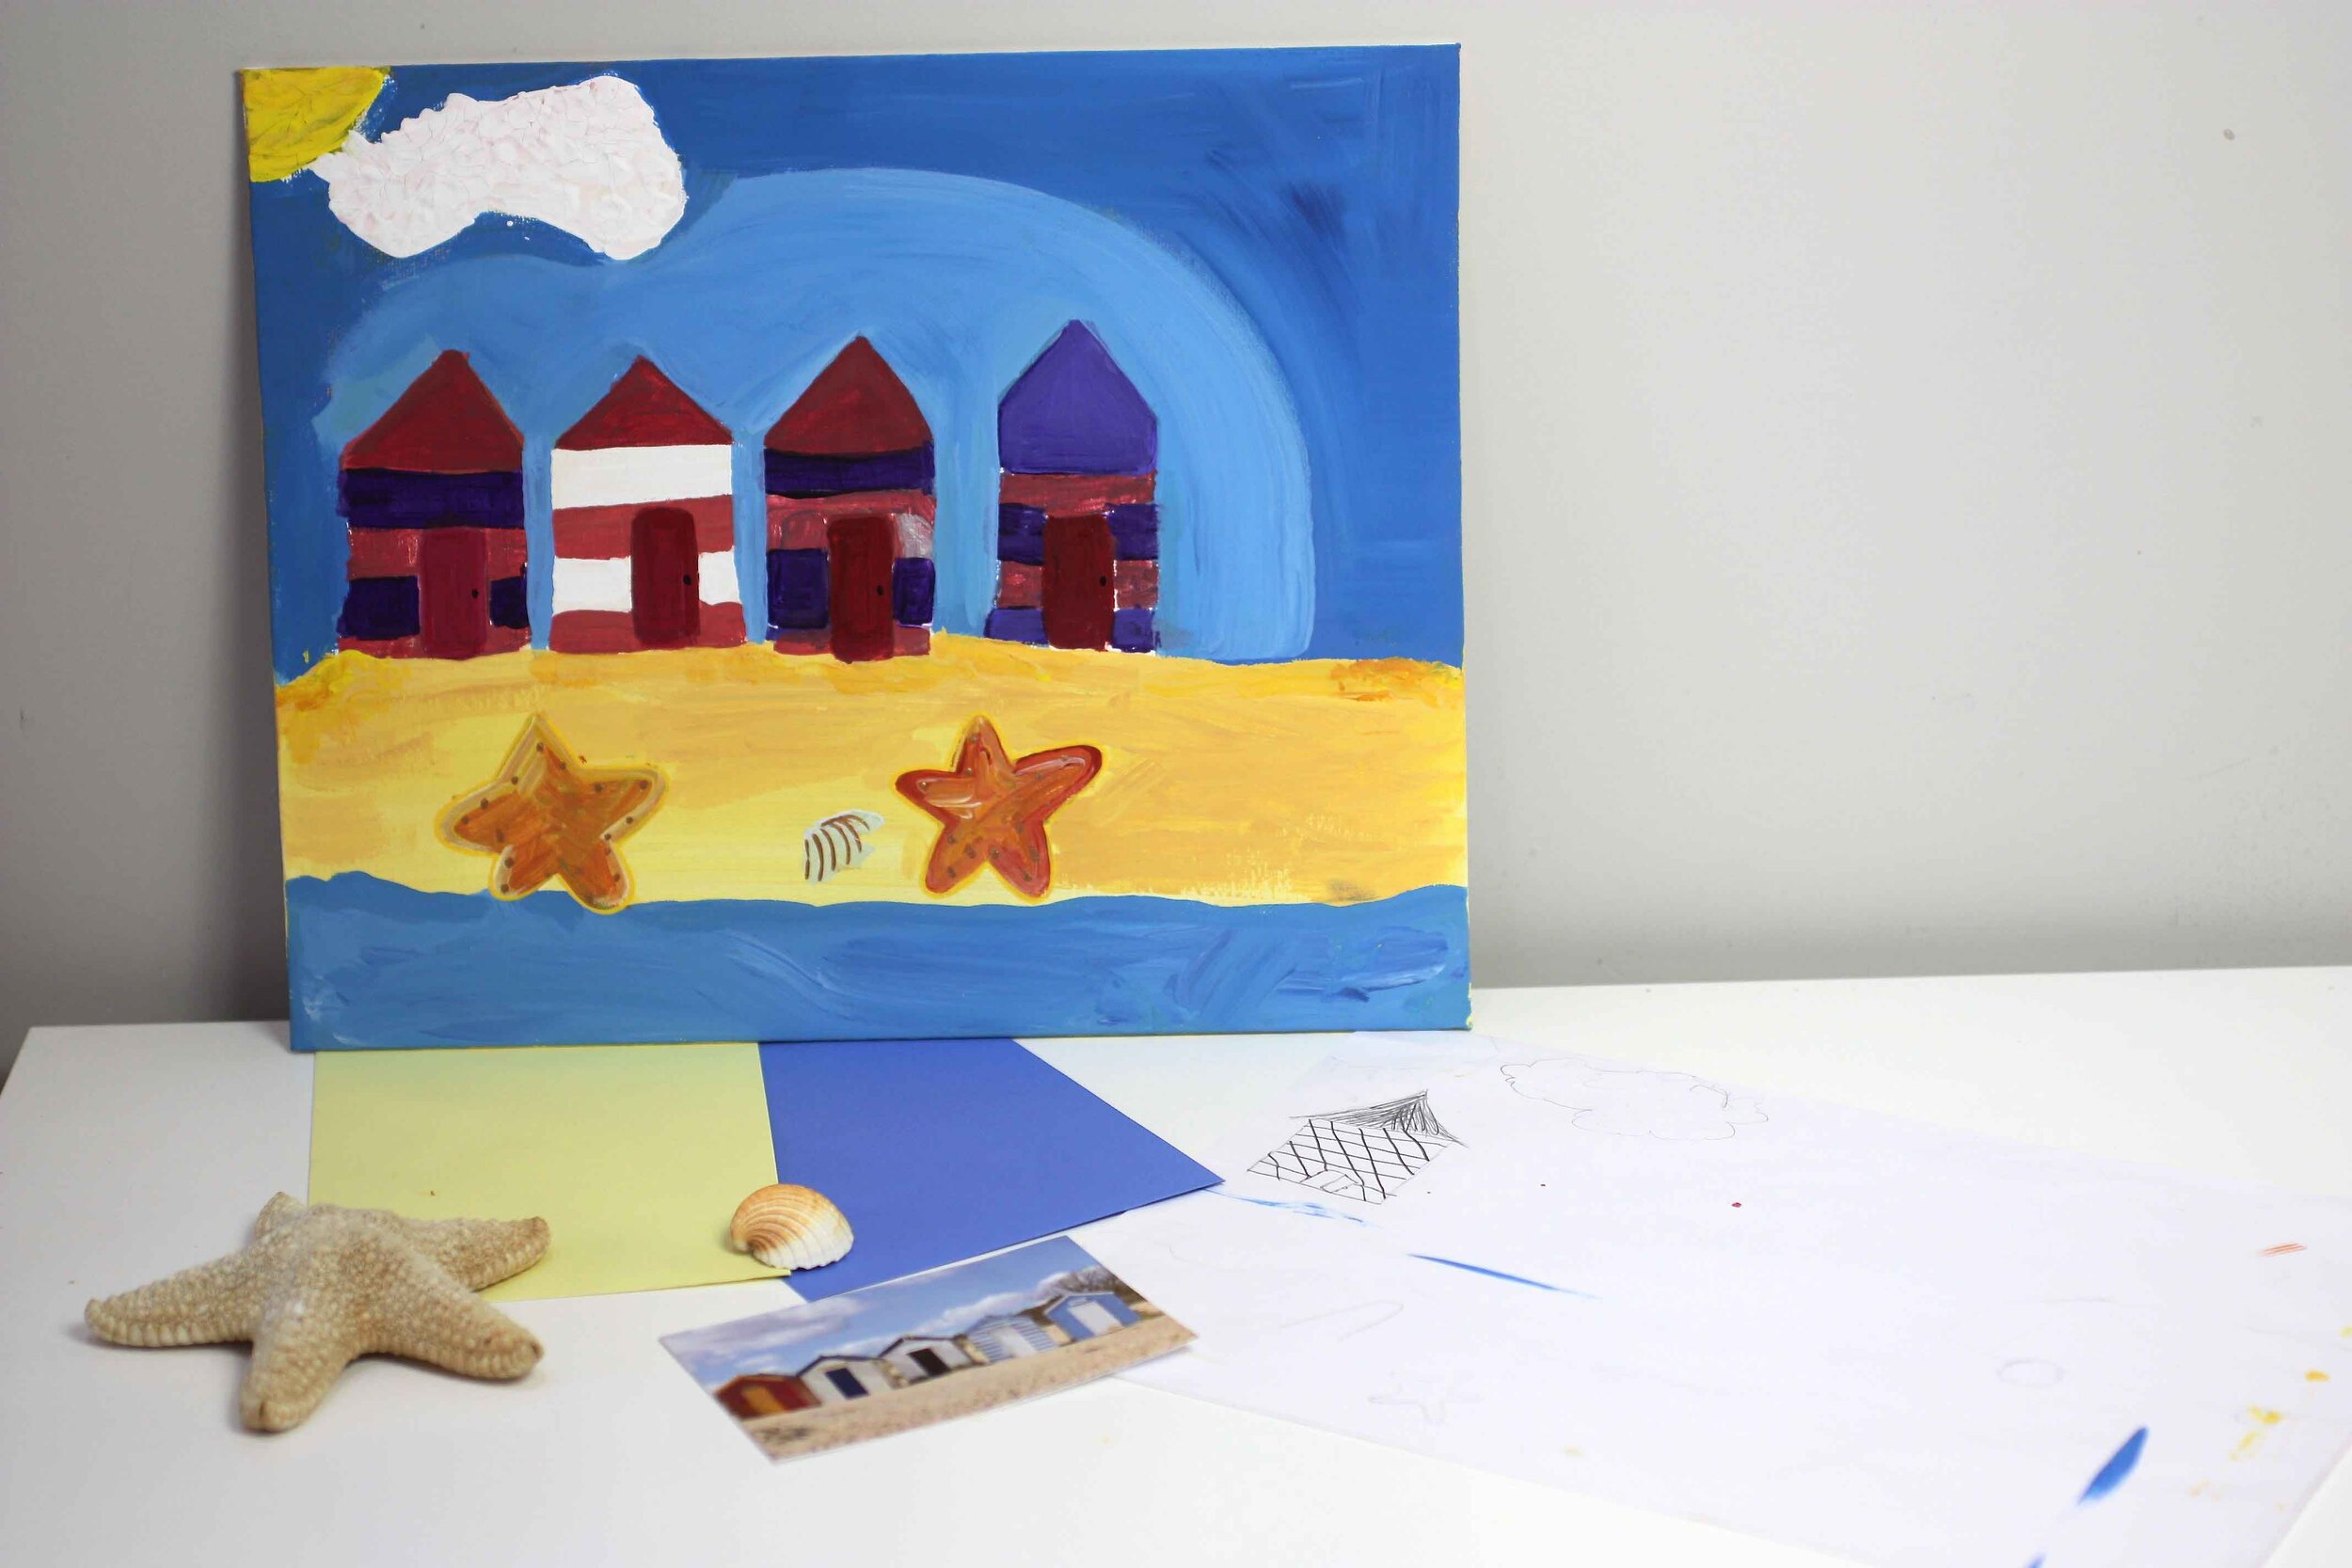
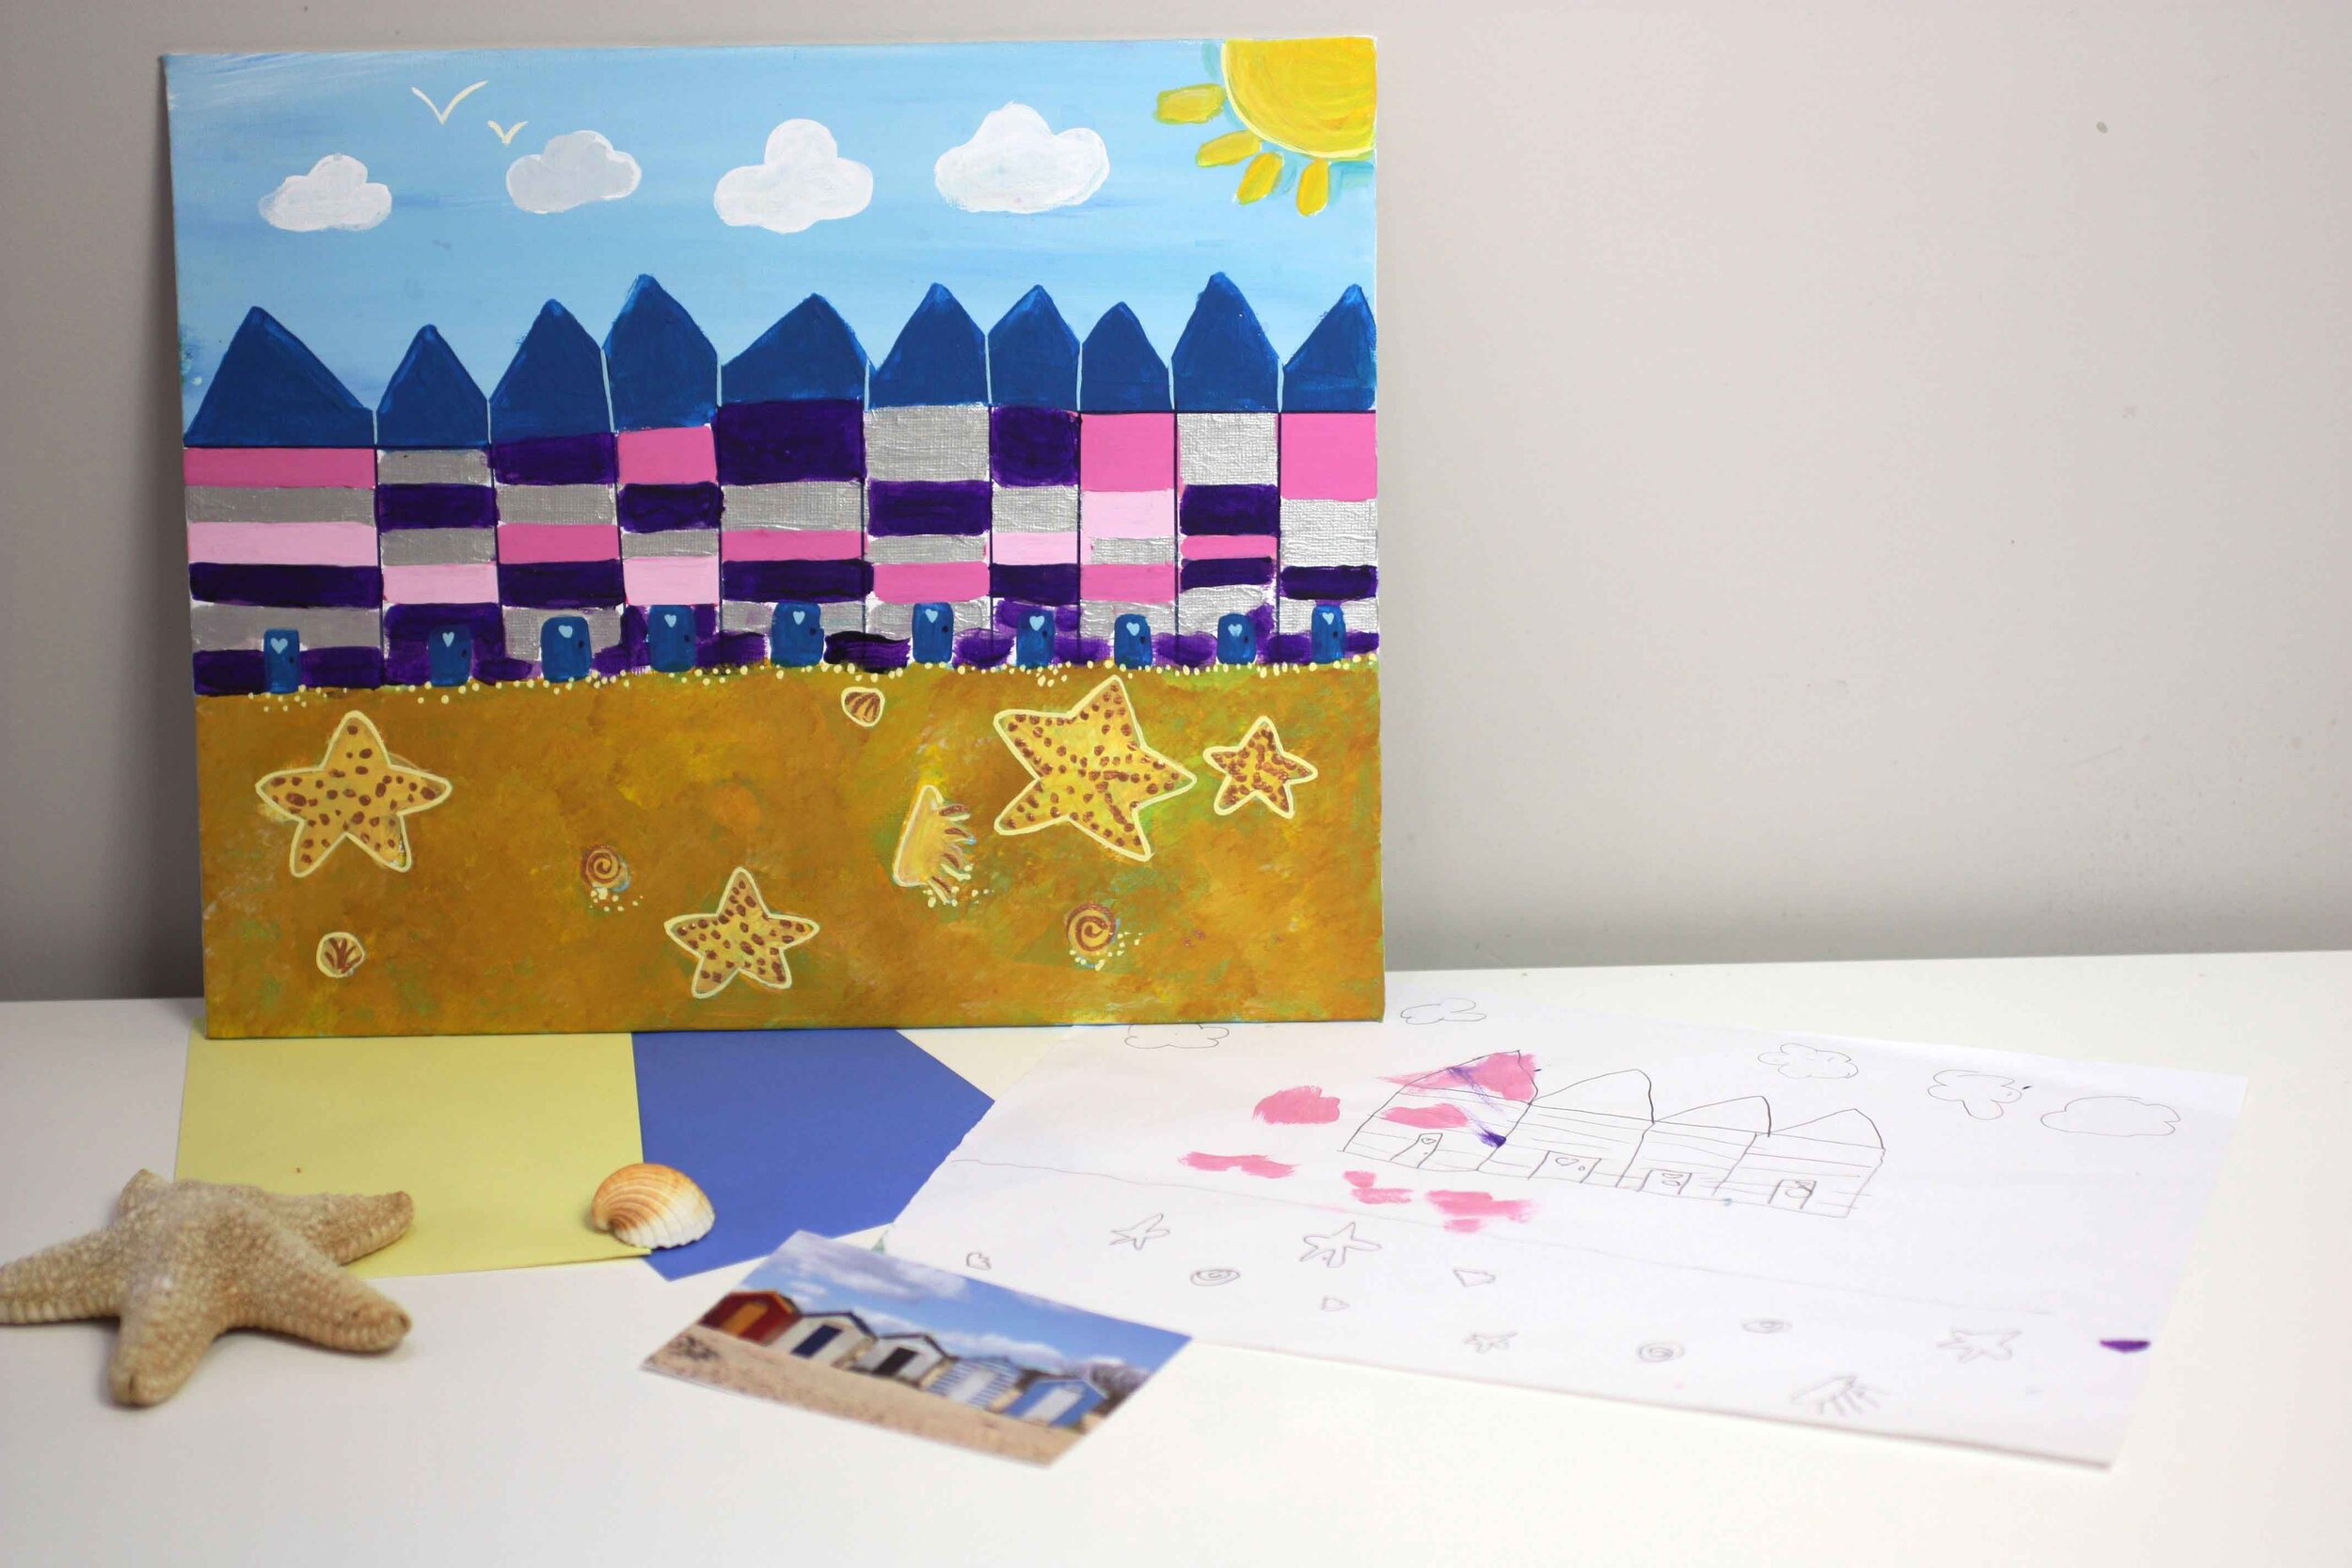
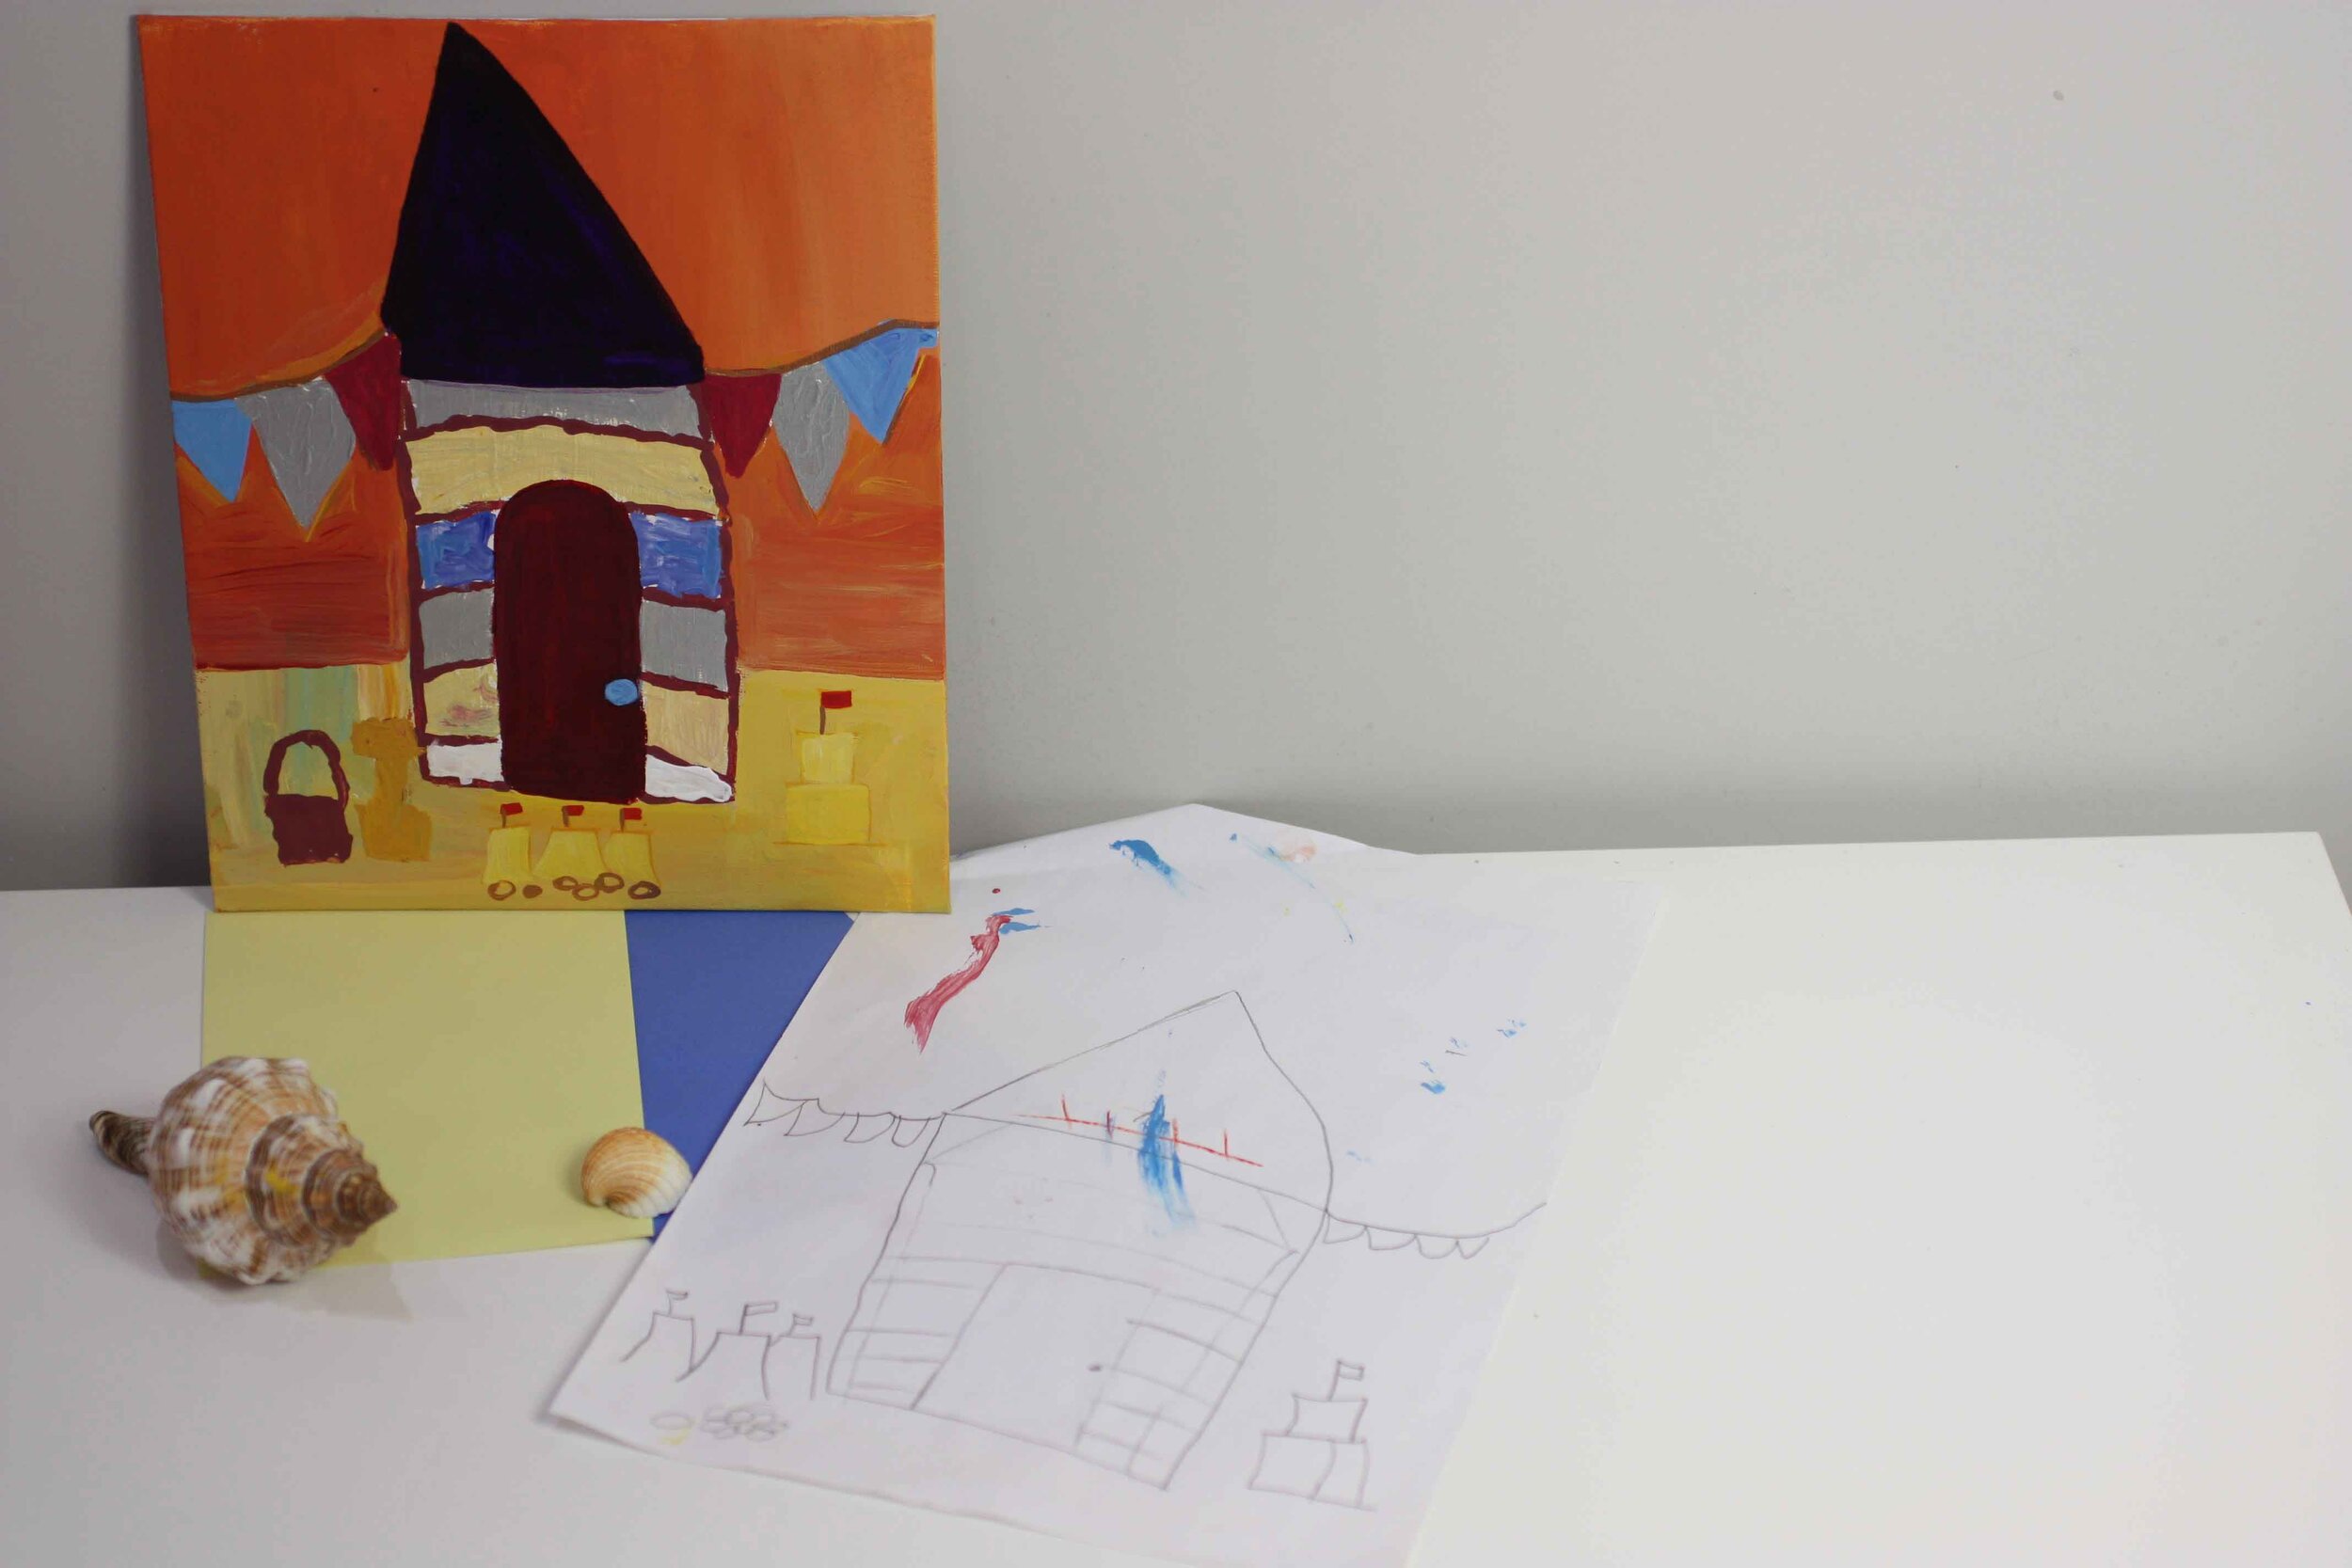
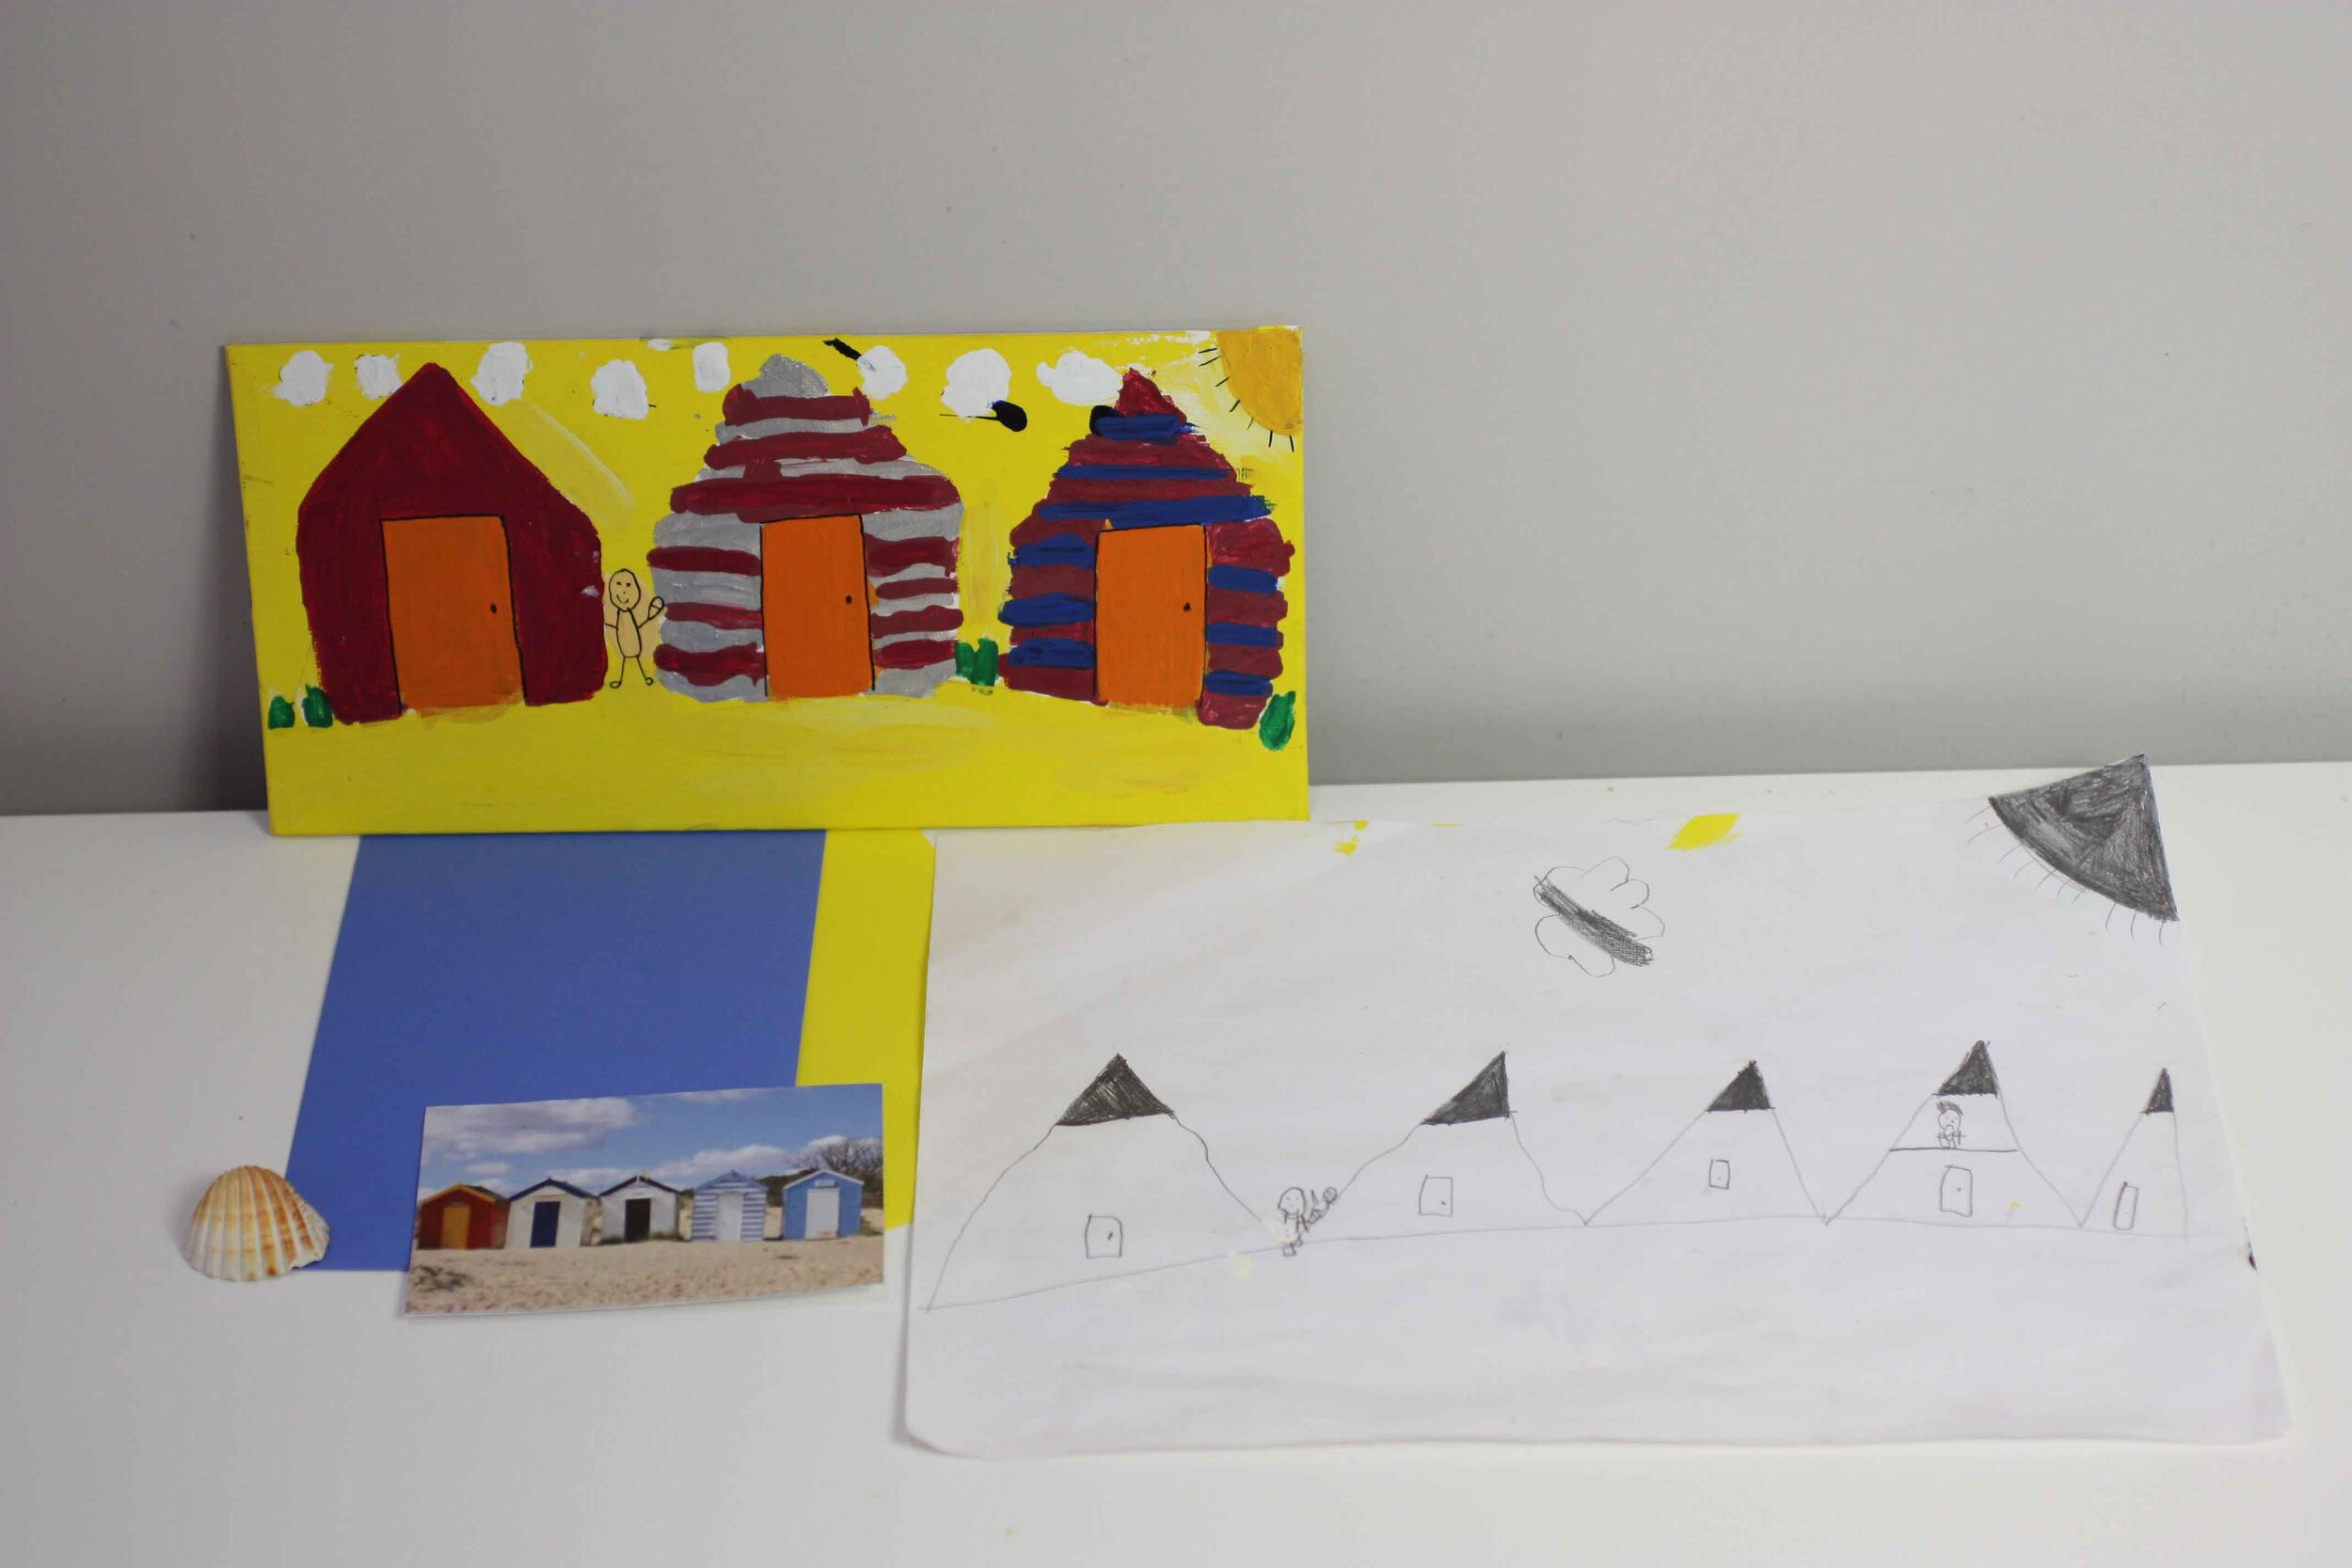
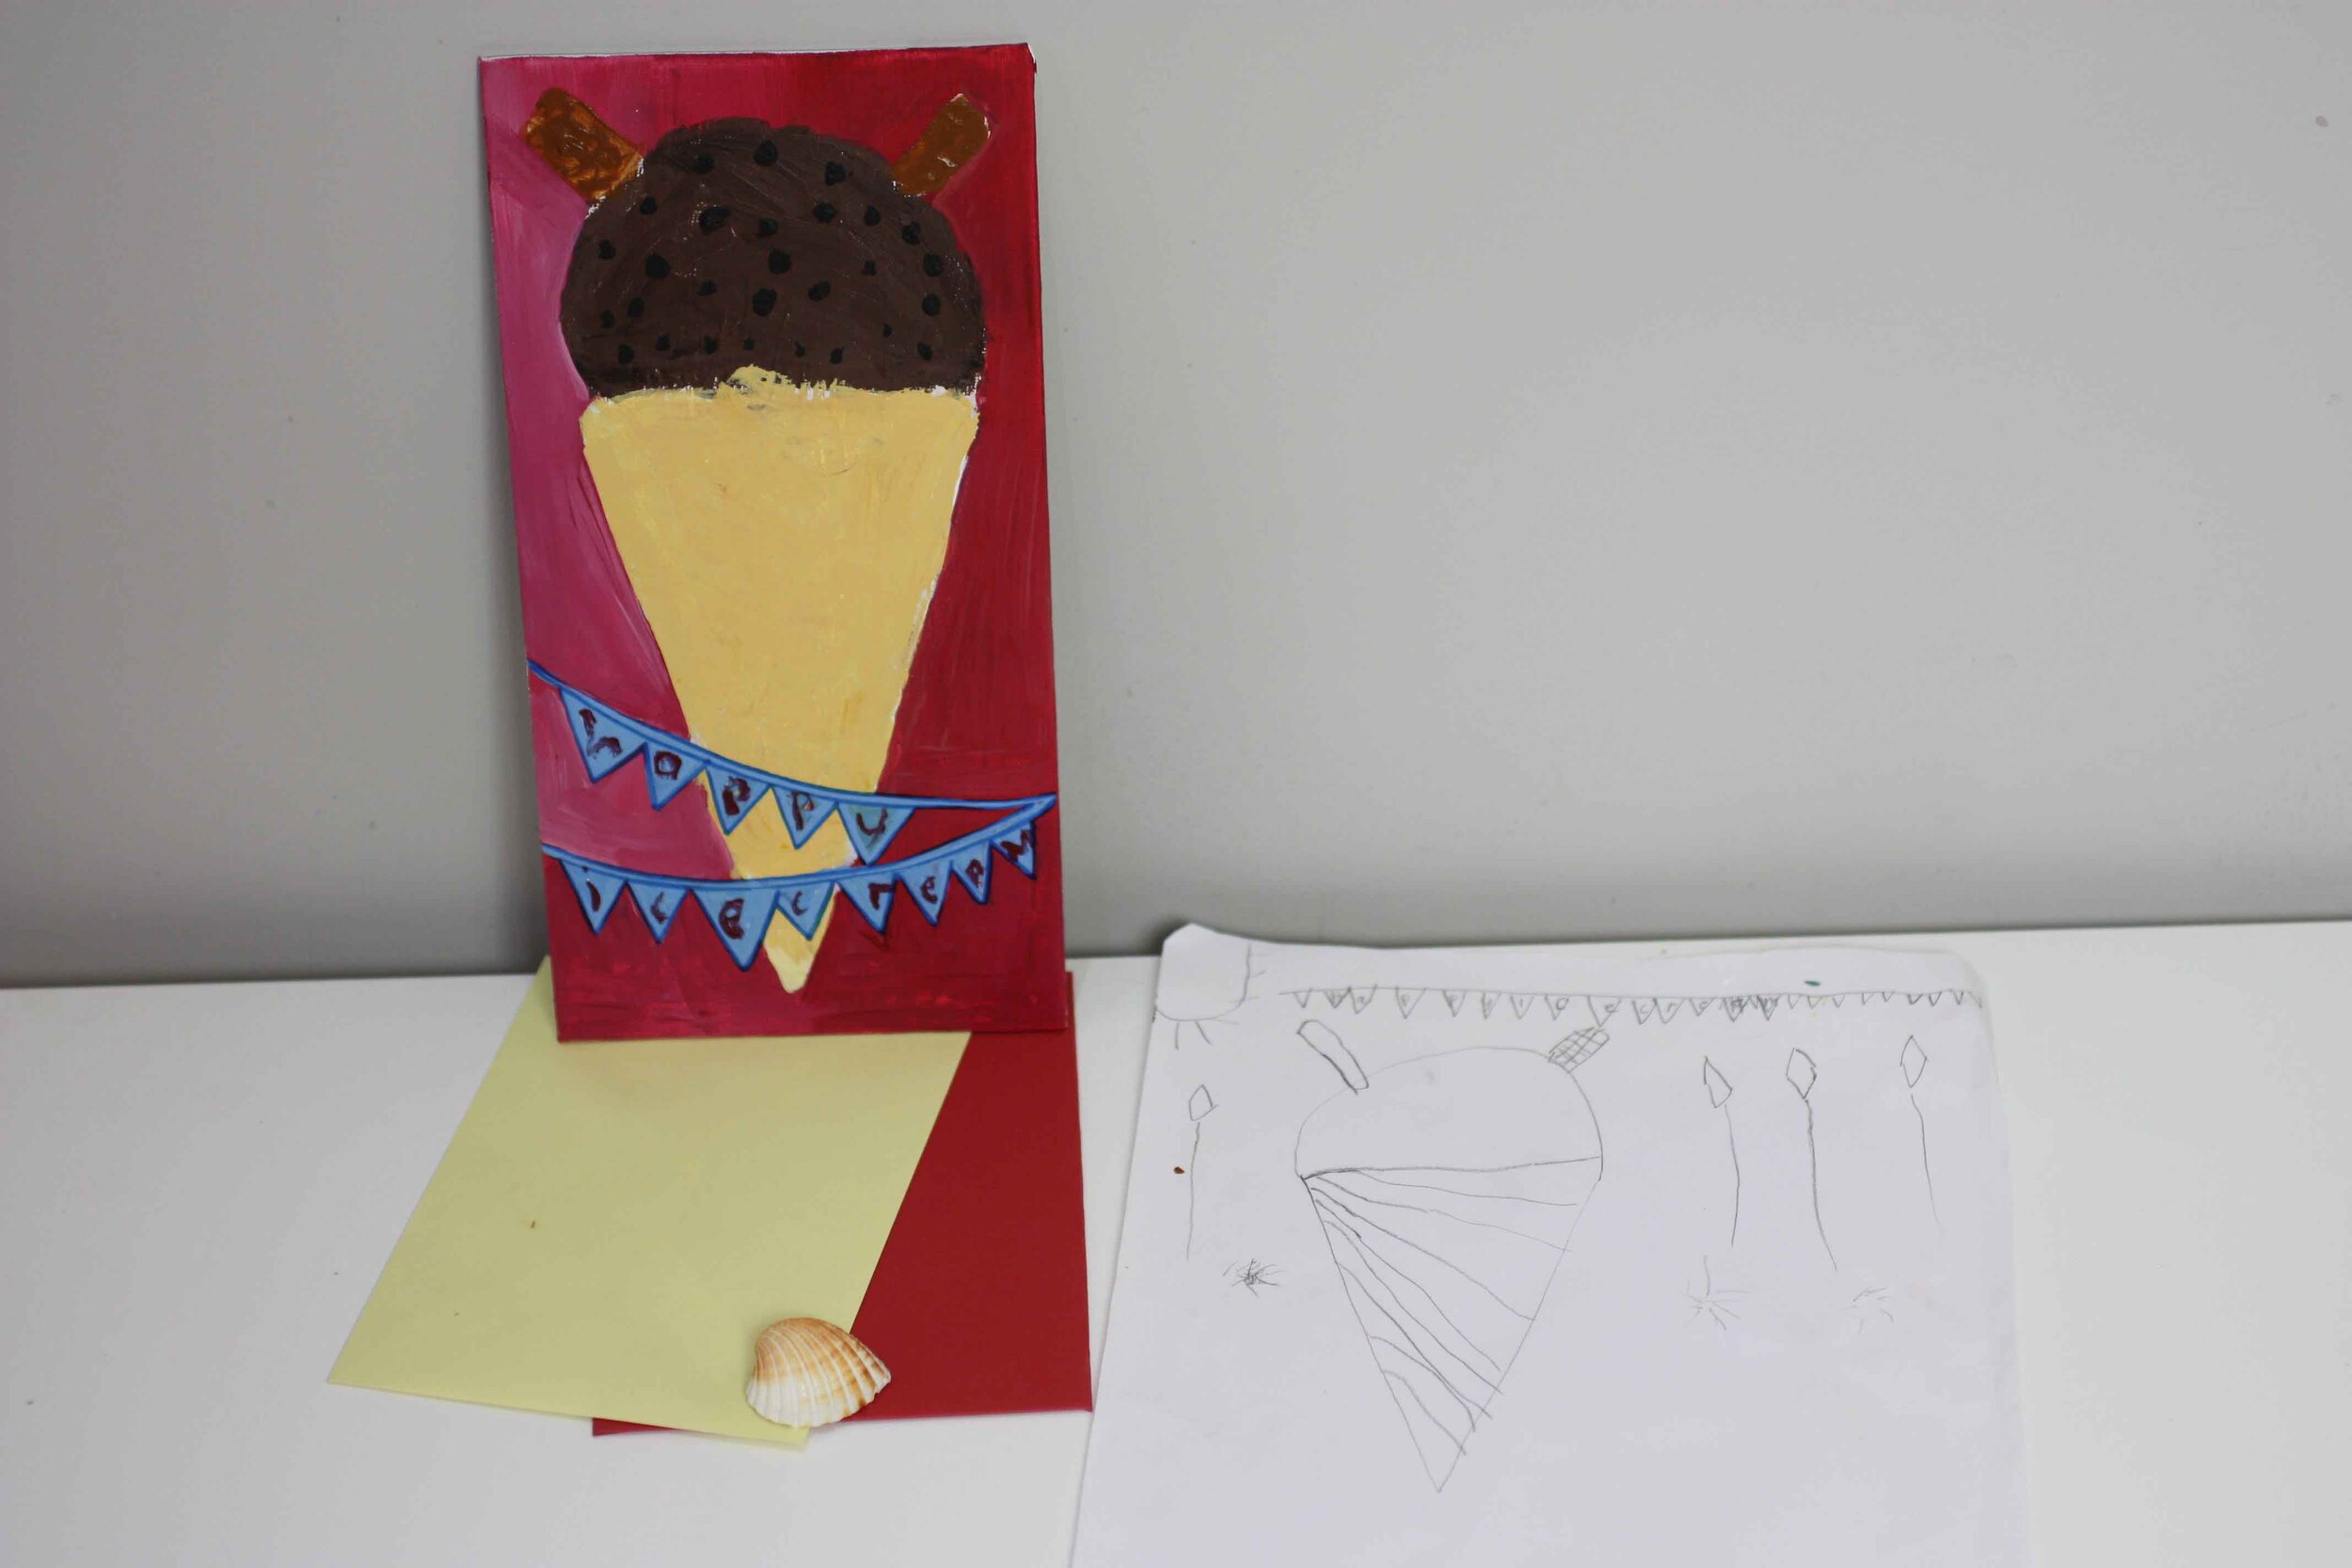
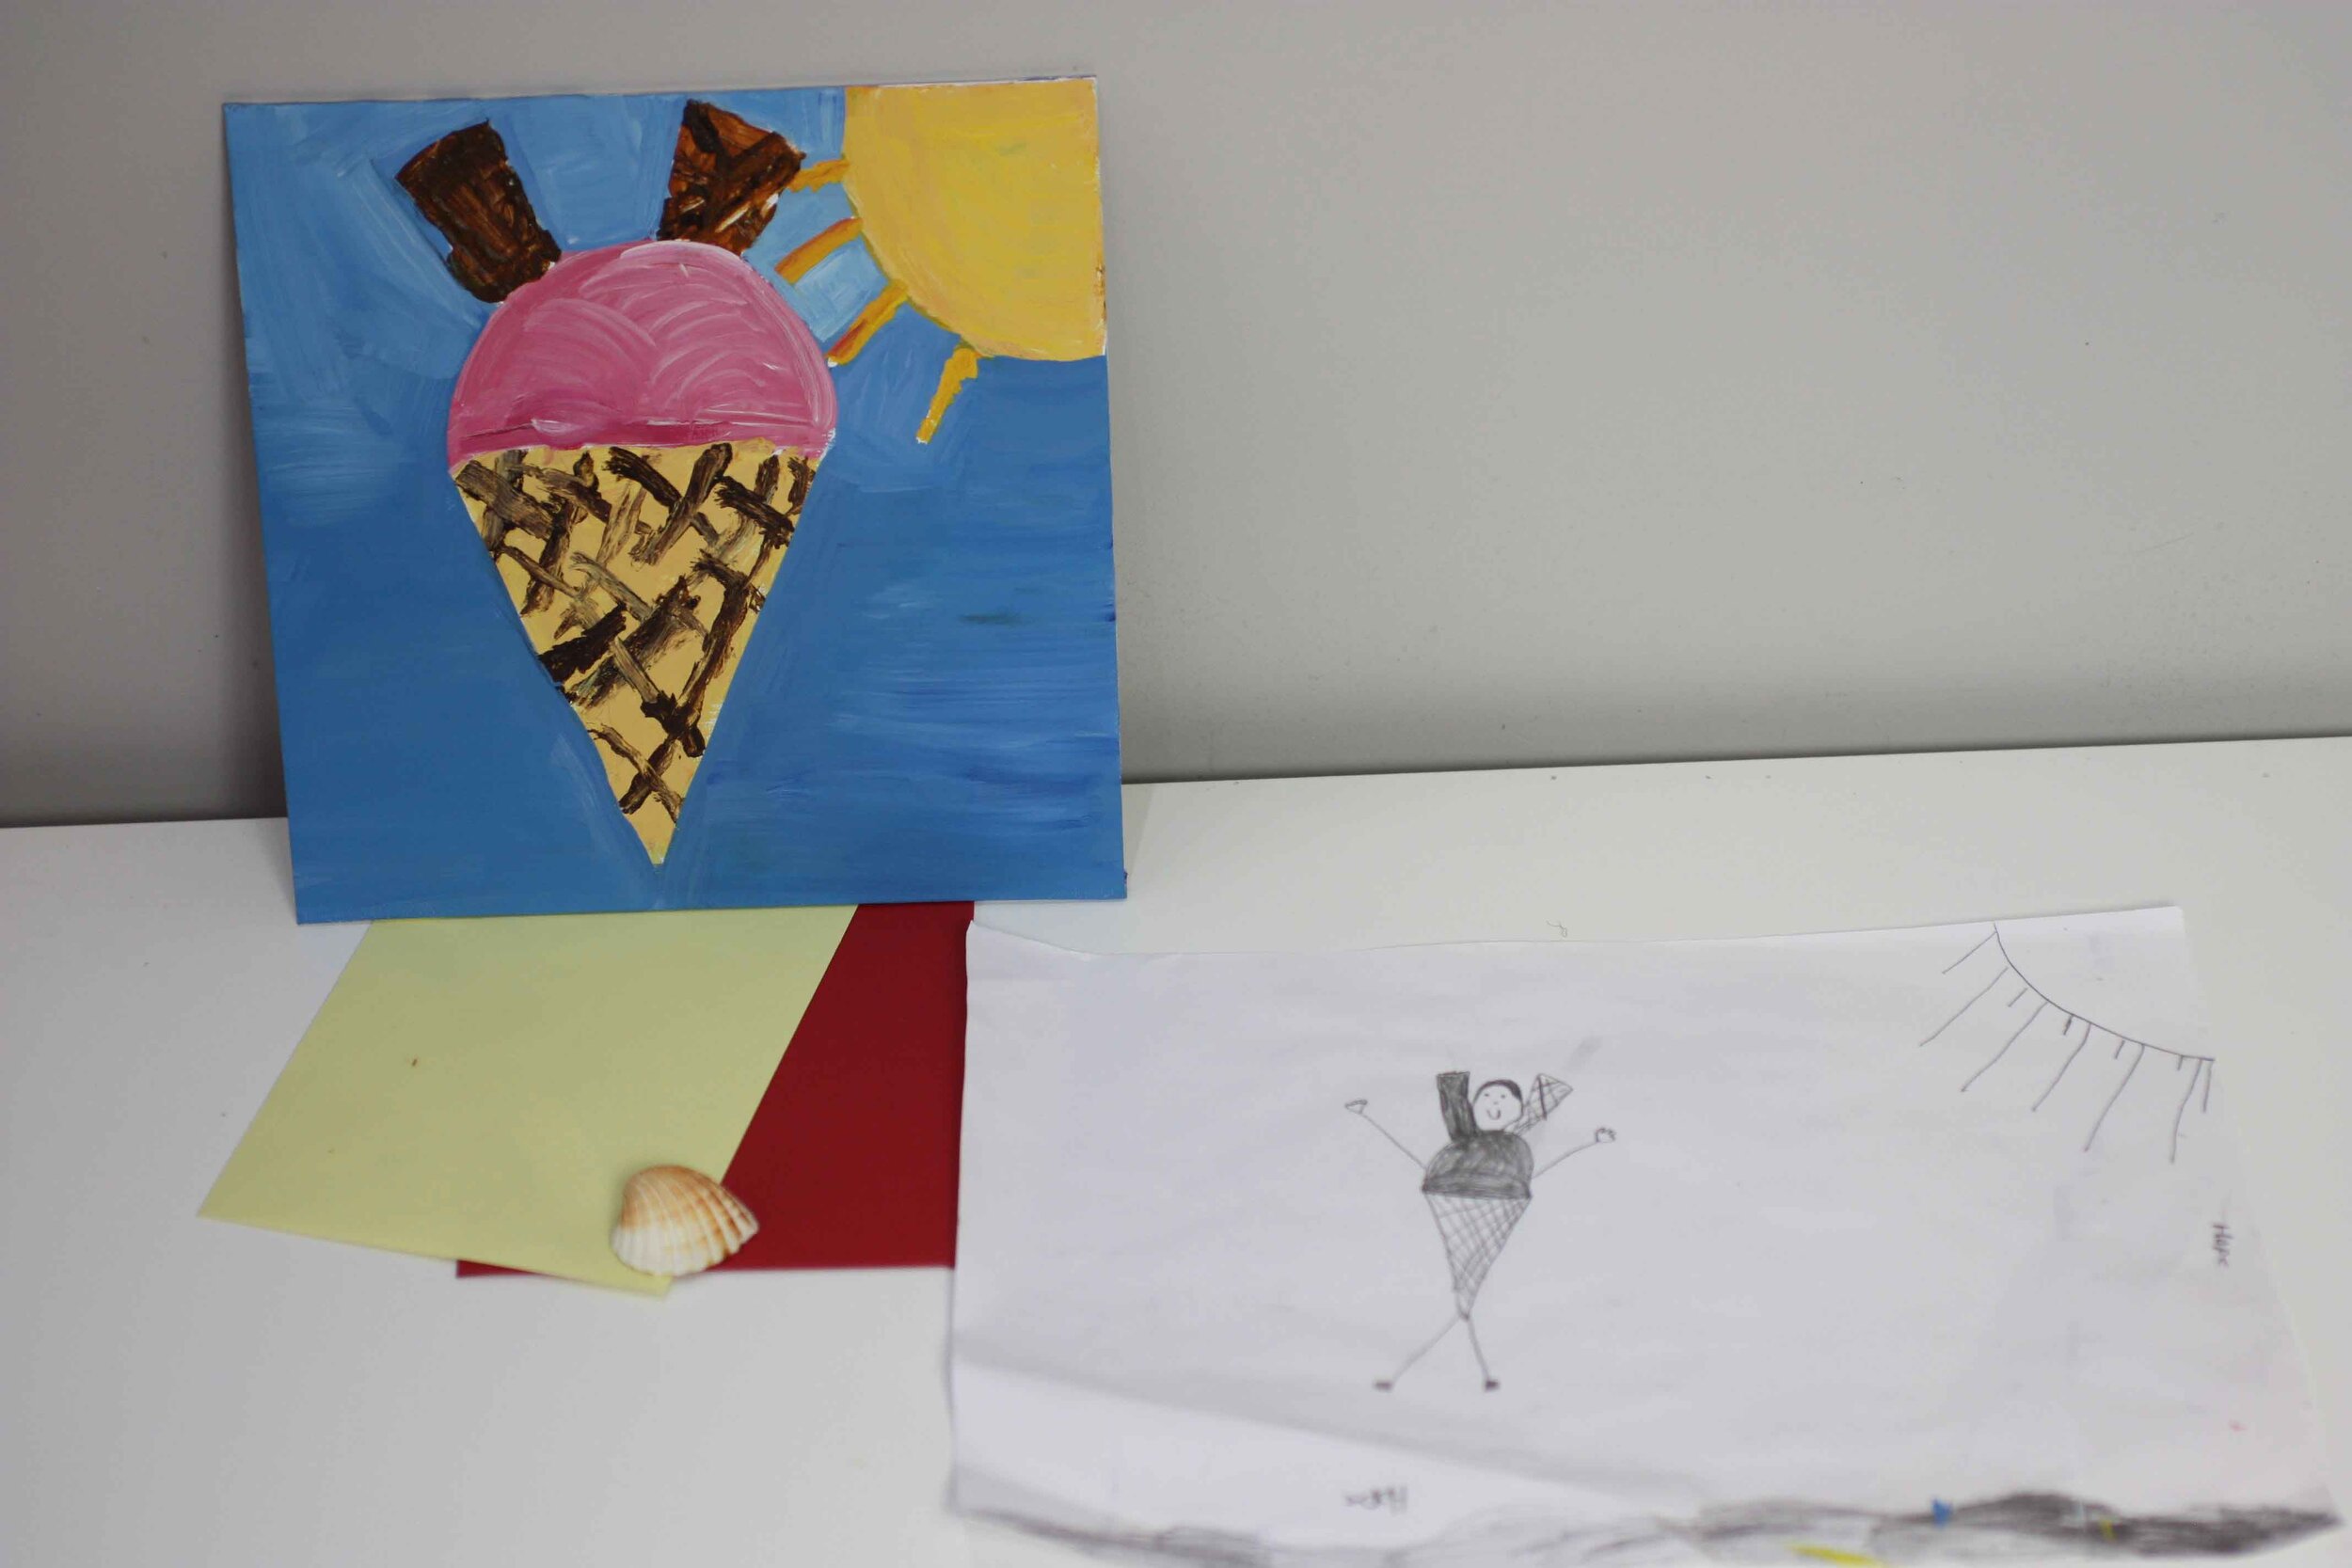
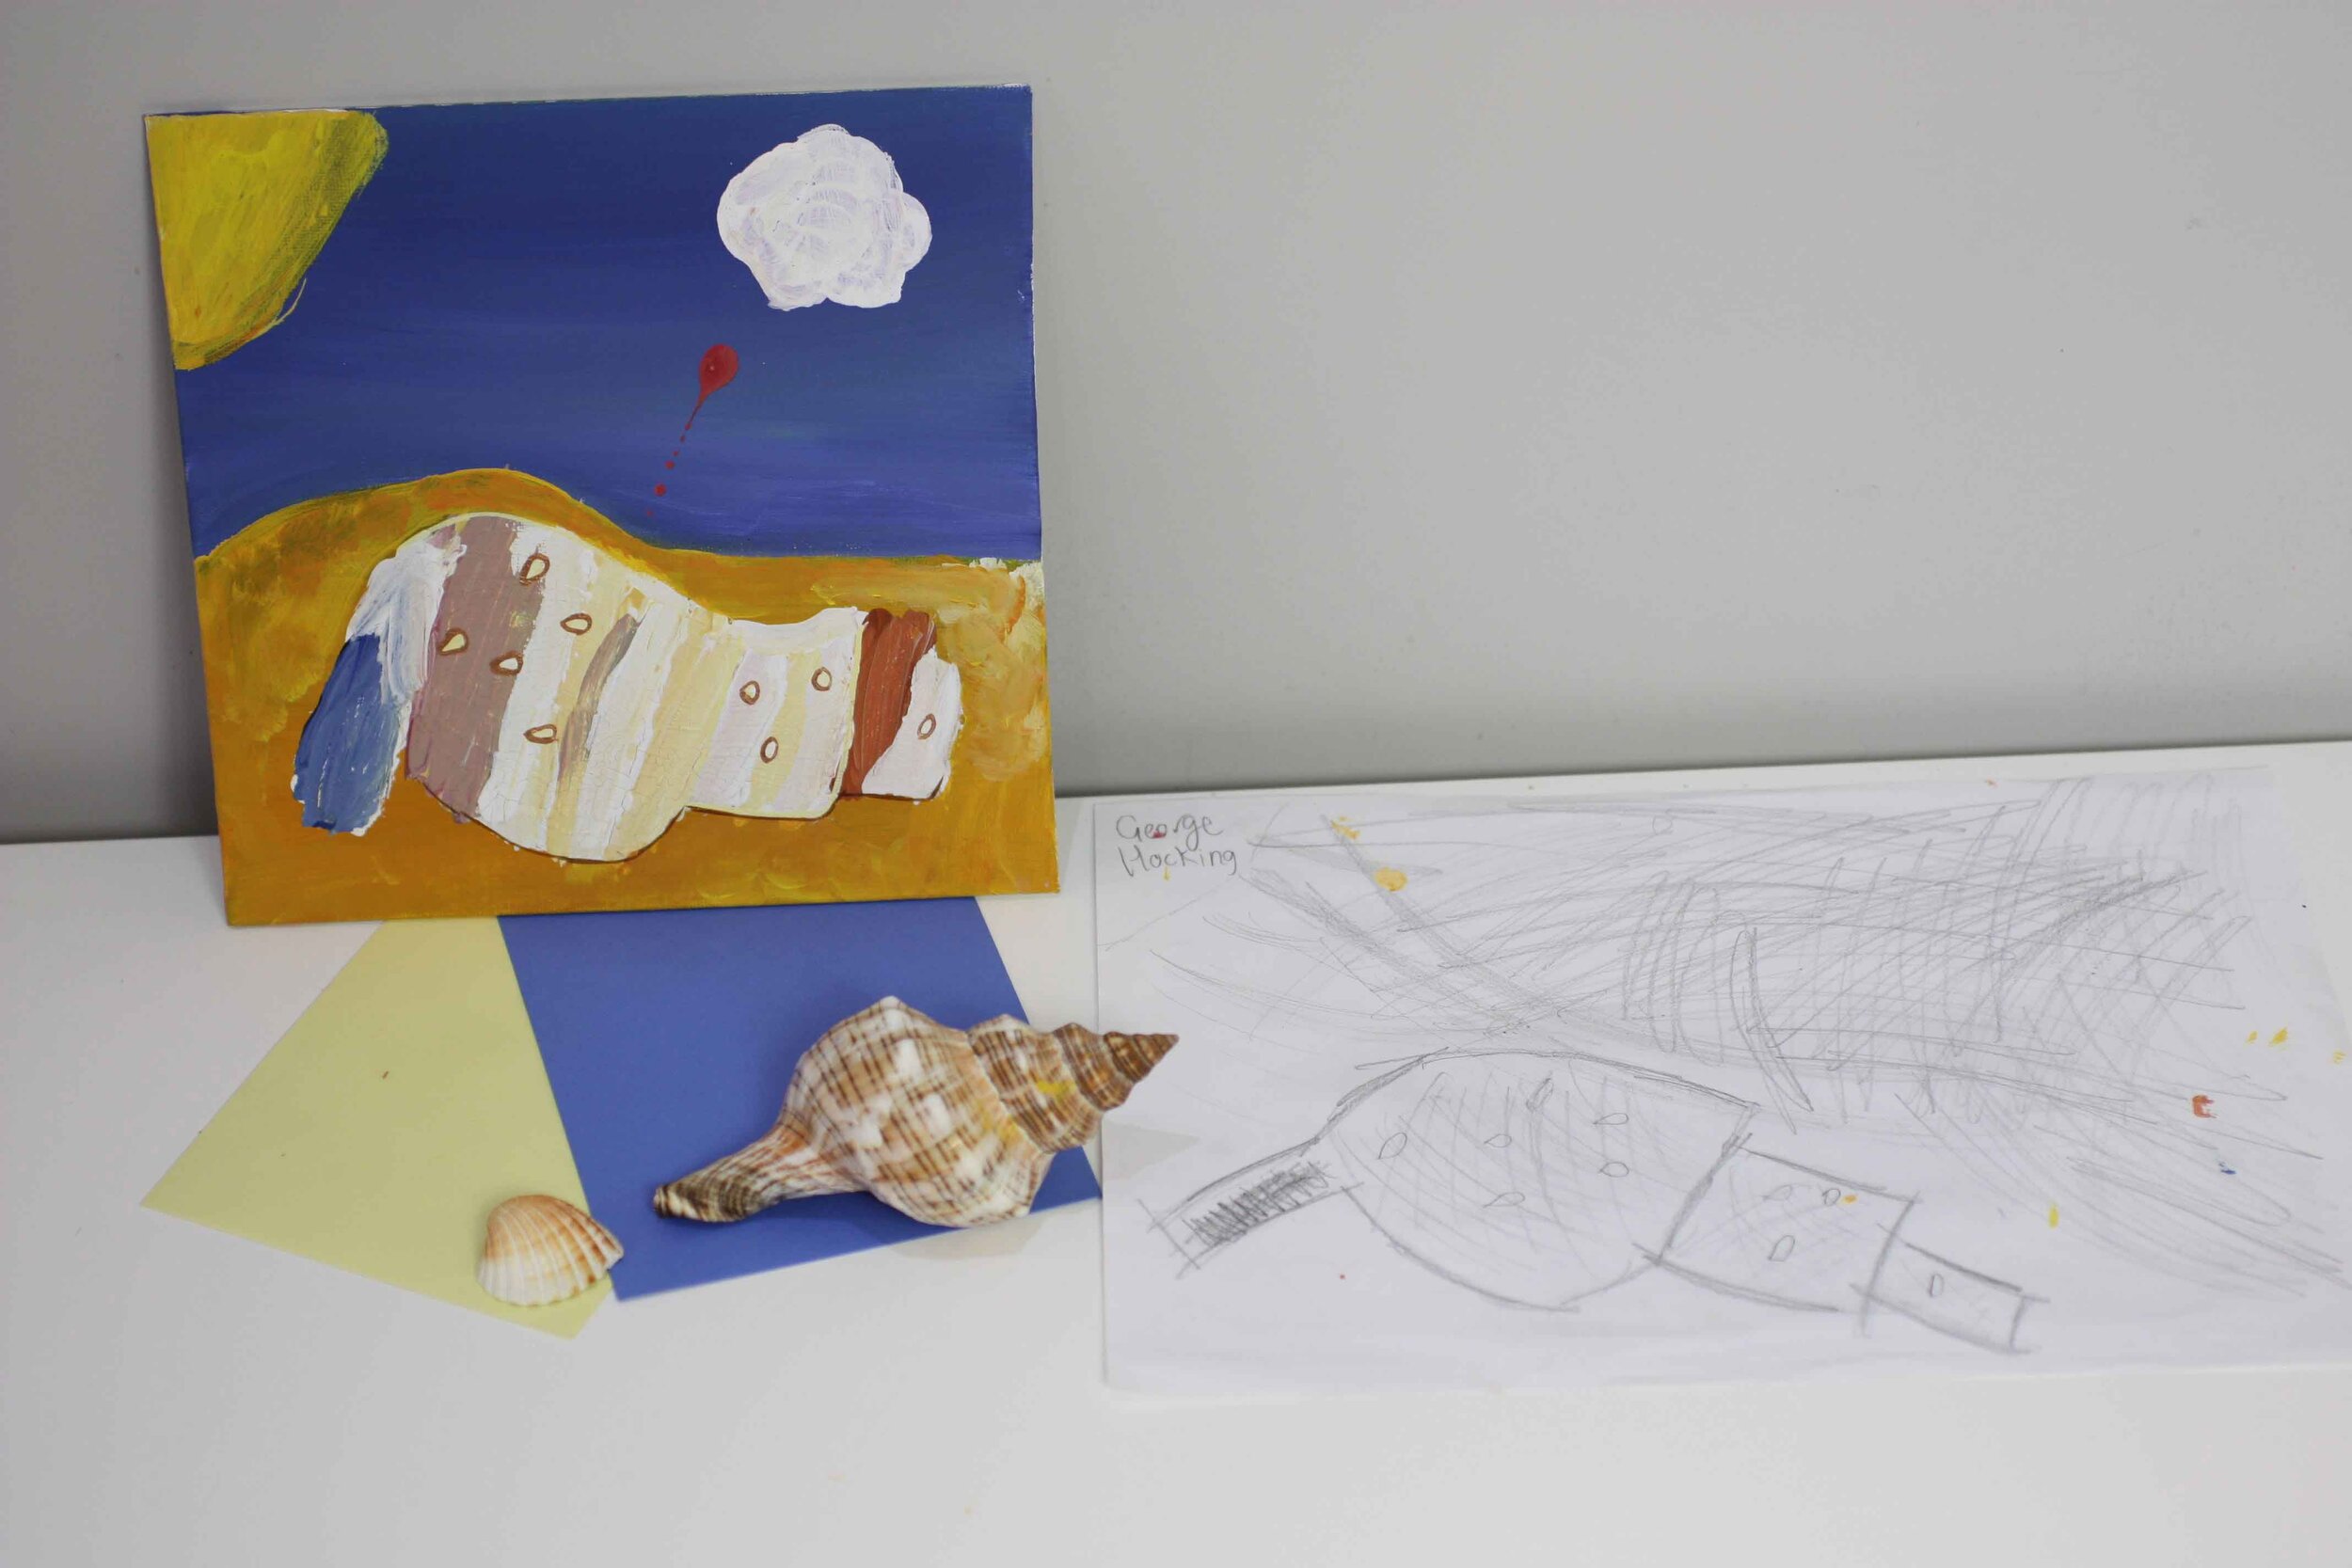
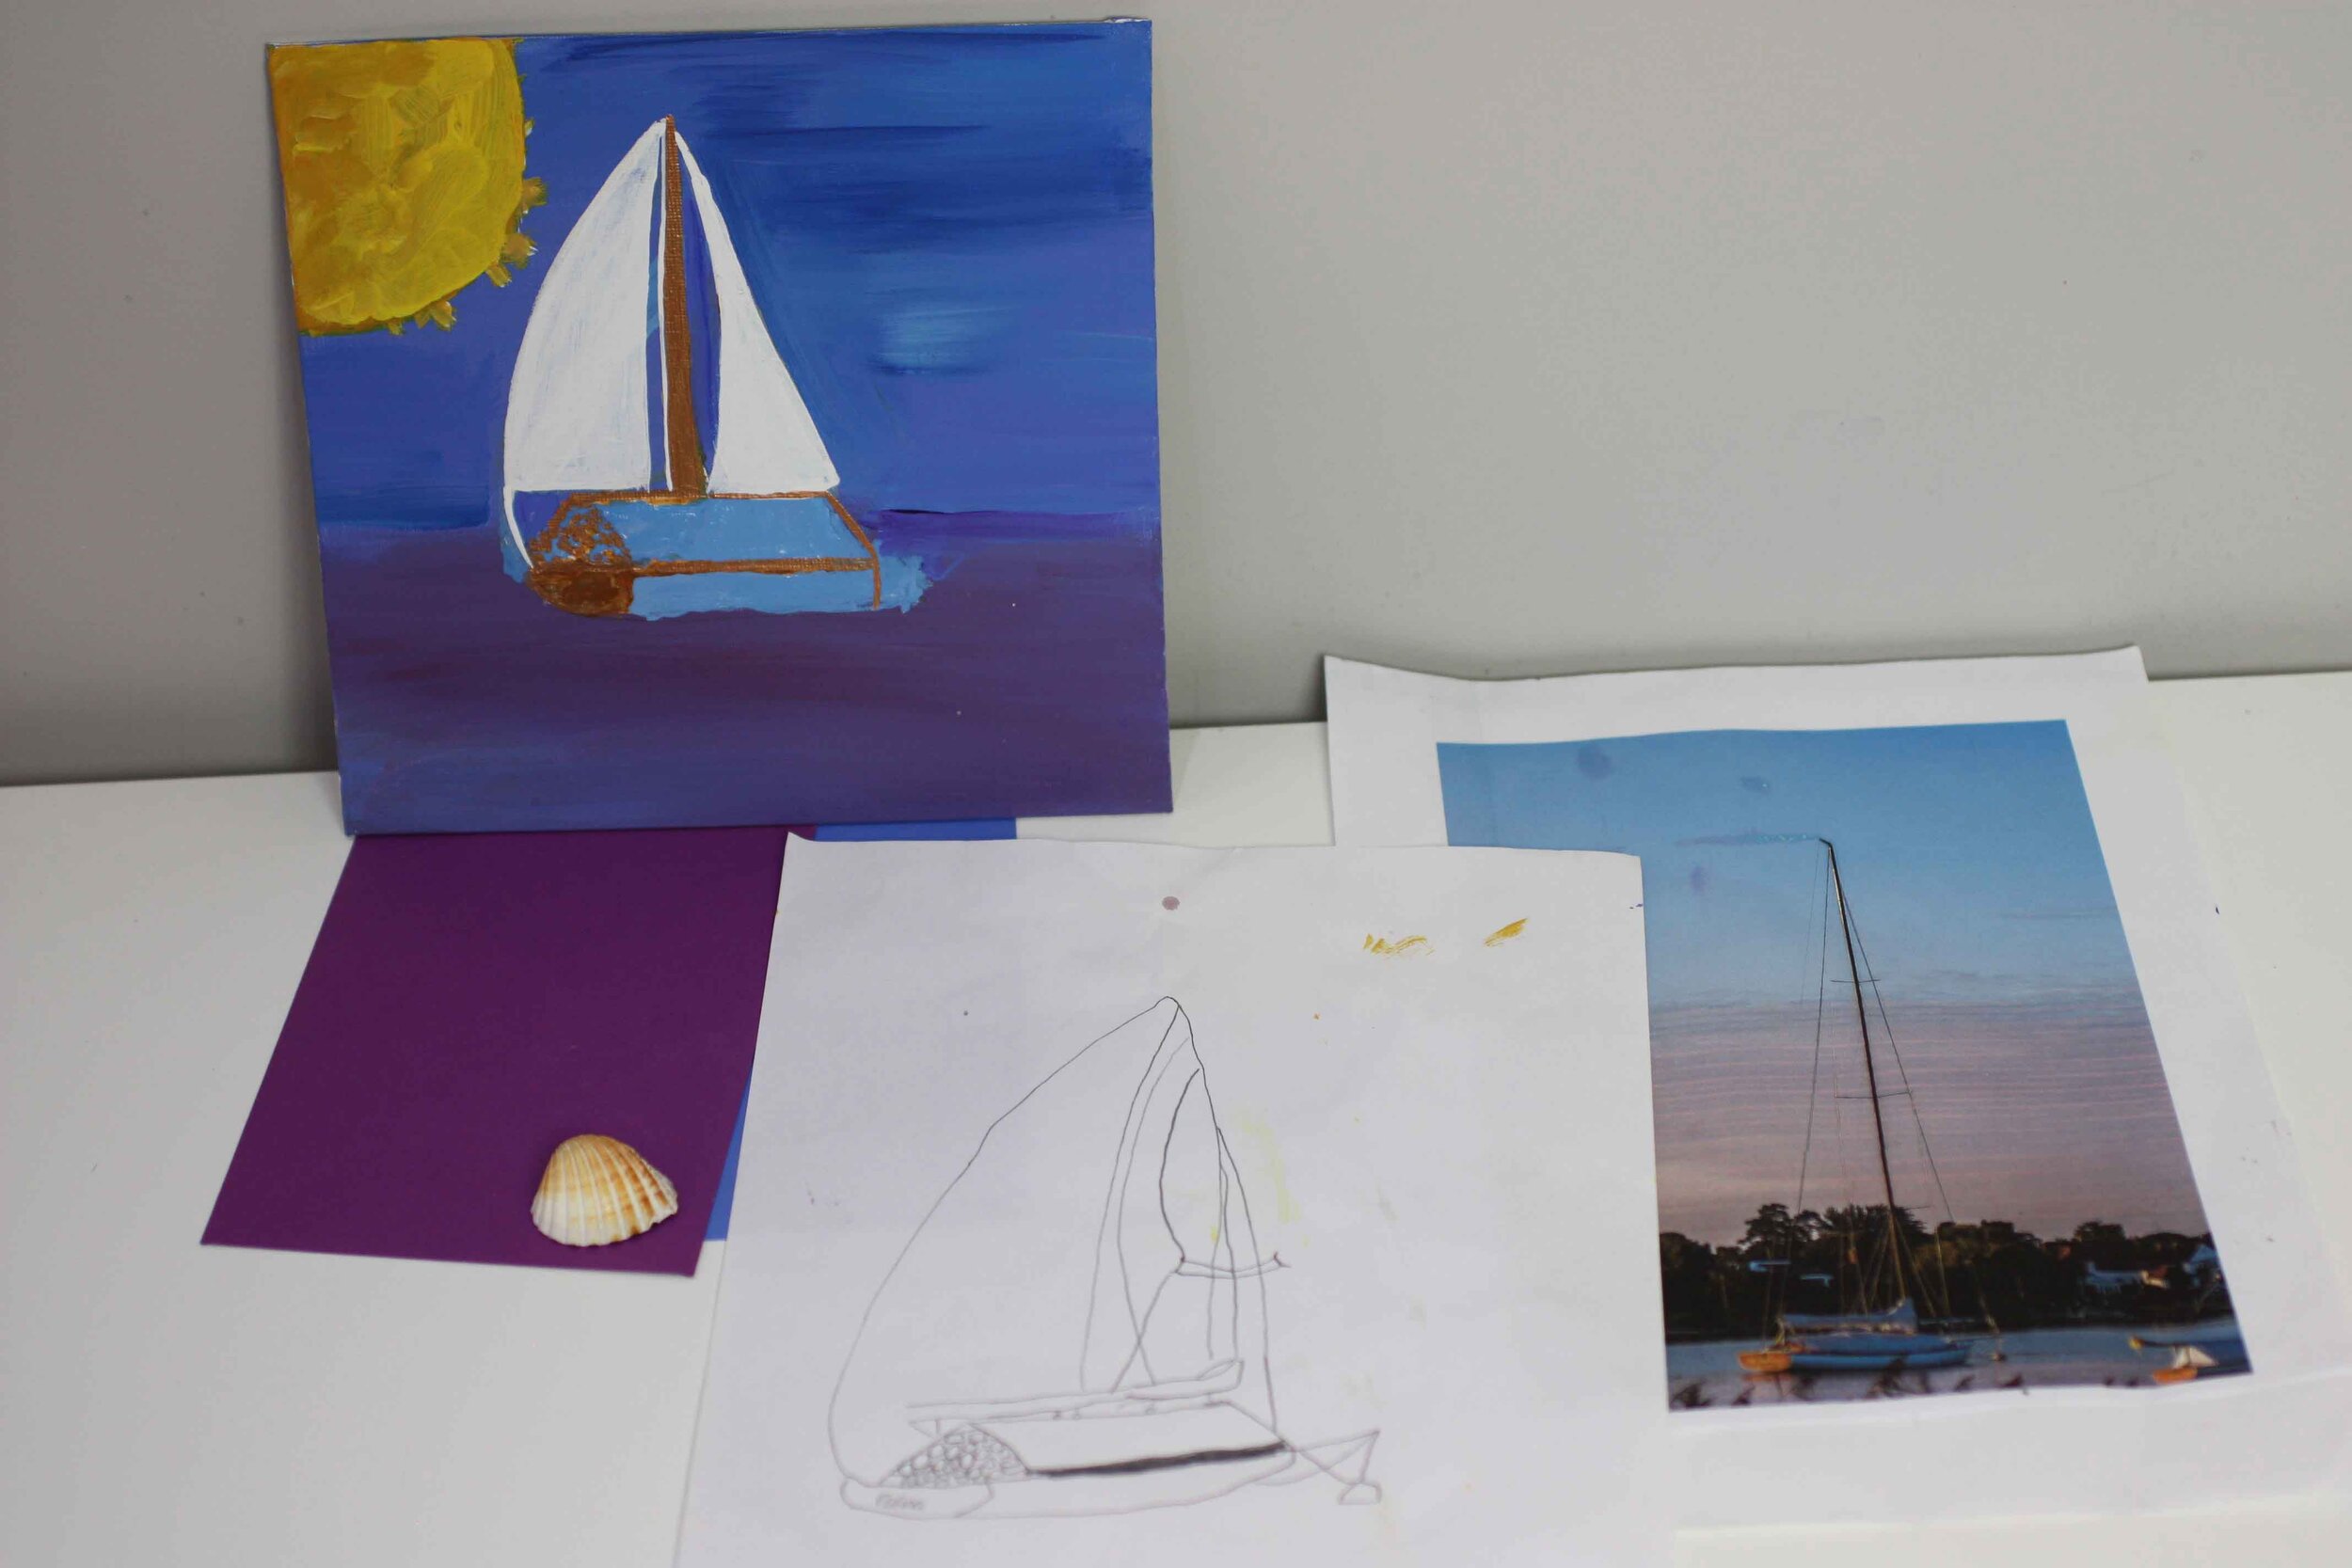
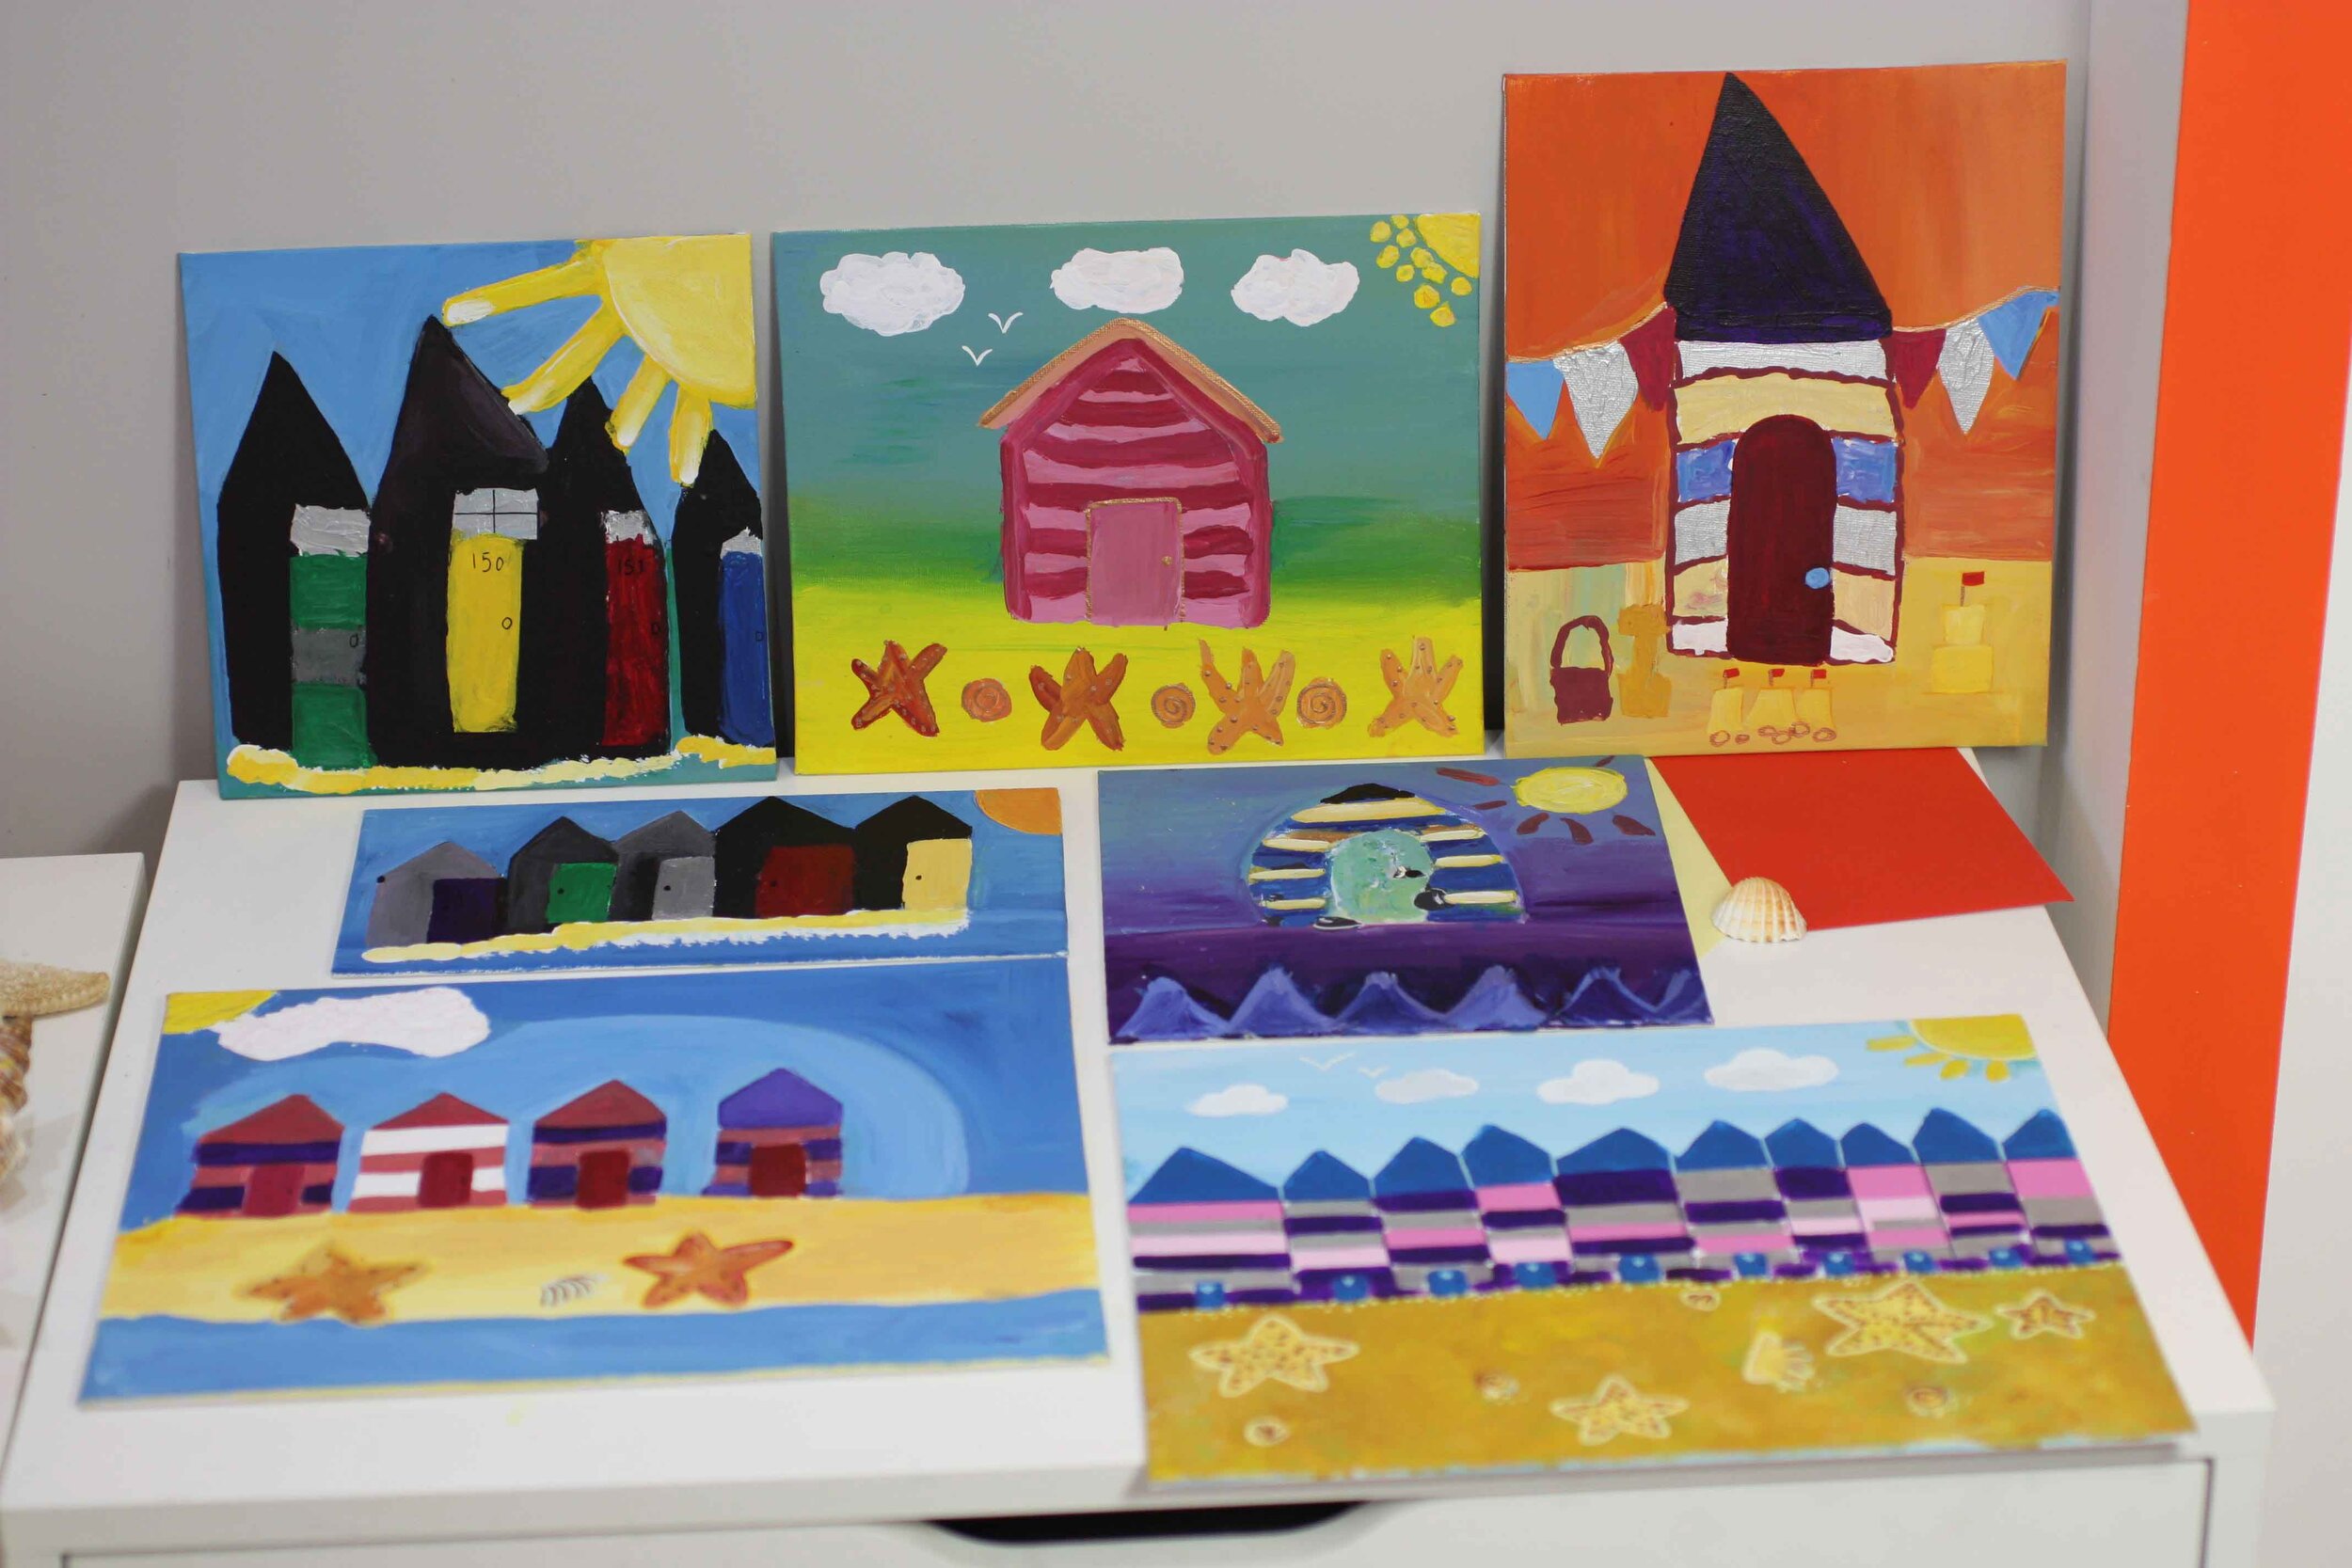
We did have an abundance of beach huts but also had some hotels, houses, boats and ice creams!

So a special mention for students: Hannah, Louisa, Jude, Noah, Hope, Mishka, George, Charlotte, Marney, Chloe, Mikolaj, Joseph, Chloe, Amber and Ewan; you worked very hard and your work will be going over to India very shortly!

All together the canvas boards created this layout, a very bright and cheerful collage; by using the originals I have created a Fine Art print poster (first image) so the school can keep a memory of the art project up on the wall at school.

Liza Cole,

Founder and Designer, Liza J design

October 2015